How to Save Tomato Seeds for Next Season
How to Harvest Tomato Seeds – Seed Saving Tips
If you have ever grown a tomato so good you wished you could grow it again next year, you already understand why gardeners save tomato seeds. Learning how to save tomato seeds is one of the simplest skills a home gardener can pick up, and it costs nothing but a little patience. Whether you grew a juicy heirloom or just want to stop buying seed packets every spring, this guide walks you through every tomato growing stage that matters for seed saving, from picking the right fruit to storing dry seeds for months.
Saving your own tomato seed also connects you to a much older tradition. Long before seed catalogs existed, gardeners passed tomato varieties down through families simply by saving seeds year after year. Every open-pollinated tomato plant you grow today can trace its roots back to someone who decided their favorite tomato was worth keeping around. Along with practical Tomato Growing Tips, saving seeds can help you become more self-sufficient and keep favorite varieties going season after season. By the end of this article, you will know exactly how to harvest tomato seeds, ferment them properly, dry them the right way, and store them so they stay viable for years.
Choosing the Right Tomatoes to Save Seeds From
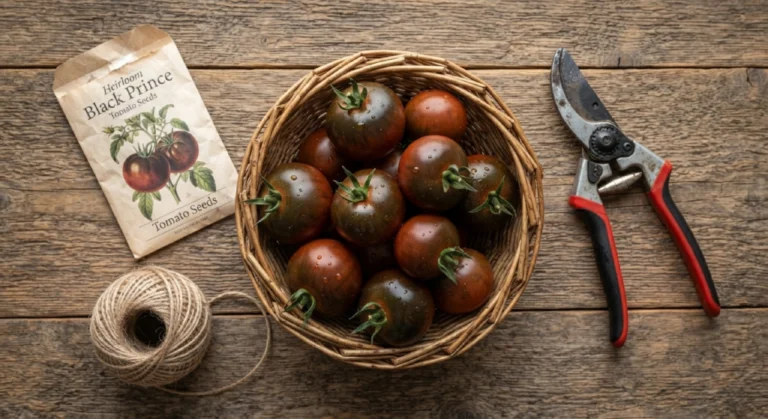
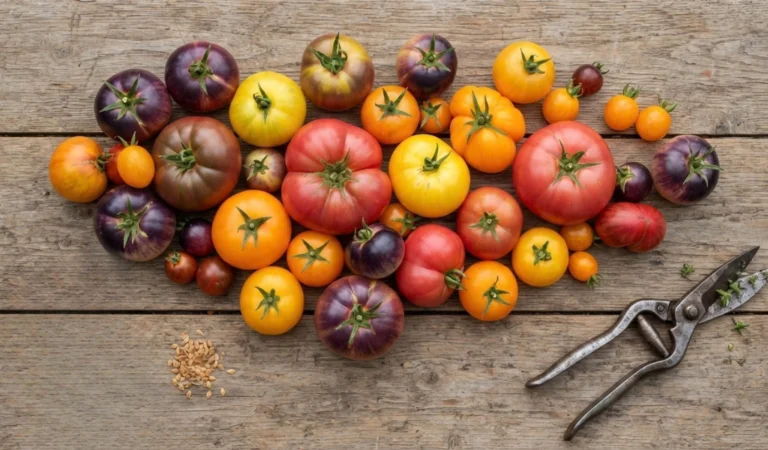
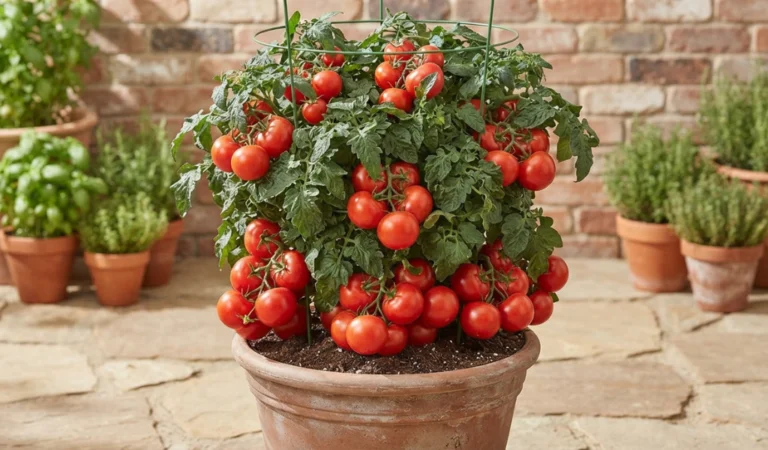
Not every tomato on your vine is a good candidate for seed saving. The tomato variety matters more than most beginners realize. If you want seeds that grow into plants just like the parent, you need an open-pollinated or heirloom tomato. These varieties breed true, meaning the seeds inside them will produce a tomato plant almost identical to the one you picked it from.
Hybrid tomatoes are a different story. Seeds from hybrid tomatoes are the result of crossing two different parent plants, so the seeds inside will not reliably grow into the same tomato. You might get something close, or you might get a completely different fruit with odd flavor and size. If your tag or seed packet says F1, that tomato is a hybrid, and while you can still save the seeds for fun, do not expect consistent results.
Pick the healthiest, most ripe tomato from your strongest plant. Look for a fruit that is fully ripe, free of disease, and true to the shape and taste you love. Gardeners who want to save heirloom tomato seeds often mark their best plant early in the season with a piece of string or a small tag so they remember which one to harvest from later.
Gather Everything You Need
Before you start the seed saving process, it helps to have your tools and materials ready. This step takes five minutes but saves you from scrambling halfway through. Having everything within reach also makes the process smoother and helps you avoid unnecessary delays once you begin working with the tomato. If you are following How to Save Tomato Seeds, preparing your supplies first can make each step much easier.
Tools and Equipment
You do not need anything fancy for this project. A sharp knife, a spoon, a small bowl or jar, and a strainer are really all you need to get the seeds and pulp out of the tomato. If you plan to ferment your seeds, a small glass jar works better than plastic because it is easier to clean and does not hold onto odors. Keeping these basic tools ready is an important part of How to Save Tomato Seeds, especially if this is your first time saving seeds at home.
Materials for Seed Saving
Along with your tools, grab a paper towel or a coffee filter, a paper plate, a permanent marker, and small envelopes or airtight containers for storage. The paper towel and paper plate are especially useful during drying, since they absorb moisture without seeds sticking to them the way they would on a plastic plate. A permanent marker is also helpful for labeling the tomato variety and saving date, so you know exactly what you have stored for the next growing season. Having clearly labeled storage materials is another useful step in How to Save Tomato Seeds because properly identified seeds are much easier to organize and use later.
Pick the Perfect Time to Save Tomato Seeds
Timing plays a bigger role in seed saving than most people expect. You want to harvest tomato seeds when the fruit is fully ripe, sometimes even a touch overripe. A tomato that is still slightly green or just barely turning red has not developed seeds that are mature enough to germinate well.
Many experienced gardeners let a tomato sit on the counter for a few extra days past the point they would normally eat it. This gives the seeds inside more time to fully develop. If you wait until the end of the season, you will also naturally end up saving seeds from your best performing plants, since those are the ones still producing ripe tomatoes when the season is winding down.
The Fermentation Method: The Classic Way to Save Tomato Seeds
Fermenting tomato seeds is the traditional and most reliable method serious gardeners use. Tomato seeds are naturally coated in a gelatinous layer that contains germination inhibitors, a kind of natural coating that prevents the seed from sprouting inside the tomato itself. Fermentation breaks down this coating, mimicking what would happen if the tomato fell to the ground and rotted in the garden.
To start the fermentation process, cut the tomato in half and scoop out the seeds and pulp into a small jar or cup. Add a splash of water, stir it, and set the jar somewhere at room temperature, away from direct sunlight. Cover it loosely with a paper towel or cloth to keep out fruit flies while still letting air in.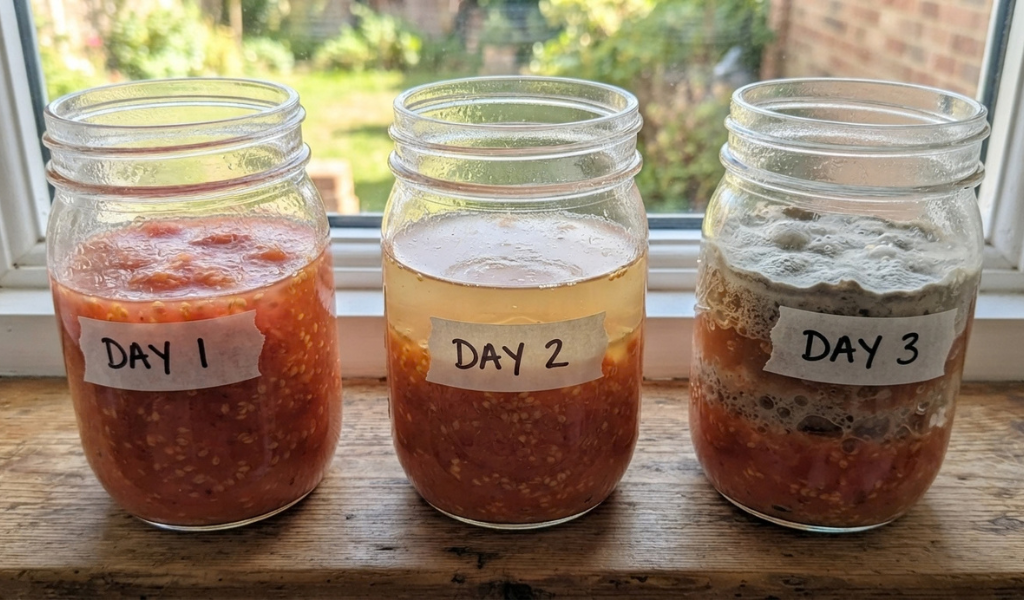
Over the next two to four days, a layer of mold will form on top. This might look alarming the first time you see it, but it is completely normal and is actually a sign the fermentation is doing its job. Stir the mixture once a day and check on the fermentation regularly. Once you see a solid white or grayish mold layer covering the surface and the seeds have separated from the pulp, fermentation is complete.
At this point, add more water to the jar and gently stir. Viable seeds will sink to the bottom, while unviable seeds, pulp, and mold will float to the top. Pour off the floating debris carefully, then rinse the seeds again until the water runs clear. This settling behavior is one of the most useful parts of fermenting, since it does the sorting work for you.
The No-Ferment Method for Beginners
If fermentation sounds messy or you simply want a quicker option, you can save tomato seeds without fermenting. This method skips the waiting period and mold stage entirely, making it a favorite for beginners or anyone saving seeds from just a tomato or two.
To do this, scoop the seeds and pulp onto a paper towel instead of into a jar. Spread the seeds evenly across the towel, trying not to clump them together. The germination inhibitor coating stays on the seeds with this method, which can slightly lower germination rates and increase the chance of seed-borne disease, but for a home gardener growing a few tomato plants, the difference is often minor.
Some gardeners like to rinse the seeds lightly under water first to remove excess pulp before laying them on the paper towel, which helps the seeds separate and dry more evenly.
Drying Tomato Seeds the Right Way
Whether you fermented your seeds or skipped that step, drying tomato seeds properly is what determines whether they will actually sprout next year. Wet or improperly dried seeds are prone to mold and rot in storage, which ruins months of effort in a single afternoon.
Spread your clean seeds onto a paper plate rather than a paper towel if you plan on storing them long term, since seeds tend to stick permanently to paper towels once fully dry. A paper plate lets you slide the dried seeds off easily without tearing anything.
Place the seeds somewhere with good airflow, out of direct sunlight, and away from humidity. A sunny windowsill might seem convenient, but too much direct heat can damage the seeds. Stir or shift the seeds gently once a day so they dry evenly on all sides. Depending on humidity in your home, this usually takes about a week to ten days. You will know the seeds are fully dry when they feel hard and snap rather than bend.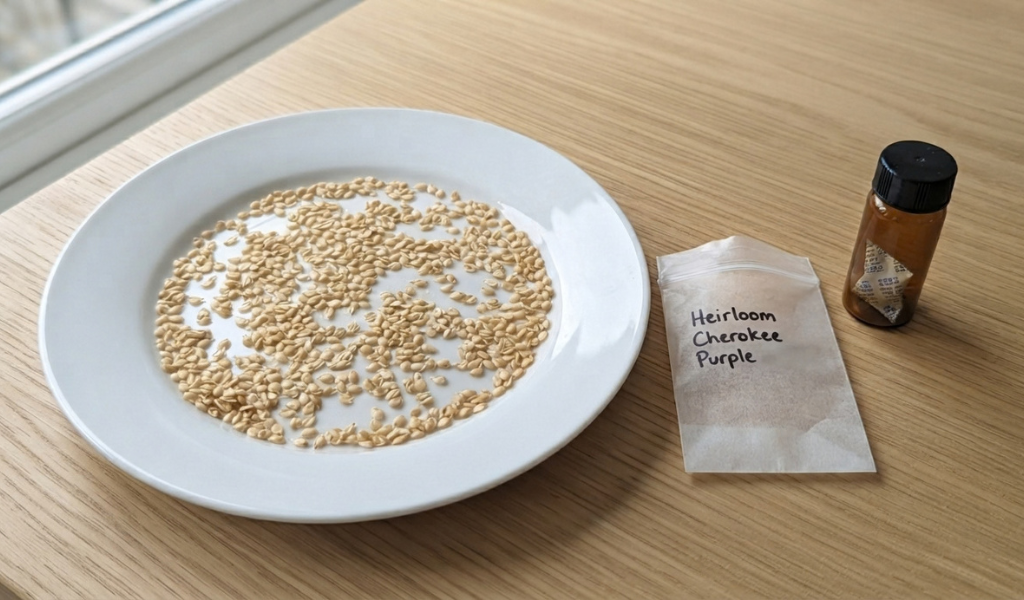
Step-by-Step Guide to Saving Tomato Seeds
For those who want a quick reference, here is the entire seed saving process laid out in order.
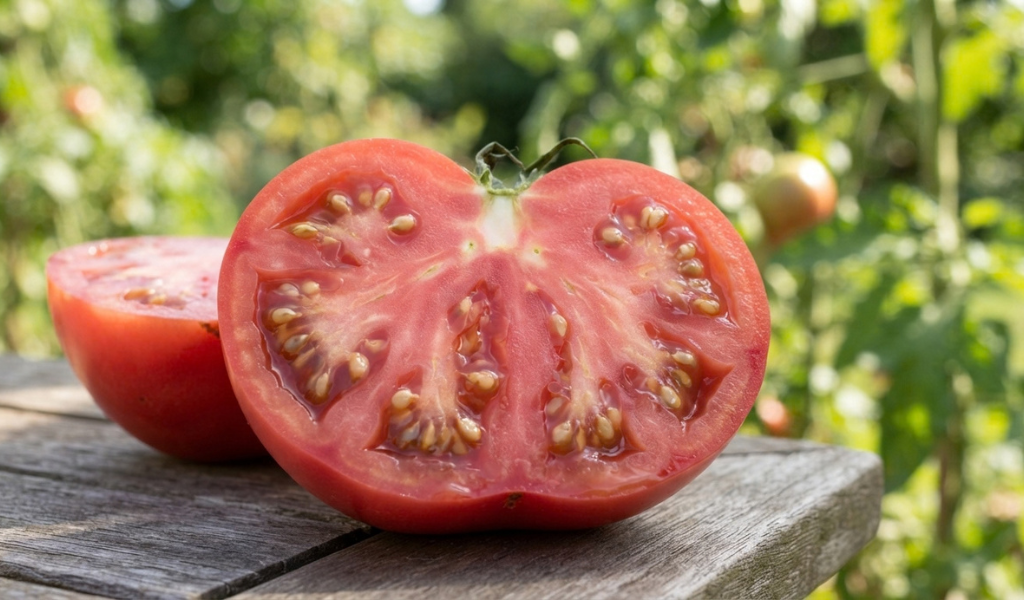
- Harvest the Seeds: Cut the tomato in half across its middle, not from top to bottom, since this exposes the seed cavities more easily. Use a spoon to scoop out the seeds and surrounding gel into a bowl or jar.
- Start Fermentation: If using the fermentation method, add a small amount of water to the seeds and pulp, cover loosely, and set aside at room temperature.
- Check on the Fermentation: Stir daily and watch for the mold layer to form across the top, usually within two to four days.
- Separate the Seeds: Add water, swirl the jar, and let the good seeds settle to the bottom while pulp and bad seeds float.
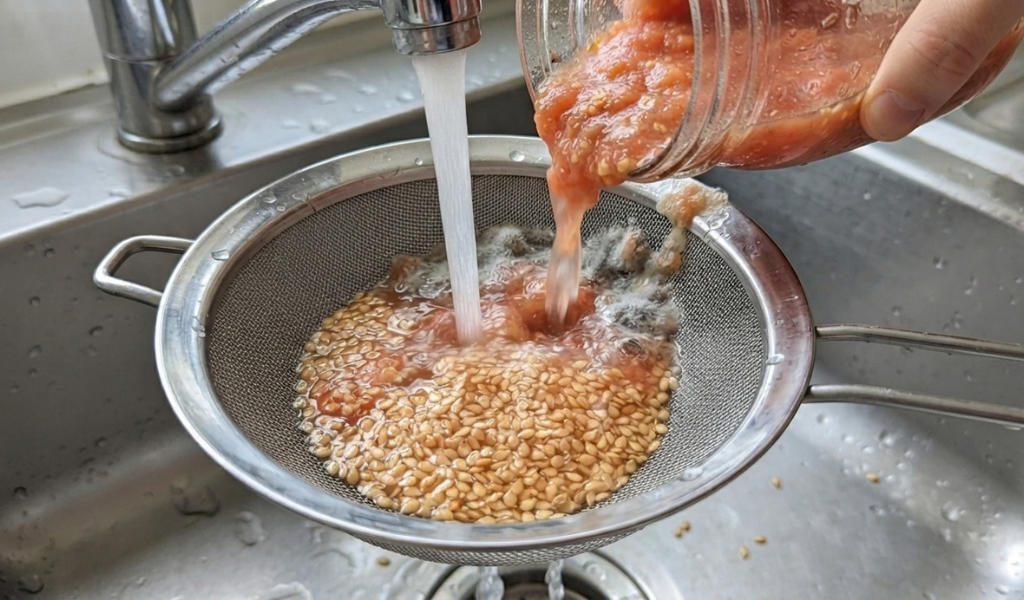
- Clean the Seeds: Pour off the floating material and rinse the remaining seeds in a strainer under running water until they feel clean and slippery to slightly gritty, not slimy.
- Dry the Seeds: Spread the seeds in a single layer on a paper plate or screen, keeping them out of direct sun, and let them dry fully for about a week.
- Store the Seeds: Once bone dry, place the seeds in an airtight container or a small paper envelope, and label it clearly with the tomato variety and the year.
- Maintenance: Check stored seeds once or twice a year for any sign of moisture or pests, and keep the storage container somewhere cool and dark, like a closet or a drawer away from any heat source.
Common Mistakes That Ruin Saved Tomato Seeds
Even experienced gardeners run into trouble with seed saving from time to time. One of the most common mistakes is not drying the seeds long enough before storing them. Seeds that still hold moisture will mold inside a sealed container within weeks, ruining the entire batch.
Another frequent issue is saving seeds from hybrid tomatoes and expecting the same fruit next season. Without knowing the parent plant was a hybrid, gardeners are often disappointed when the resulting tomato plant looks nothing like what they grew before.
Storing seeds in a warm or humid spot is another problem. A garage, shed, or windowsill might seem harmless, but temperature swings and humidity dramatically shorten how long saved tomato seeds stay viable. Labeling mistakes also trip people up, especially when saving seeds from several tomato varieties in the same season. Without a clear label showing the variety and date, it becomes impossible to remember which envelope holds which seeds by the time next spring rolls around.
Ferment vs No-Ferment: Which Should You Use
Deciding between fermenting tomato seeds and skipping the process comes down to how many seeds you need and how long you want them to last. Fermentation removes the natural germination inhibitors, which generally results in higher germination rates and seeds that store well for many years. It also naturally kills off some seed-borne diseases during the mold stage.
The no-ferment method is faster and less intimidating, especially for a gardener just starting to save their seeds for the first time. It works fine if you plan to plant the seeds again the following season and are not too concerned about long-term storage. For anyone building a seed collection meant to last five or more years, fermentation is worth the extra few days.
When and How to Plant Your Saved Tomato Seeds
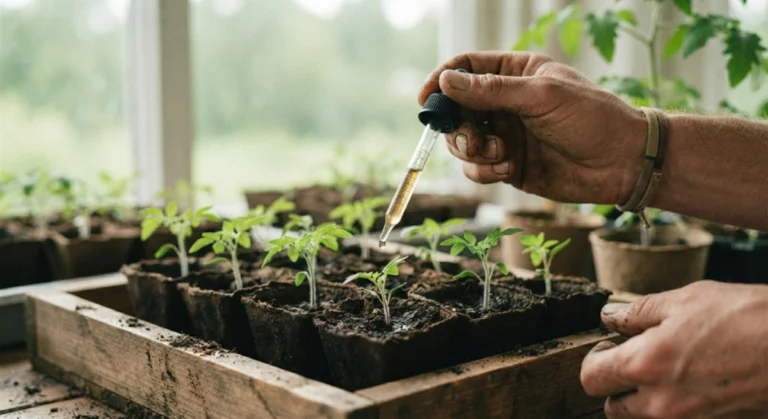
Come next spring, your saved and dried tomato seeds are ready to start indoors, usually six to eight weeks before your last expected frost date. Plant the seeds about a quarter inch deep in seed starting mix, keep the soil consistently moist, and place the containers somewhere warm.
Tomato seed germination typically happens within five to ten days under the right conditions, though older seeds may take a little longer to sprout. Once seedlings show their first true leaves, move them to a sunnier spot or under grow lights to prevent them from getting leggy. From there, they follow the same tomato growing stages as any store-bought seedling, eventually moving outdoors once the weather warms up for good.
Final Thoughts
Learning how to save tomato seeds turns a single great tomato into next year’s entire harvest. Whether you choose the classic fermentation method or the simpler no-ferment approach, the real key is picking ripe fruit from a healthy open-pollinated plant and giving the seeds enough time to dry properly before storage. Once you get the hang of it, saving seeds becomes second nature, and you may find yourself building a small seed library filled with your favorite tomato varieties season after season. Give it a try with just one tomato this year, and see how satisfying it is to grow next year’s plants from something you grew yourself.
Frequently Asked Questions
Can I collect tomato seeds from fresh tomatoes?
Yes, you can collect seeds directly from a fresh, ripe tomato at home. Just make sure the fruit is fully ripe, since seeds from underripe tomatoes are less likely to germinate well.
Are 20 year old seeds still good?
Tomato seeds can occasionally still sprout after 20 years if they were dried and stored properly in a cool, dark, dry place, though germination rates drop significantly the older the seeds get. For reliable results, aim to use saved seeds within four to six years.
Can you save tomato seeds without fermenting?
Yes, saving tomato seeds without fermenting is completely possible and works well for casual gardeners. Simply spread the seeds and pulp on a paper towel to dry instead of going through the fermentation process.
Can you take a seed from a tomato and plant it?
You can plant a seed straight from a tomato without drying or fermenting it, though it is less reliable and not recommended for long-term storage. For the best germination results, clean and dry the seed first.
What types of tomato seeds can you save?
Seeds from open-pollinated and heirloom tomato varieties are the best types to save since they grow true to the parent plant. Seeds from hybrid tomatoes can be saved too, but the resulting plants may not match the original fruit.
How long do saved tomato seeds last?
Properly dried and stored tomato seeds typically stay viable for four to six years, and sometimes longer if kept in a cool, dark, and dry environment. Storing seeds in an airtight container with a moisture-absorbing packet can extend their shelf life even further.
What is the process for saving tomato seeds?
The process involves scooping seeds and pulp from a ripe tomato, optionally fermenting them for a few days to remove the gel coating, rinsing them clean, drying them fully on a paper plate, and storing them in a labeled, airtight container.