Pepper Plant Growing Tips: How to Grow Peppers Successfully
Pepper Plant Growing Tips: A Complete Guide for Healthy Plants
There’s something deeply satisfying about picking a ripe, glossy pepper straight off a plant you grew yourself. Whether you love sweet bell peppers for salads or crave the fiery kick of hot peppers, these plants reward a little patience with a big harvest. But peppers can be picky. Get the sunlight, soil, or watering wrong, and you might end up with leggy seedlings, dropped flowers, or plants that just refuse to fruit.
That’s where these pepper plant growing tips come in. This guide walks you through everything from choosing the right variety to harvesting fully mature peppers at the perfect moment. You’ll learn how to start pepper seeds, feed and water your plants, and troubleshoot the problems that trip up most gardeners.
Peppers are surprisingly easy to grow once you understand what they need. They love warmth, sunshine, and steady care. If you can give them that, you’ll be swimming in fresh peppers by late summer. Let’s dig into the practical steps that make the difference between a struggling plant and a thriving one.
Choose the Right Pepper Variety
The first step to a great harvest starts long before you plant anything. Choosing the right pepper variety sets the tone for your entire growing season. With so many types of peppers out there, from mild sweet bells to blistering chili peppers, it helps to know what you actually want to eat and grow.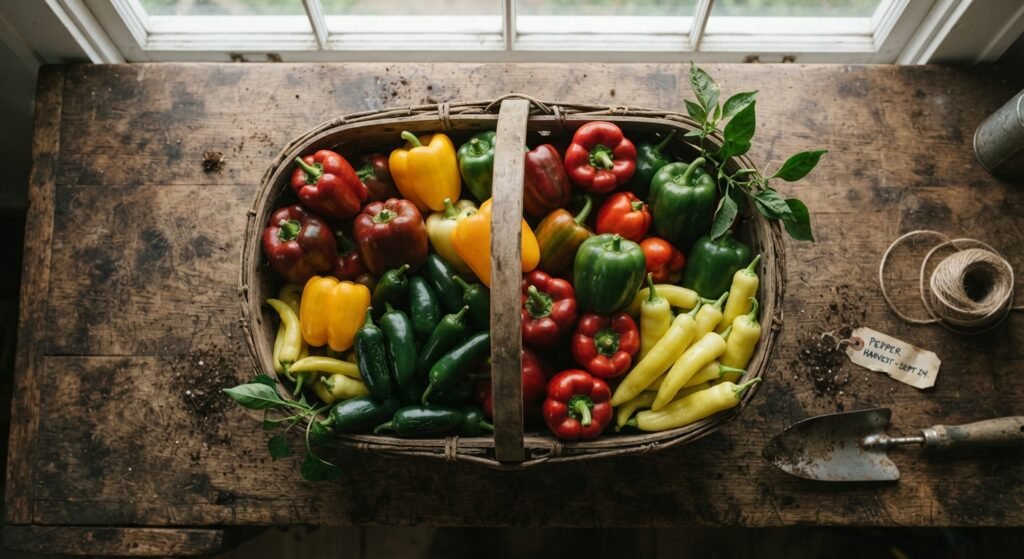
Think about how you plan to use your peppers. Do you want crisp slices for salads, or are you dreaming of homemade hot sauce? Some gardeners plant peppers purely for their bright colors and ornamental appeal. Your answer shapes which seeds you’ll buy. Red pepper growing tips often focus on patience, since red peppers are simply green peppers left to ripen longer on the plant. Jalapeno pepper growing tips, on the other hand, tend to reward gardeners with faster results and heavy yields even in smaller spaces.
Beginners usually find that certain varieties grow best with less fuss. Jalapeños, banana peppers, and standard bell peppers are all forgiving choices. Once you get comfortable, you can branch out into more demanding peppers like habaneros or ghost peppers, which need a long growing season and consistent heat.
Sweet vs. Hot Pepper Varieties
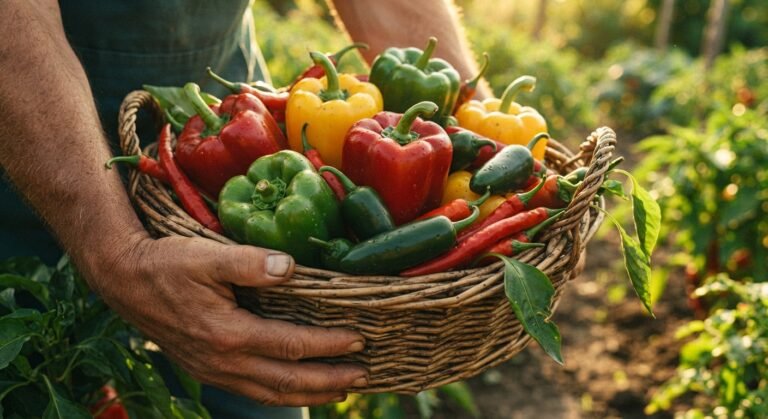
Understanding the difference between sweet and hot pepper varieties helps you plan your garden with confidence. Sweet peppers, like the classic sweet bell pepper, carry almost no heat. They’re thick-walled, juicy, and perfect for roasting, stuffing, or eating raw. Other sweet options include banana peppers and mini snacking peppers, which stay mild and crunchy.
Hot peppers get their fire from a compound called capsaicin. The more capsaicin, the hotter the pepper. Jalapeños sit at the mild end of the spicy scale, while cayenne and serrano peppers bring more punch. At the extreme end, you’ll find superhots like the Carolina Reaper that pack serious heat into a tiny fruit.
One interesting thing about peppers is how they change as they ripen. Many hot peppers and sweet peppers change color the longer they stay on the plant. A green bell pepper will slowly turn red, yellow, or orange, growing sweeter as it matures. Spicy peppers often grow hotter the longer you leave them on the plant. So the timing of your harvest affects both flavor and heat.
Choosing Peppers for Your Growing Conditions
Your local climate plays a huge role in which peppers grow best for you. Peppers love heat and hate cold, so gardeners in cooler regions need to plan carefully. If you have a short summer, pick fast-maturing varieties that ripen before the first frost.
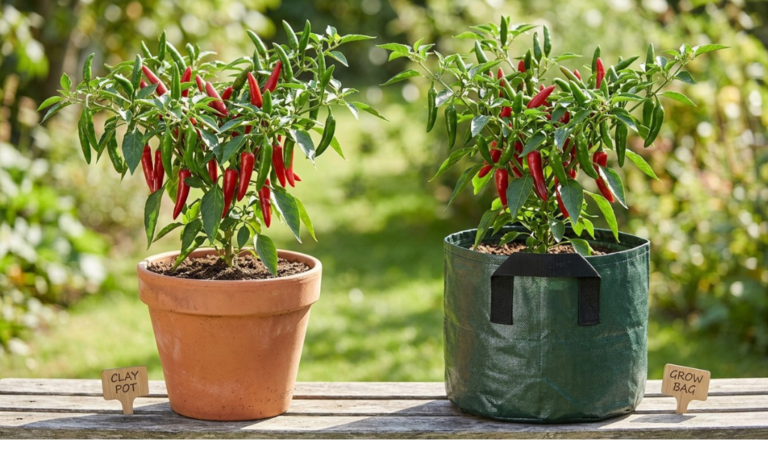
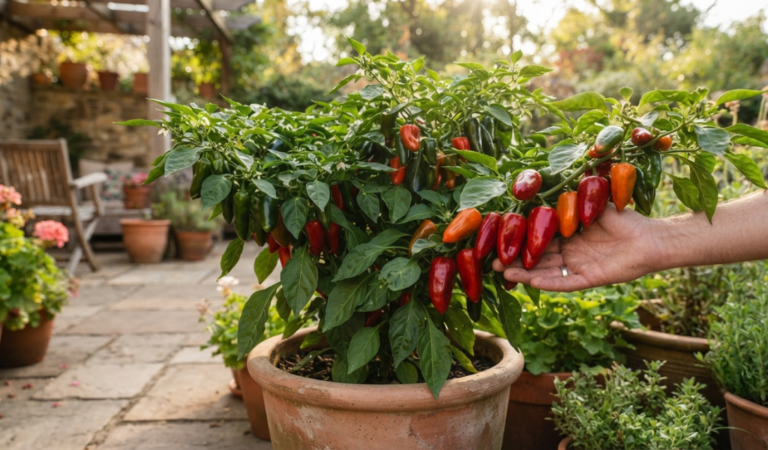
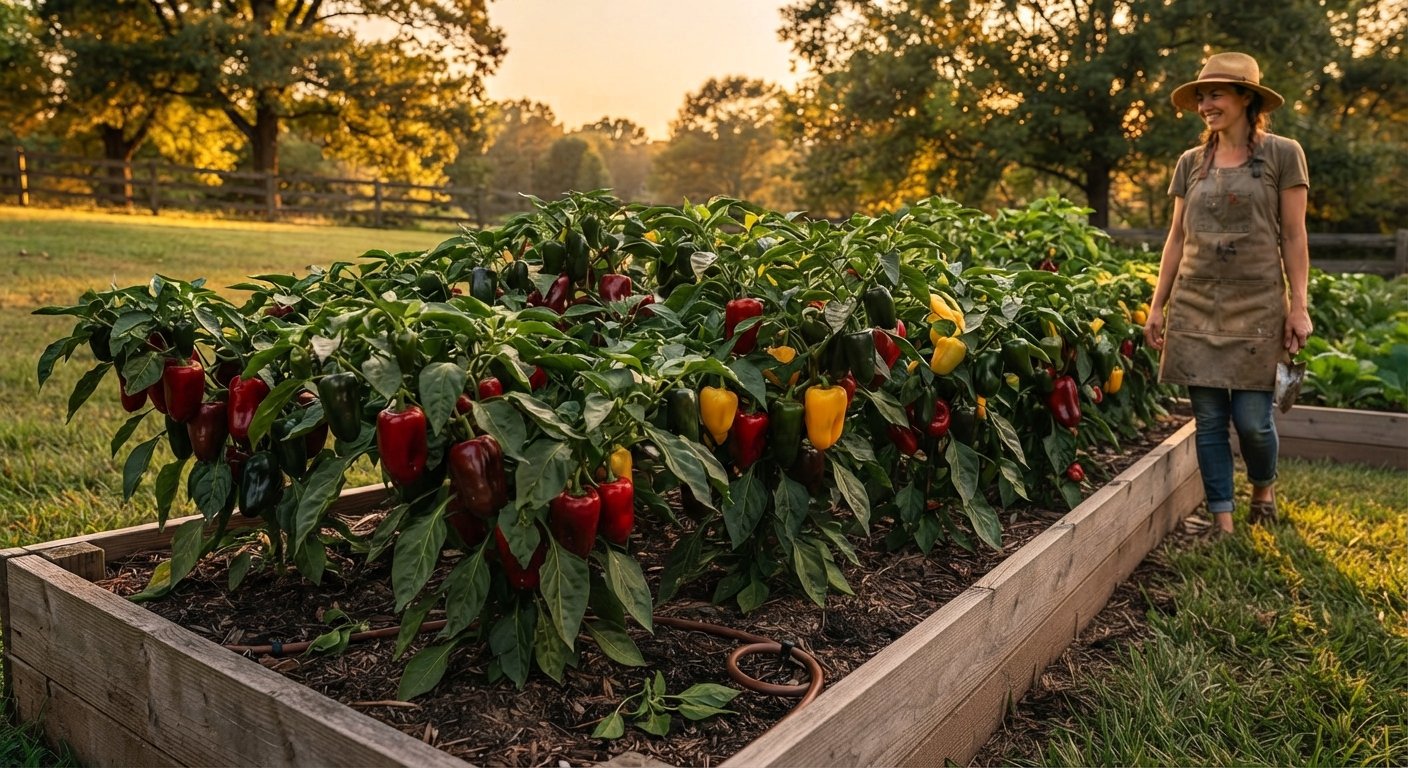
Space matters too. Many peppers grow well in containers, which makes them ideal for balconies, patios, or small yards. Compact varieties thrive in pots, while larger plants may prefer a garden bed where their roots can spread. Peppers also grow well in raised beds, where the soil warms up faster in spring and drains nicely.
Think about how many plants you can realistically care for. It’s tempting to grow a huge variety of peppers, but a handful of healthy plants will always outperform a crowded, neglected garden. Match your ambitions to your available sunlight, space, and time, and you’ll set yourself up for success.
Start Pepper Seeds the Right Way
Growing peppers from seed gives you access to hundreds of varieties you’ll never find as transplants at a garden center. It also saves money and gives you a real sense of accomplishment. To start pepper seeds well, use a light seed-starting mix rather than heavy garden soil, which can smother tiny roots.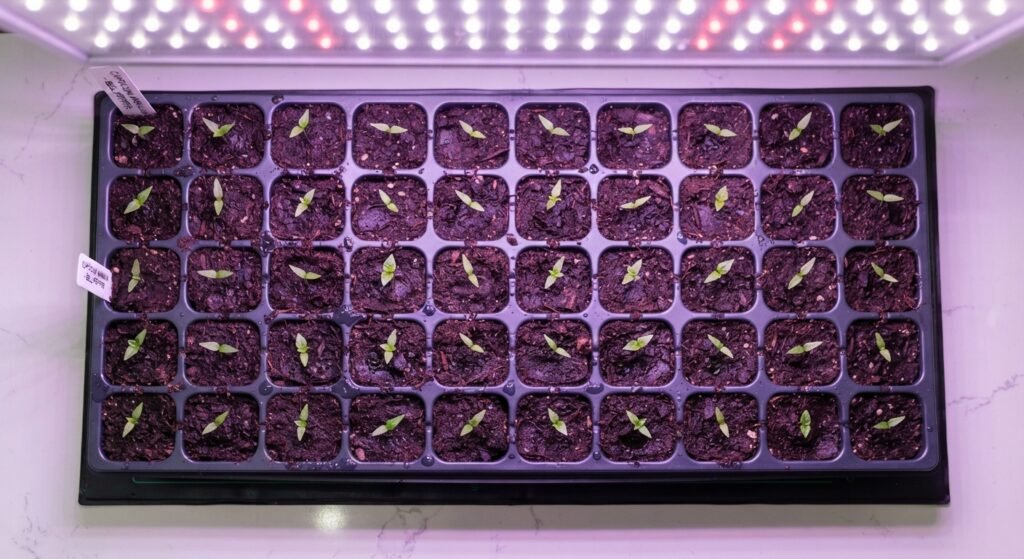
Fill small pots or trays with moist mix, then plant pepper seeds about a quarter inch deep. Cover them lightly and keep the surface damp but not soggy. Peppers germinate best in warmth, so place your trays somewhere consistently warm. The top of a refrigerator or a seed-starting heat mat works beautifully. A steady soil temperature around 80°F speeds things up dramatically.
You can even try growing peppers from seeds saved from store-bought peppers, though results vary. Hybrid peppers won’t grow true to type, so for reliable results, buy seeds from a trusted supplier.
When to Start Pepper Seeds
Timing is everything with peppers. Because they have a long growing season, you’ll want to start pepper seeds indoors around eight to ten weeks before your last expected frost date. This head start gives young pepper plants enough time to mature and produce fruit during the warm months.
Starting too early can leave you with overgrown, root-bound seedlings before it’s warm enough to move them outside. Starting too late means your plants won’t have time to fruit properly. Check your local frost dates and count backward to find your ideal sowing window. In most temperate regions, that means starting seeds indoors sometime between late winter and early spring.
How to Encourage Fast Germination
Pepper seeds can be slow and stubborn, sometimes taking two to three weeks to sprout. A few simple tricks help speed things along. Heat is the single biggest factor. Keep your seed trays warm, ideally between 75°F and 85°F, and you’ll see faster, more even germination.
Moisture matters too. Keep the soil consistently damp, never bone dry and never waterlogged. Covering your trays with a clear plastic lid or wrap traps humidity and warmth, creating a mini greenhouse effect. Just remove the cover once seedlings appear so air can circulate.
Some gardeners soak pepper seeds in warm water overnight before planting to soften the seed coat. Others use a weak chamomile tea soak to reduce fungal problems. These little steps aren’t strictly necessary, but they can nudge slow varieties into action. Patience pays off, so don’t give up if your seeds take their time.
Provide Pepper Plants With Enough Sunlight
Sunlight is fuel for peppers. These plants originated in warm, sunny climates, and they carry that love of light into your garden. Without enough sun, pepper plants grow tall and spindly, produce few flowers, and struggle to set fruit. Giving them plenty of light is one of the most important things you can do.
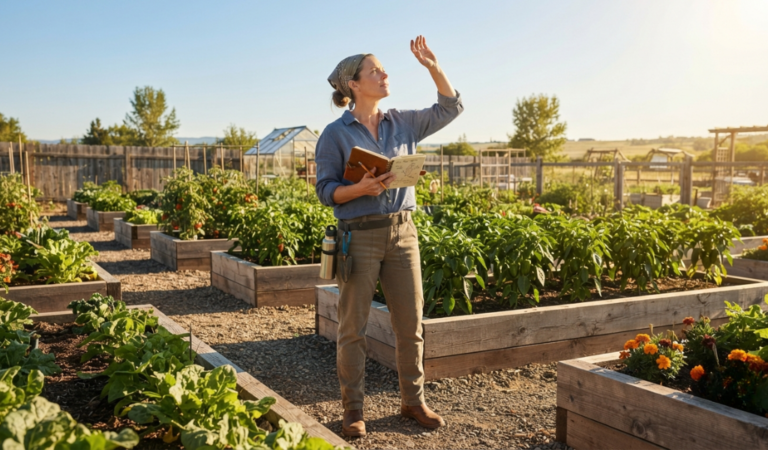
If you’re growing outdoors, choose the sunniest spot available. A south-facing location usually works best. Peppers grown in shady corners rarely reach their full potential, no matter how well you feed and water them.
How Much Sun Do Pepper Plants Need?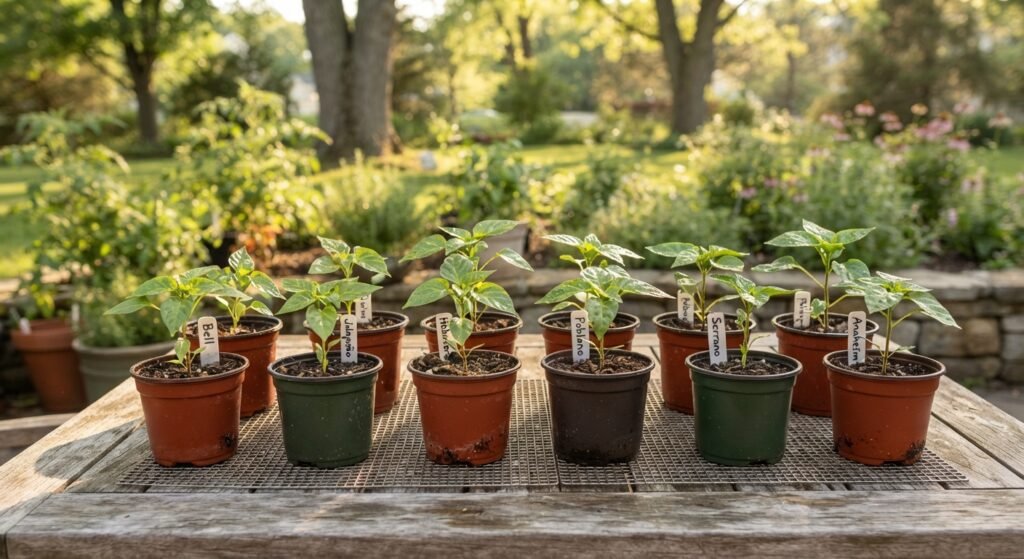
Pepper plants need at least six hours of direct sunlight each day, though eight to ten hours is even better. The more light they receive, the more energy they can put into growing strong stems, healthy leaves, and abundant fruit. This is why peppers grow best in open, unshaded spots.
When you transplant peppers outside, give them time to adjust to full sun gradually. Move seedlings outdoors for a few hours each day over the course of a week before planting them permanently. This process, called hardening off, prevents sunscald and transplant shock. Skipping it can leave your tender young plants scorched and stunted.
Using Grow Lights for Indoor Peppers
Not everyone has a sun-drenched garden, and that’s fine. You can grow peppers indoors successfully with the help of a grow light. Indoor seedlings especially benefit from artificial light, since windowsills rarely provide enough brightness for sturdy growth.
Position your grow light a few inches above your seedlings and keep it on for around fourteen to sixteen hours a day. As the plants grow taller, raise the light to keep that gap consistent. LED grow lights are energy-efficient and run cool, making them a safe choice for home use. With good lighting, you can raise healthy pepper seedlings even in the middle of winter.
Choose the Best Soil for Pepper Plants
Great peppers start with great soil. The right growing medium supports strong roots, holds nutrients, and drains well enough to prevent rot. Peppers aren’t overly fussy, but they clearly grow best in soil that’s loose, fertile, and slightly acidic.
Before planting, enrich your soil with plenty of compost or well-rotted manure. This adds nutrients and improves the soil’s structure, giving pepper roots room to breathe and spread.
Soil Drainage and Texture
Peppers hate wet feet. Soggy, compacted soil suffocates roots and invites disease. Good drainage is essential, whether you’re planting in a garden bed, raised bed, or pot. If your soil is heavy clay, mix in compost, coarse sand, or aged bark to loosen it up and help excess water escape.
For container growing, always use pots with drainage holes and a quality potting mix. Peppers grow well in containers as long as water can flow freely out the bottom. A light, crumbly texture that holds moisture without staying soggy is exactly what you’re aiming for.
Ideal Soil Conditions for Healthy Growth
Peppers prefer a soil pH between 6.0 and 6.8, which is slightly acidic to neutral. A simple soil test kit can tell you where you stand, and you can adjust from there. Adding lime raises pH, while sulfur or compost can gently lower it.
Beyond pH, aim for soil rich in organic matter. This feeds beneficial microbes, holds moisture, and releases nutrients slowly over the growing season. Warm soil also helps enormously. Peppers refuse to grow in cold ground, so wait until soil temperatures reach at least 65°F before you transplant peppers outside.
Water Pepper Plants Properly
Watering peppers correctly takes a bit of practice, but it’s not complicated. Peppers like their soil evenly moist, never bone dry and never swampy. Consistent watering leads to steady growth and prevents many common problems like blossom end rot and cracked fruit.
The goal is deep, thorough watering that reaches the roots, rather than frequent light sprinkles that only dampen the surface. Deep watering encourages roots to grow downward, making plants more resilient during hot spells.
How Often to Water Pepper Plants
How often you water depends on your weather, soil, and whether plants grow in pots or the ground. As a general rule, peppers should be watered when the top inch of soil feels dry to the touch. In hot summer weather, that might mean watering every day, especially for peppers in containers, which dry out fast.
Container peppers need water more often than those in garden beds because pots hold less soil and heat up quickly. Water peppers regularly throughout the growing season, ideally in the morning so leaves can dry before evening. This simple habit reduces the risk of fungal disease and keeps plants hydrated during the heat of the day.
Avoiding Overwatering and Underwatering
Both too much and too little water cause trouble. Overwatering leads to yellow leaves, root rot, and wilting even when the soil is wet. Underwatering causes drooping, dry leaf edges, and flower drop. Reading your plants takes a little experience, but the soil is your best guide.
Stick your finger an inch into the soil before watering. If it’s still damp, wait. If it’s dry, water deeply. Mulching around your plants helps enormously by locking in moisture and keeping soil temperatures steady. A layer of straw or shredded leaves reduces how often you need to water and protects roots from extreme heat.
Fertilize Pepper Plants for Healthy Growth
Peppers are moderate feeders that respond well to steady nutrition throughout the growing season. The right fertilizer supports lush foliage early on and abundant fruit later. But feeding peppers is a balancing act, since too much of the wrong nutrient can backfire.
A healthy feeding routine keeps plants vigorous without pushing them into problems. The key is matching the type of fertilizer to your plant’s stage of growth.
When to Fertilize Pepper Plants
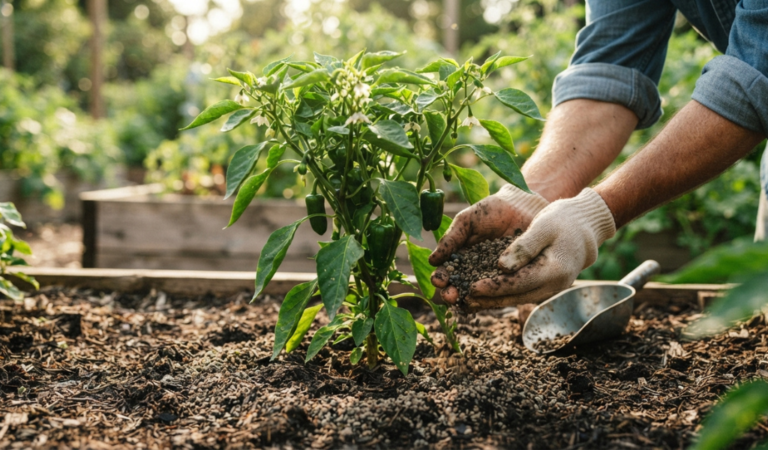
Start feeding your peppers a few weeks after transplanting them outside, once they’ve settled into their new home. Young pepper plants benefit from a gentle boost that encourages strong roots and leafy growth. Feed every two to three weeks during active growth for steady results.
As plants begin to flower and set fruit, their needs shift. At this stage, they crave more phosphorus and potassium and less nitrogen. Adjusting your feeding schedule as the season progresses keeps plants productive right up until harvest.
Choosing the Right Pepper Fertilizer
Early in the season, a balanced fertilizer works well to support overall growth. Once flowers appear, switch to a formula lower in nitrogen and higher in phosphorus and potassium. Too much nitrogen creates big, bushy plants with lots of leaves but very few peppers, which is a common frustration for new gardeners.
Organic options like compost, worm castings, fish emulsion, and seaweed extract feed plants gently and improve soil health at the same time. These slow-release choices are forgiving and hard to overdo. If you prefer granular or liquid fertilizers, look for a formula designed for tomatoes and peppers, since these plants share similar needs.
Avoiding Fertilizer Burn
More fertilizer is not better. Overfeeding can scorch roots and leaves in a condition known as fertilizer burn, which shows up as brown, crispy leaf edges. To avoid it, always follow the recommended dose on the package, and when in doubt, use less.
Water your plants after applying granular fertilizer to help it dissolve and spread through the soil. Never apply fertilizer to dry, stressed plants, as this increases the risk of burn. Slow and steady feeding beats heavy occasional doses every time.
Maintain the Right Temperature and Humidity
Peppers are warm-weather plants at heart, and temperature has a huge influence on how well they grow and fruit. They thrive in daytime temperatures between 70°F and 85°F, with nights staying above 60°F. When it gets too hot or too cold, peppers often stop setting fruit and drop their flowers.
If temperatures soar above 90°F, peppers may pause fruit production until things cool down. Providing light afternoon shade during heat waves can help. On the flip side, cold snaps stall growth, so never rush to plant peppers outside before the weather truly warms. Cold soil and chilly nights stress young plants badly.
Humidity plays a role too. Peppers prefer moderate humidity around 50 to 70 percent. Very dry air can cause flowers to drop, while overly humid conditions invite fungal disease. Good spacing between plants improves airflow and helps keep humidity in a healthy range. Space pepper plants about eighteen to twenty-four inches apart to let air move freely.
Encourage Flowering and Fruit Production
Getting your peppers to flower and set fruit is the whole point, yet it’s where many gardeners hit a wall. Healthy flowering depends on the right mix of light, temperature, nutrition, and pollination. When all these line up, your plants reward you with a heavy harvest.
Sometimes peppers grow beautiful, leafy plants but produce few flowers. Usually the culprit is too much nitrogen or not enough sun. Correcting those issues often flips a stubborn plant into full production.
How to Improve Pepper Flowering
To boost flowering, make sure your peppers get plenty of sunlight and the right nutrients. Cut back on nitrogen-heavy fertilizer once plants are established, and switch to a bloom-friendly formula higher in phosphorus. This encourages the plant to shift energy from leaves to flowers.
Steady temperatures help too. Extreme heat and cold both cause pepper flowers to drop before they can set fruit. Keeping water consistent also matters, since stressed plants abort their flowers to conserve energy. A calm, well-fed plant in good sunlight will flower generously.
Hand-Pollinating Indoor Pepper Plants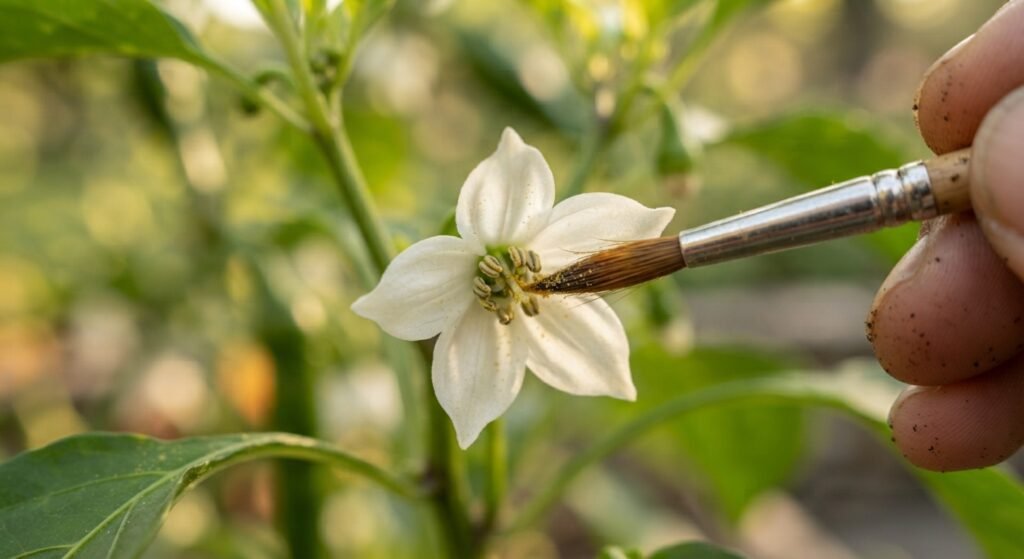
Peppers are self-pollinating, meaning each flower contains both male and female parts. Outdoors, wind and insects do the work for you. Indoors, though, there’s no breeze or bees, so you may need to lend a hand to get fruit to form.
Hand-pollinating is easy. Gently shake your plants each day to mimic the wind, or use a small paintbrush or cotton swab to dab the inside of each flower. This transfers pollen and helps the flower set fruit. Doing this every day or two during flowering dramatically improves your indoor harvest.
Prune and Support Pepper Plants
A little pruning and support goes a long way toward healthier, more productive peppers. Pruning improves airflow and directs energy where you want it, while staking keeps heavy plants from toppling over. Neither step is strictly required, but both can boost your results.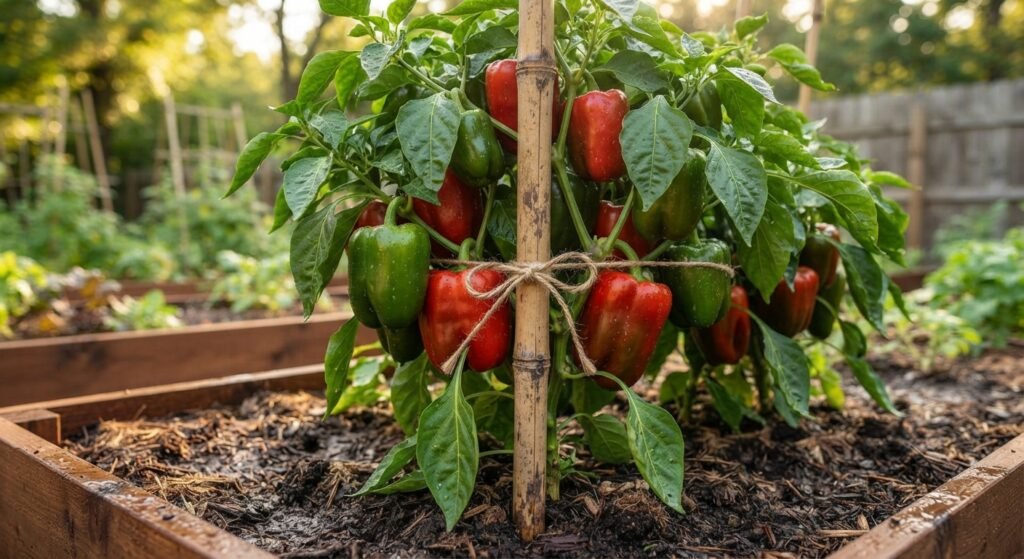
Tall or heavily laden pepper plants often need help staying upright. A snapped stem loaded with fruit is a heartbreaking sight that’s easily prevented with a simple stake or cage.
When and How to Prune Pepper Plants
Early pruning can encourage bushier growth. Pinching off the very top of the plant when it’s young prompts it to branch out, creating a fuller shape with more fruiting sites. Some gardeners also remove the first few flowers so the plant channels energy into growing bigger before fruiting.
Later in the season, use clean, sharp shears to cut peppers’ lower leaves and any that touch the soil. This improves airflow and reduces disease. Remove damaged or diseased foliage promptly. Toward the end of the season in cooler climates, some gardeners top pepper plants to push the plant into ripening its remaining fruit rather than growing new ones.
Using Stakes or Cages for Support
Supporting your peppers keeps plants upright and fruit off the ground. Push a wooden or bamboo stake into the soil near the base of each plant, taking care not to damage the roots, then loosely tie the main stem to it with soft garden twine. Add ties as the plant grows taller.
Tomato cages work well too, especially for bushier varieties. The cage surrounds the plant and gives every branch something to lean on. Whichever method you choose, set up your supports early, ideally at planting time, so you don’t disturb established roots later. Well-supported plants stay healthier and make harvesting far easier.
Common Pepper Growing Problems and Solutions
Even with the best care, peppers sometimes run into trouble. The good news is that most common pepper problems have clear causes and simple fixes. Learning to read your plants’ warning signs lets you step in early before a small issue becomes a lost harvest.
Below are the three problems gardeners face most often, along with practical ways to solve them.
Yellow Leaves and Leaf Curl
Yellow leaves are one of the most common pepper complaints, and they usually point to watering issues or nutrient shortages. Overwatering causes lower leaves to yellow and drop, while a nitrogen deficiency turns older leaves pale. Check your soil moisture first, then consider a gentle feeding if the soil drains well but leaves stay yellow.
Leaf curl can come from several sources. Pests like aphids suck sap and distort new growth, while intense heat causes leaves to curl inward to conserve water. Inspect the undersides of leaves for tiny insects. If pests are absent, the curling is likely a stress response to heat or inconsistent watering, which usually corrects itself once conditions stabilize.
Flower Drop and Poor Fruiting
Few things frustrate pepper growers more than watching flowers fall off without setting fruit. The most common causes are temperature extremes, too much nitrogen, poor pollination, and irregular watering. When nights drop below 60°F or days climb above 90°F, peppers often shed their flowers.
To fix flower drop, keep your watering steady, ease off high-nitrogen fertilizer, and protect plants from temperature swings. Indoors, hand-pollinate to help flowers set. Once the weather settles into a comfortable range and your feeding is balanced, most plants bounce back and begin fruiting well.
Common Pepper Pests and Diseases
Peppers attract their share of pests. Aphids, spider mites, and whiteflies are the usual suspects, feeding on leaves and spreading disease. A strong spray of water knocks many pests off, and insecticidal soap or neem oil handles stubborn infestations. Encouraging ladybugs and other beneficial insects helps keep pests in check naturally.
Diseases often come from wet conditions and poor airflow. Fungal problems like leaf spot and blight thrive in damp, crowded gardens. Prevent them by spacing plants well, watering at the base rather than overhead, and removing infected leaves quickly. Rotating where you plant peppers each year also breaks disease cycles, so avoid planting peppers in the same spot season after season.
Final Thoughts on Growing Great Peppers
Growing peppers comes down to a handful of simple habits done consistently. Give your plants plenty of sun, warm soil, steady water, and balanced feeding, and they’ll reward you generously. Start with a variety suited to your climate, get your seeds going early, and stay attentive as the season unfolds. Whether you’re growing sweet bell peppers or fiery chili peppers, the same core principles apply.
The real secret is paying attention. Peppers tell you what they need through their leaves, flowers, and fruit. Once you learn to read those signals, troubleshooting becomes second nature and your harvests keep improving year after year.
Ready to get started? Pick your favorite variety, prepare your soil, and plant your first pepper seeds this season. With these pepper plant growing tips in hand, you’re well equipped to grow a healthy, productive crop. Grab a pack of seeds, find your sunniest spot, and enjoy the reward of homegrown peppers.