Bell Pepper Growing Stages Indoors: From Seed to Harvest
Bell Peppers Growing Stages Indoors: A Complete Guide
If you have ever bought a pack of pepper seeds and wondered what actually happens between planting and harvest, you are not alone. Understanding bell peppers growing stages indoors is the single best thing you can do to grow strong, productive plants on a windowsill, under grow lights, or in a small indoor garden setup. Once you know what each stage looks like and what the plant needs at that point, most of the guesswork disappears.
This guide walks through every phase of the journey, from a dry seed sitting in a paper packet to a glossy, ripe pepper ready to be sliced into a salad. Think of it as A Complete Guide to Bell Peppers Growing Stages and Pepper Growing that you can bookmark and return to at every point in the process. Whether you are a first time indoor gardener or someone who has struggled with leggy seedlings in the past, you will find practical, no-nonsense advice here.
Growing peppers indoors is a bit different from growing them outside. There is no natural rainfall, no direct sun tracking across the sky, and no pollinating bees buzzing around. That means you become responsible for light, water, humidity, and even pollination. It sounds like a lot, but once you understand the rhythm of each growth stage, the whole process becomes surprisingly manageable, even for beginners with limited space.
What Are the Growing Stages of Bell Peppers?
From Seed to Mature Pepper Plant
A pepper plant does not simply appear overnight. It moves through a series of distinct phases, and each one builds on the last. Starting from a tiny seed, the plant germinates, grows its first tender leaves, develops into a young plant with a proper root system, bulks up during vegetative growth, produces flowers, sets fruit, and finally ripens into the colorful pepper you see in grocery stores. Knowing where your plant sits in this timeline helps you give it exactly what it needs, whether that is more warmth, brighter light, or extra feeding.
How Long Each Growth Stage Takes
Timing varies depending on the variety, the temperature in your home, and how much light the plant receives, but there is a general pattern most indoor growers can expect. Germination usually takes one to three weeks. The seedling stage lasts around two to three weeks after that. Young plants typically spend three to four weeks establishing themselves before entering a longer vegetative growth period of four to six weeks. Flowering can begin anywhere from eight to ten weeks after sowing, with fruit development taking another three to four weeks, followed by two to three weeks of ripening. All in all, growing bell peppers indoors from seed to harvest often takes between three and four months, sometimes longer if conditions are not ideal.
Stage 1: Bell Pepper Seed Germination
How to Start Bell Pepper Seeds Indoors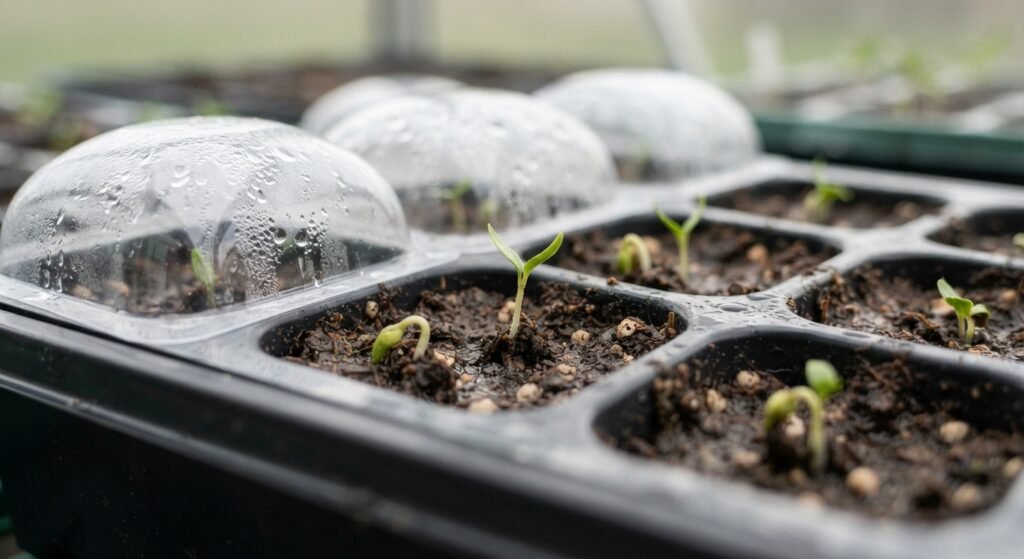
Germination is where everything begins. Sow your pepper seeds about a quarter inch deep in a seed starting mix, using small trays or individual cells so each seedling gets its own space. Moisten the soil before planting rather than soaking it afterward, since heavy watering right after sowing can wash tiny seeds too deep or disturb their placement. Cover the tray with a clear lid or plastic wrap to trap humidity, which mimics the warm, moist environment peppers need to sprout.
Ideal Temperature and Moisture for Germination
Bell peppers are native to warm climates, so they are picky about temperature during this stage. Soil temperatures between 75 and 85 degrees Fahrenheit speed up germination significantly, while cooler soil can delay sprouting by weeks or cause seeds to rot before they even start. A heat mat placed under the tray makes a noticeable difference, especially if your home tends to run cool. Keep the growing medium consistently damp, never soggy, and check daily for the first signs of a sprout pushing through the surface.
Stage 2: Bell Pepper Seedlings
When the First True Leaves Appear
Once the seed sprouts, it sends up two small rounded leaves called cotyledons. These are not the plant’s real leaves, just its initial energy reserve. A week or two later, you will notice a new set of leaves emerging with the jagged, more defined shape typical of pepper foliage. These are the first true leaves, and their appearance signals that the plant is shifting from using stored seed energy to actively photosynthesizing on its own.
Providing Adequate Light for Seedlings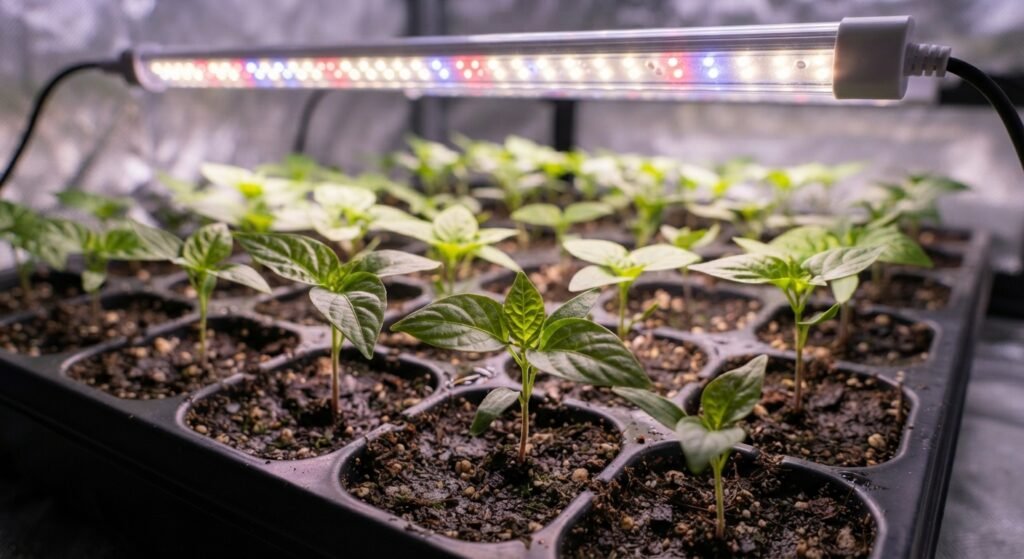
This is the stage where many indoor growers run into trouble. Seedlings need a lot of light, far more than most windows can provide, especially during shorter winter days. Without enough brightness, stems stretch upward searching for light and become thin and weak, a problem commonly known as legginess. A dedicated grow light positioned just a few inches above the seedlings, running for around fourteen to sixteen hours a day, keeps growth compact and sturdy. Rotating trays regularly also helps prevent one-sided growth toward a light source.
Stage 3: Young Bell Pepper Plants
Transplanting Seedlings Into Larger Containers
Once seedlings have two or three sets of true leaves and their roots have filled the starter cell, it is time to move them into bigger pots. Choose containers with good drainage holes and fill them with a rich, well-draining potting mix. Handle the young plants by their leaves rather than their stems, since a damaged stem can kill the plant while a torn leaf will not. This step gives the roots room to expand and sets the plant up for the growth spurt that follows.
Watering and Feeding Young Plants
Young pepper plants are still developing their root systems, so consistency matters more than volume. Water when the top inch of soil feels dry, allowing excess water to drain freely so roots never sit in standing water. Around this stage, a diluted balanced fertilizer, roughly half the strength recommended on the label, can be introduced every couple of weeks to support steady development without overwhelming the tender roots.
Stage 4: Vegetative Growth
Encouraging Strong Stems and Healthy Leaves
During vegetative growth, the plant focuses its energy on building a sturdy framework of stems and leaves before it invests in flowers and fruit. This is the phase where a small gentle breeze from a fan, or lightly brushing your hand over the seedlings a few times a day, actually strengthens the stems by mimicking outdoor wind. Sturdier stems mean better support later when the plant is loaded with heavy peppers.
Providing Enough Light and Space Indoors
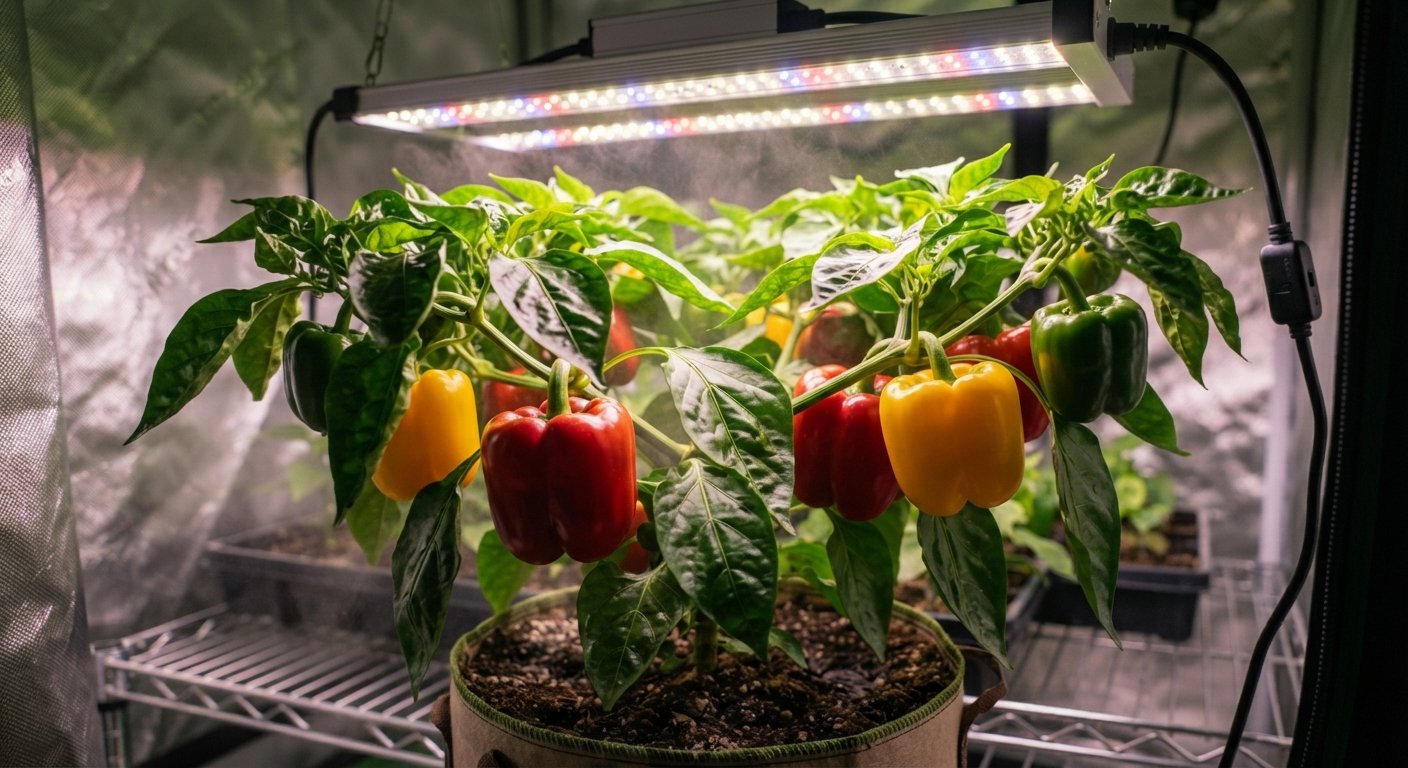
As the plant bulks up, it needs both brighter light and more physical room to spread its branches. Keep grow lights close enough to prevent stretching but far enough to avoid leaf scorch, generally six to twelve inches away depending on the light’s intensity. Give each pot enough spacing so leaves are not constantly overlapping with neighboring plants, since good airflow around the foliage reduces the risk of fungal issues later on.
Stage 5: Flowering Bell Pepper Plants
When Bell Pepper Plants Start Flowering
Flowering marks an exciting turning point in the pepper growing timeline, usually appearing once the plant reaches about eight inches tall with several branches. Small white or pale star-shaped blossoms begin forming at the branch junctions. Seeing that first flower is a good sign your plant has matured enough to start reproducing.
How to Encourage Indoor Flower Production
Peppers flower more reliably when they experience a slight day and night temperature difference, similar to what they would get outdoors. Keeping daytime temperatures around 70 to 80 degrees Fahrenheit and nighttime temperatures a bit cooler, closer to 60 to 65 degrees, can encourage more blooms. Avoid excessive nitrogen fertilizer at this stage, since too much nitrogen pushes leafy growth at the expense of flowers.
Hand-Pollinating Bell Pepper Flowers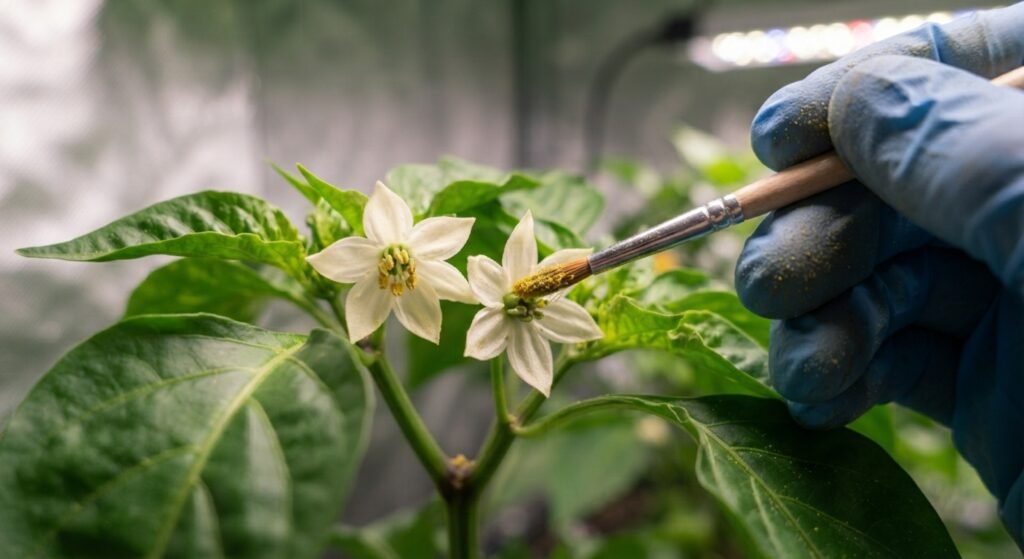
Indoors, there are no bees to move pollen between flowers, so pepper plants rely on wind or self-pollination, which is not always efficient in a still indoor environment. Gently shaking the main stem or branches for a few seconds every day, or using a small soft brush to dab pollen from flower to flower, dramatically improves fruit set. Doing this around midday, when pollen is most viable, tends to give the best results.
Stage 6: Fruit Development
How Bell Peppers Form After Flowering
After successful pollination, the base of the flower begins to swell as the petals drop away. Within days, a tiny green nub appears, which is the very beginning of the pepper itself. Over the following weeks this nub steadily expands, developing its familiar blocky shape and thickening walls.
Supporting Healthy Fruit Growth
This is a demanding stage for the plant, so consistent watering becomes even more important since irregular moisture can cause blossom end rot or misshapen fruit. A fertilizer slightly higher in potassium and phosphorus, rather than nitrogen, supports fruit formation better during this window. Larger varieties may also benefit from a small stake or cage, since a plant loaded with developing peppers can become top heavy and prone to tipping or snapping branches.
Stage 7: Ripening and Harvest
How Bell Peppers Change Color
Every bell pepper starts out green, but many varieties are bred to mature into red, yellow, orange, or even purple as they ripen. This color change happens as chlorophyll breaks down and other pigments become visible, and it usually takes an additional two to three weeks after the pepper reaches full size. The flavor also becomes noticeably sweeter as the fruit fully ripens, which is why red peppers often taste milder than green ones from the same plant.
When to Harvest Indoor Bell Peppers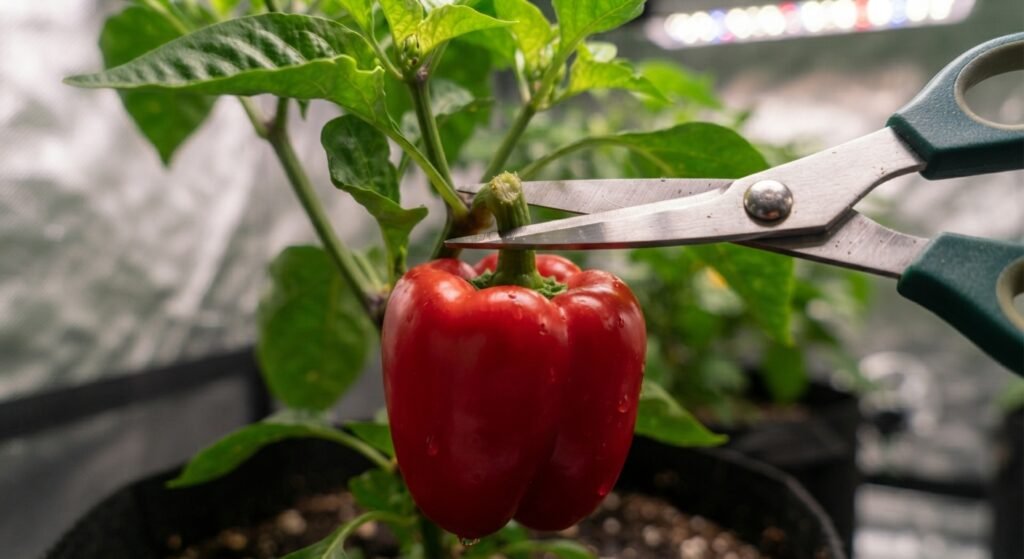
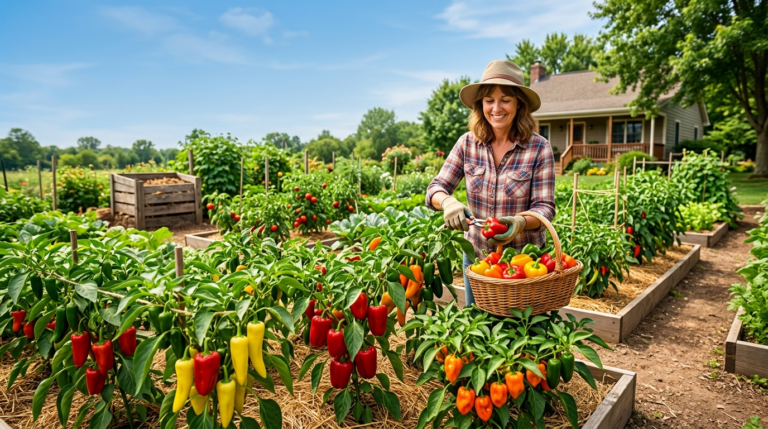
You can harvest peppers at the green stage if you prefer a slightly tangier flavor, or wait for full color development for a sweeter taste. Use scissors or a sharp knife to cut the pepper from the stem rather than pulling it, which can damage the branch. Harvesting regularly, even at the green stage occasionally, can encourage the plant to keep producing more flowers and fruit throughout its indoor growing season.
How to Care for Bell Peppers at Every Growth Stage
Light Requirements
Across every stage, light is the most limiting factor for indoor pepper growing. Seedlings need bright, consistent light to avoid stretching, while mature flowering and fruiting plants need even more intensity, often six to eight hours of strong light or supplemental grow lighting running longer each day. A full spectrum LED grow light is generally the most reliable option for growers without a very sunny south facing window.
Watering and Fertilizing
Watering needs shift as the plant grows. Seedlings need a light, even moisture level, young plants need slightly more frequent watering as their root systems expand, and mature fruiting plants need deep, consistent watering to support the demands of developing peppers. Fertilizing should follow a similar progression, starting light, increasing modestly during vegetative growth, and shifting toward a bloom and fruit focused formula once flowers appear.
Temperature and Humidity
Bell peppers thrive in warm, moderately humid conditions similar to their tropical origins. Most stages do well between 65 and 80 degrees Fahrenheit, with a slight nighttime dip once flowering begins. Humidity around 40 to 60 percent is generally comfortable for the plant, though very dry indoor air, especially in winter with heating systems running, can stress plants and reduce flower and fruit set.
Common Problems During Indoor Bell Pepper Growth
Leggy Seedlings and Poor Growth
Thin, stretched seedlings almost always point back to insufficient light. If you notice stems reaching dramatically toward a window or growing tall and floppy, move plants closer to a grow light or extend the number of hours the light runs each day. Lowering the light closer to the plants, while watching for any leaf scorching, usually corrects the issue within a week or two.
Flower Drop and Lack of Pollination
It can be discouraging to see flowers appear and then fall off without ever forming fruit. This is often caused by a lack of pollination indoors, inconsistent temperatures, or stress from underwatering or overwatering. Increasing hand pollination frequency and stabilizing the room’s temperature range typically resolves the problem over the next flowering cycle.
Yellow Leaves and Nutrient Problems
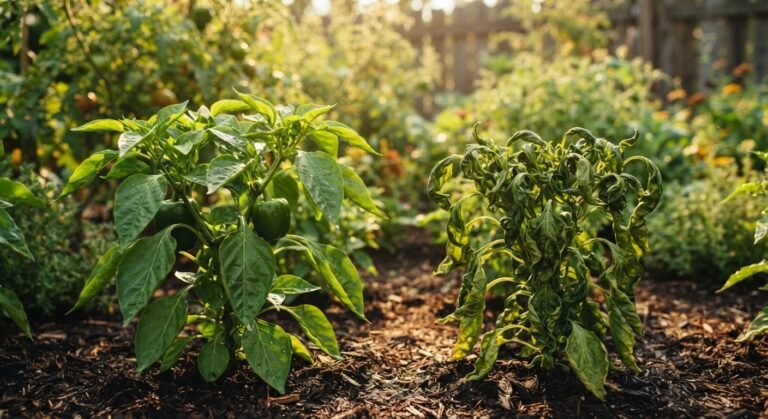
Yellowing leaves can mean several different things depending on the pattern. Older lower leaves turning yellow while the plant still grows normally is often just natural aging or a nitrogen deficiency, while yellowing between the veins can point to a magnesium or iron shortage. Overwatering is another common cause, since soggy roots struggle to take up nutrients properly. Adjusting your watering schedule and introducing a balanced fertilizer usually brings the foliage back to a healthy green within a few weeks.
Conclusion
Growing bell peppers indoors is a rewarding project once you understand the rhythm behind it. Each of the seven stages, from germination through ripening, asks for something slightly different, whether that is warmth for sprouting seeds, bright light for young seedlings, or hand pollination once flowers appear. By paying attention to where your plant currently sits in its growth cycle and adjusting light, water, and feeding accordingly, you give it the best possible chance of producing a healthy harvest right on your kitchen counter or under a grow light setup. Start with quality seeds, stay consistent with care, and before long you will be picking your own homegrown peppers regardless of the season outside.
Frequently Asked Questions
How long does it take to grow bell peppers indoors from seed? Most indoor bell pepper plants take between three and four months from sowing to first harvest, though this can extend longer depending on light levels, temperature, and the specific variety being grown.
Do indoor bell pepper plants need a grow light? While a very bright south facing window can work in some cases, most indoor growers get far better results with a dedicated grow light, since natural window light rarely provides the intensity peppers need for strong stems and good fruit production.
Why are my bell pepper seedlings falling over? Seedlings that flop over are usually suffering from legginess caused by insufficient light, which makes the stem too weak to support the plant’s weight. Moving them closer to a stronger light source early on prevents this problem.
Do I need to hand pollinate bell pepper flowers indoors? Yes, in most indoor settings hand pollination greatly improves fruit set since there are no bees or strong wind to move pollen naturally between flowers. Gently shaking the plant or brushing flowers with a small brush works well.
Can I grow bell peppers indoors all year round? Yes, as long as you provide consistent light, warmth, and humidity, bell peppers can be grown indoors throughout the year, making them a good option for gardeners without outdoor space or in climates with short growing seasons.
Why did my pepper flowers fall off without producing fruit? Flower drop is commonly linked to poor pollination, temperature swings, or watering stress. Improving hand pollination habits and keeping conditions more stable usually leads to better fruit set on the next round of blooms.
When should I harvest my indoor bell peppers? You can harvest peppers while still green for a sharper flavor or wait until they fully change color for a sweeter taste. Either way, cut the fruit from the stem with scissors or a knife rather than pulling it off by hand.