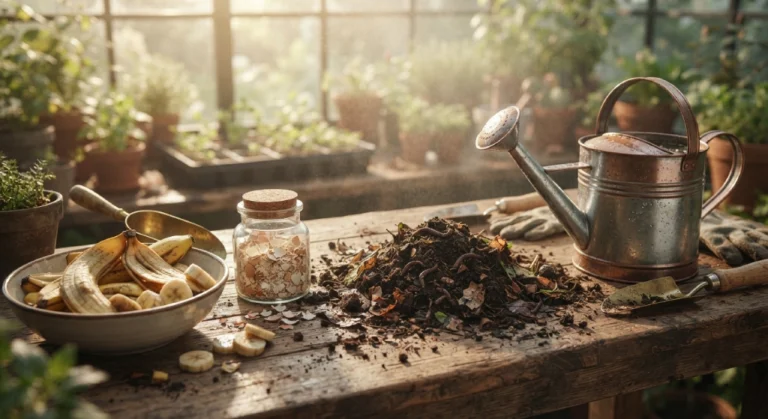
How to Graft Tomato on Potato Plant: Tools, Techniques, and Care
How to Graft Tomato on Potato: The Complete Step-by-Step Guide
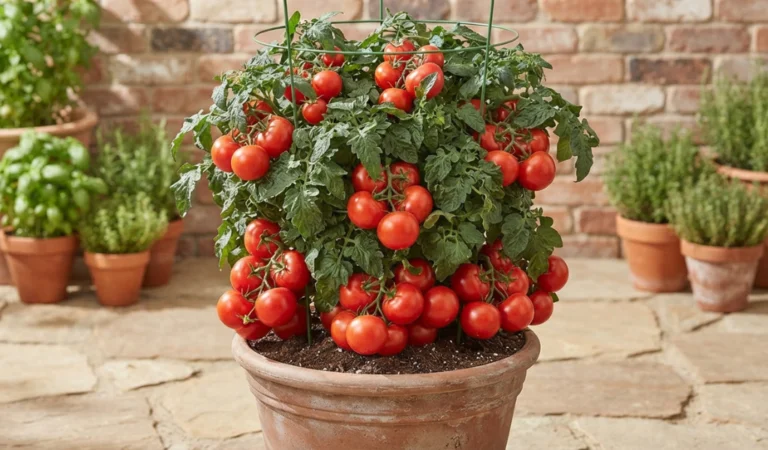
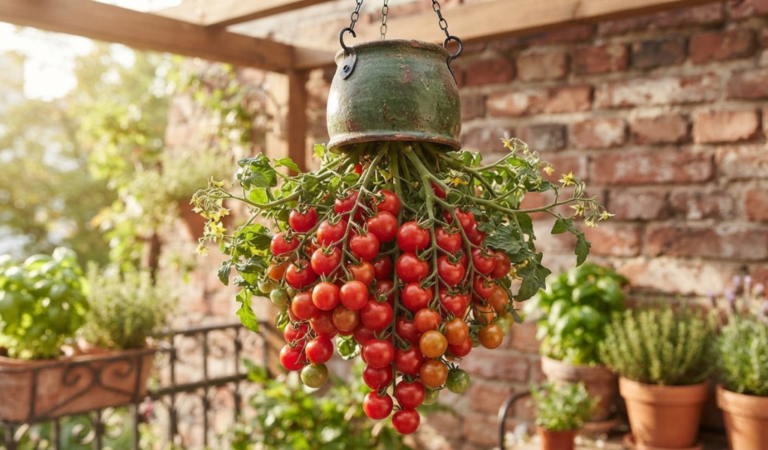
Picture one plant in your backyard that grows ripe tomatoes on top and a nest of potatoes underground. It sounds like a magic trick, but it is real, and it is easier than most people think. If you want to learn how to graft tomato on potato, you are in the right place. The plant you end up with is often called a pomato, and gardeners love it as a space saver and as a great talking point.
This guide walks you through every part of grafting tomato onto a potato plant, from picking the right varieties to caring for the plant after the cut. Along the way you will also hear a few honest limits. For example, if you have lost plants to soggy soil and gone searching for Tomato Root Rot Treatment, you might hope a potato rootstock will solve that problem. It will not, and it is better to know that before you start. Grab a sharp blade and a little patience, and we will begin.
What Is a Pomato Plant? (Tomato-Potato Grafting Basics)
A pomato is one plant made from two plants joined together. The top half is a tomato plant, called the scion. The bottom half is a potato plant, called the rootstock. When you graft, you cut both stems and press them together so they heal into a single stem. After that the roots feed the whole plant, the potato leaves send energy down to grow tubers, and the tomato leaves do the same for the fruit.
This is not a genetic hybrid. Nothing is mixed inside the cells. Each part stays its own crop, so the tomatoes taste like tomatoes and the potatoes taste like potatoes. Some nurseries sell ready made versions under names like TomTato, but you can graft your own at home for the price of a few seeds and a seed potato.
Why Tomatoes and Potatoes Are Botanically Compatible (Solanaceae)
Both plants belong to the nightshade family, known as Solanaceae. They also share the same genus. The tomato is Solanum lycopersicum and the potato is Solanum tuberosum. That close family tie is the reason the graft works. Their stems are built in a very similar way, so the tissue can knit together once the cut surfaces touch.
You can see the family likeness in the flowers. Tomato and potato flowers are both small and star shaped, and they look almost alike. Potato plants can even make little green berries that look like cherry tomatoes. Those berries are toxic, so never eat them. Eggplant is another Solanum and can also be grafted. Peppers sit in a different genus, which is why they rarely take well to a potato rootstock.
Key Benefits of Growing Two Crops on One Root System
The biggest benefit is space. One pot or one small patch of garden gives you two vegetable crops. That is a nice trick for balconies, patios and small yards. You also manage just one irrigation routine and one set of stakes, which keeps chores simple.
There is a fun side too. Kids love the surprise of digging up potatoes under a tomato vine, and it teaches them a lot about how plants work. It is also a gentle way to learn a basic skill used in commercial agriculture. Just keep your expectations real. One root system has to feed two crops, so you will harvest less of each than you would from two separate plants. Think of the pomato as a bonus and not a way to feed a family.
Materials and Tools Needed for Successful Grafting
Grafting goes fast once you start cutting, so get everything ready first. Cut surfaces dry out within minutes, and a missing clip or a dull blade can ruin the attempt. Set up a clean table, wipe it down and lay out your gear in the order you will use it. A calm start makes a big difference to your success rate.
Selecting the Right Tomato Scion and Potato Rootstock
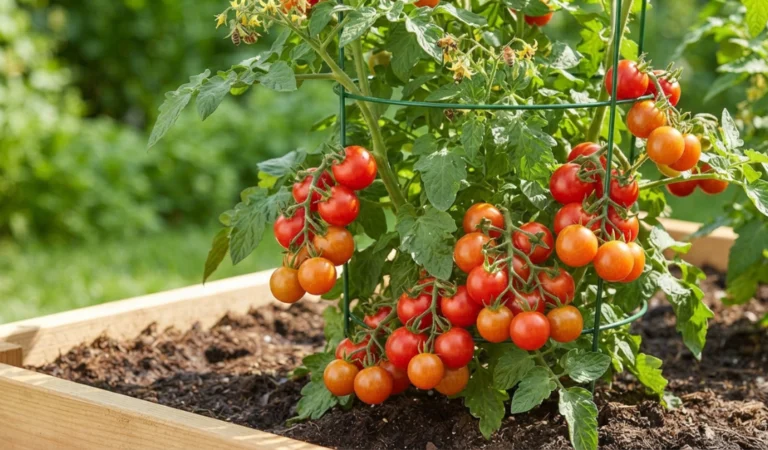
For the tomato, choose a small fruited variety. A cherry tomato is a smart pick because a light fruit load is easier for the shared roots to support. Compact or patio types also work well. A huge vining beefsteak can overwhelm the potato roots and may snap the graft under its own weight.
For the potato, use a certified seed potato instead of one from the grocery store. Store potatoes are often treated to stop sprouting and can carry diseases you cannot see. Many growers pick a vigorous white potato variety because it gives strong, even shoots. Whichever tomato and potato you choose, aim for stems of the same thickness. Pencil thin stems of about 1/8 to 3/16 inch (3 to 5 mm) are easiest to join.
Essential Tools: Razor Blades, Grafting Clips, and Humidity Domes
You need a few simple tools. A new single edge razor blade gives the cleanest cut, and a clean cut is the heart of this technique.  Wipe the blade with rubbing alcohol before you start and again between grafts. Silicone grafting clips hold the two stems together. They are cheap and come in sizes that fit thin stems.
You also need a humidity dome or a clear plastic tub to cover the plants while they heal. A zip bag over a small pot works in a pinch. Add a spray bottle for misting, a thermometer to check the air and a few small pots filled with seed starting mix. If your room is cool, a heat mat under the pots helps the graft heal faster.
How to Graft Tomato onto Potato Step-by-Step
The method used here is a cleft graft, which is a close cousin of the splice graft. In both, you cut the stems at matching angles and press them together. The cleft version gives the scion a little pocket to sit in, and many beginners find it more forgiving. Take your time with each step below and do not rush the cuts.
Step 1: Timing Your Starts and Matching Stem Diameters
Good timing is half the battle. Plant a sprouted seed potato in a pot about three to four weeks before you plan to graft. Let the shoots grow to about six inches (15 cm) tall. Sow the tomato seeds five to six weeks ahead so the stems end up about as thick as a pencil.
On grafting day hold the two stems side by side and check the thickness. A perfect match is rare and that is fine. A small gap is easy to fix with the cleft cut. Water both plants the evening before so the stems are plump and full of moisture, which helps the cut surfaces stay fresh.
Step 2: Making the Perfect Splice/V-Shape Cut
Start with the potato. Pick one healthy shoot and cut it clean through at a slight angle about four inches above the soil. Leave a few leaves below the cut because they will feed the tubers later. Then make a shallow vertical split of about half an inch down the center of that stem to form a pocket.
Now take the tomato. Cut the top three to four inches of the plant just below a set of leaves, which removes the tomato roots completely. Shape the bottom into a V wedge with two smooth, even strokes. Use one pull of the blade for each side and do not saw back and forth. A ragged cut will not heal well. Many first time growers cut the wedge too steep or too fat. If that happens, trim a fresh wedge from a new stem and try again.
Step 3: Joining the Vascular Cambiums and Securing the Clip
Inside each stem there is a thin green ring just under the skin called the cambium. This layer carries water and food, and it is the part that has to touch for the graft to work. Slide the tomato wedge into the potato split so the green rings meet on at least one side. 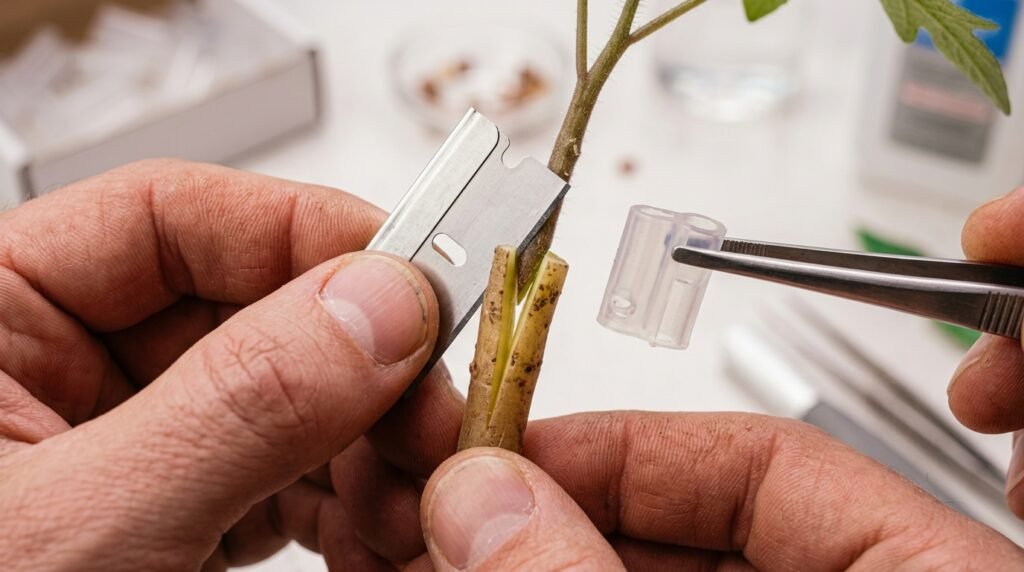 A perfect fit on both sides is not needed. One tight, clean line of contact is enough.
Slip a silicone clip over the joint and squeeze it snug. It should hold the stems firmly without crushing them. Mist the joint lightly, write the date on a plant tag and place the pot straight into your healing chamber. Do not leave the plant sitting out on the table while you tidy up, because even a few minutes of dry air can hurt the union.
Healing and Post-Graft Care (The Healing Chamber)
The first week after the cut decides whether the graft lives or fails. During this time the two stems have no real link, and the tomato top has to survive on stored water while new tissue forms between them. A healing chamber fixes this by keeping the air damp and the plant calm. Set a clear dome or tub over the pot and sit it on a tray in a spot that stays steady.
It is normal for the tomato leaves to droop for the first few days. Do not panic and do not water heavily. Overwatering is a common way to invite rot, and prevention is far easier than any cure. Healing usually takes seven to fourteen days, depending on the variety and the room.
Managing Humidity, Light, and Temperature
Aim for very high humidity, around 85 to 95 percent, for the first three days. 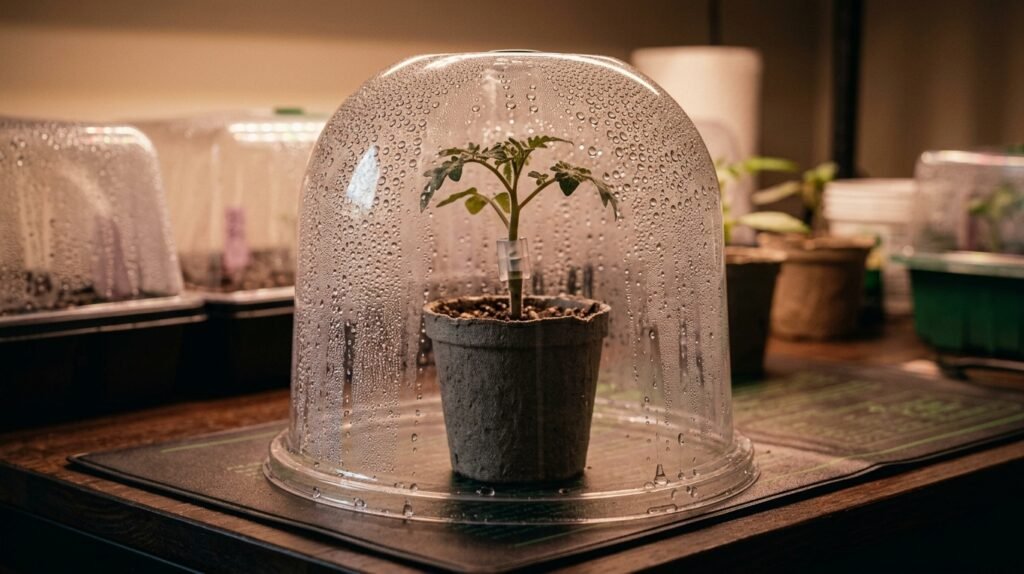 Mist the inside of the dome and keep it closed. Low light is best. Place the chamber in bright shade or near a window with a sheer curtain, because direct sun can cook the plant inside a closed dome. Keep the air warm, between 75 and 80 degrees F (24 to 27 C).
On day four or five start to crack the dome open for about an hour. Add a little more time each day so the plant slowly gets used to normal air. By day seven to ten you should see the tomato perk up and push out fresh growth. That is the sign of a strong union. If the scion turns black, mushy or shriveled, the graft did not take. Cut a new scion and try again. Once the joint feels firm you can remove the clip, usually around week two.
Planting and Growing Your Grafted Pomato
After healing, harden the plant off for about a week. Set it outside for a few hours each day and slowly add more sun and wind. Then transplant it after your last frost into a big container of at least 15 to 20 gallons or into a deep garden bed. Pick a spot with full sun and loose, rich soil. Keep the graft joint above the soil line so the tomato does not grow its own roots and cut off the link to the potato.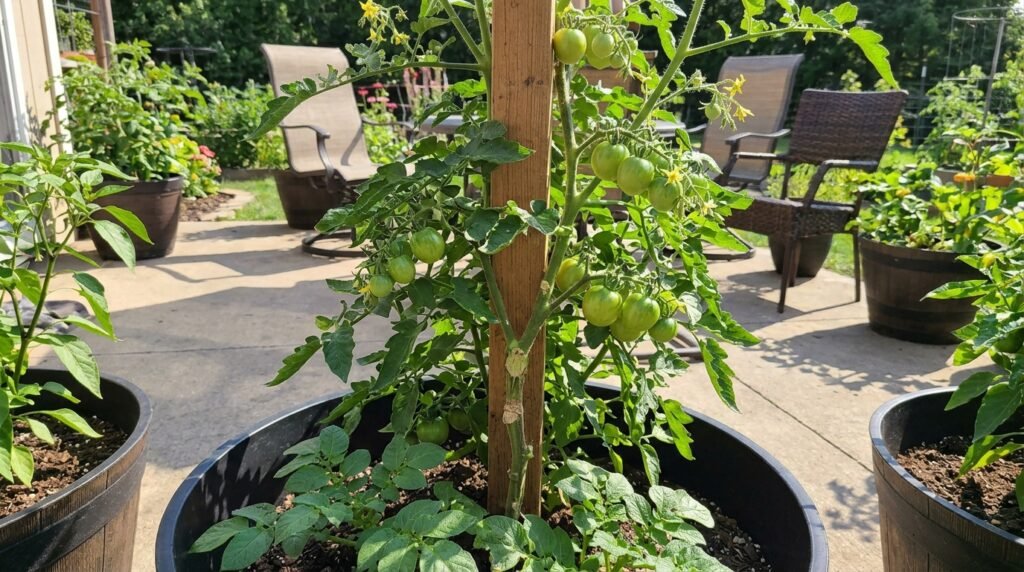
Potatoes make tubers along the buried part of the stem, so mound soil or compost around the lower potato stem as it grows. Keep the mound below the graft. Water deeply and evenly. Potatoes hate both dry spells and soggy ground, and a layer of mulch helps hold steady moisture. A drip line or a slow watering can makes irrigation easier. Feed with a balanced fertilizer early on, then switch to one with less nitrogen once the first tomato flower opens.
Support the tomato with a stake or a small cage and pinch off side shoots to keep the plant tidy. Remove any potato flower buds that appear so the energy goes into the tubers. Watch for pests such as potato beetles and for blight, since both crops catch the same diseases. Most gardeners pick the first ripe tomatoes about two to three months after transplant. Dig the potatoes once the potato leaves fade or after you finish the tomato harvest. Cut the vine first and then dig gently with a hand fork. Expect a modest crop of tomatoes and a handful of small to medium potatoes. Never eat green potato skins or potato berries, since both are toxic.
Final Thoughts: Is Grafting Tomato on Potato Worth It for Your Garden?
Learning how to graft tomato on potato takes a little practice, but the steps are simple. Match your stem sizes, make clean cuts, line up the cambium and keep the plant in a warm and humid chamber for about two weeks. Then harden it off and plant it with the joint above the soil. You will not get a giant harvest, but you will get a lovely, conversation worthy plant and a real sense of pride.
Now it is your turn. Start a seed potato and a pot of cherry tomato seeds this week, and graft two or three plants so you have backups. Write down what works and what does not. Then share your first pomato with a friend or fellow grower, and keep experimenting with new tomato and potato varieties each season.
Frequently Asked Questions (FAQ)
Can you really graft tomato on potato?
Yes. Both are in the Solanum genus, so the stems can join and heal. The result is one plant that makes tomatoes above ground and potatoes below.
How long does a tomato and potato graft take to heal?
Usually seven to fourteen days in a warm and humid chamber. Most scions perk up and show new leaves around day seven to ten.
Will the tomatoes taste like potatoes?
No. The fruit and tubers stay completely separate, so each crop keeps its own normal flavor.
What should I do if my graft fails?
Check the cut, the humidity and the heat. Most failures come from a ragged cut, dry air or direct sun. Make a fresh scion and graft again, since both plants are easy and cheap to grow.
Can I use grocery store potatoes?
It is better to use certified seed potatoes. Store potatoes may be treated to stop sprouting or may carry hidden disease, which lowers your chance of success.
Can I eat the berries on my potato plant?
No. Potato berries look like small green tomatoes but they are toxic. Remove them and keep kids and pets away.
Can I graft right in the garden bed?
It is smarter to graft in pots. Indoor pots let you control humidity, light and warmth, which are the three things that decide whether a graft heals.