A Complete Guide to Bell Peppers Growing Stages and Pepper Growing
Bell Peppers Growing Stages: Seed to Harvest Guide
Growing bell peppers is one of the most rewarding things you can do in your garden. Whether you are a first-time gardener or someone who has grown vegetables for years, understanding the bell peppers growing stages helps you make better decisions at every step. From the moment a seed sprouts to the day you pick a ripe, colorful pepper off the vine, each stage has its own needs and surprises.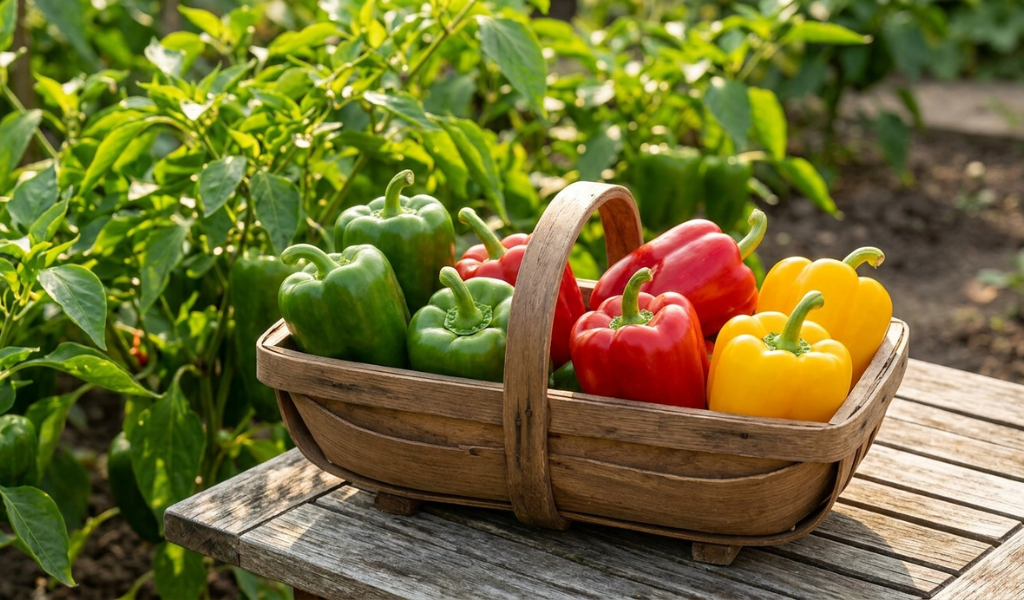
Bell peppers growing stages take patience and proper care. Bell pepper plants move through several distinct phases, from seed germination and early growth to flowering, fruit development, and ripening. Knowing what to expect at each stage can help you provide the right water, nutrients, sunlight, and support while avoiding common growing problems. You’ll also learn when to harvest peppers at their peak, making a real difference in flavor, quality, and overall yield.
Explore Bell Peppers Growing Stages from seed germination to harvest and storage, with practical tips for growing healthy bell peppers, managing pests and diseases, and answering common gardening questions.
Understanding the Bell Pepper Life Cycle
Bell peppers go through a fascinating journey from a tiny seed to a full, colorful fruit. Understanding the Bell Peppers Growing Stages makes it easier to provide the right care at each phase. The bell pepper plant growth stages are not complicated once you understand the basics. Each stage builds on the one before it, helping plants develop strong growth and produce healthy, flavorful peppers.
The full pepper growing cycle typically spans 60 to 90 days from transplant, but when you count from seed, growing bell peppers from seed to harvest can take anywhere from 100 to 150 days depending on the variety and growing conditions.
What Are the Bell Peppers Growing Stages?
The main bell pepper growth stages include germination, seedling development, early vegetative growth, flowering, fruiting, and ripening. Each stage requires slightly different care, and understanding them gives you a real advantage in the garden.
Understanding Bell Pepper Varieties
Bell peppers come in green, red, yellow, and orange varieties. Green bell peppers are simply unripe peppers harvested early. Red bell peppers are the same fruit left to fully ripen, which also makes them sweeter and higher in vitamin C. Yellow and orange varieties are specific cultivars with their own flavor profiles. Common varieties include California Wonder, King of the North, and Yolo Wonder. Choosing the right variety for your climate makes a big difference in how your plants grow.
How Long Do Bell Peppers Take to Grow?
This is one of the most common questions gardeners ask, and the answer depends on a few factors. From transplanting seedlings outdoors, most bell pepper varieties need 60 to 90 days to reach harvest. From seed, the full timeline is closer to 100 to 150 days.
Warmer soil speeds things up. Cooler temperatures slow the process down. If you live in a short-season climate, starting seeds indoors 8 to 10 weeks before your last frost date gives your plants the head start they need.
Benefits of Growing Bell Peppers
Bell Peppers Growing Stages help you understand how your plants develop from seedlings to ripe, harvest-ready peppers. Bell peppers are packed with vitamins A and C, especially when allowed to ripen fully. Growing your own bell peppers gives you control over what goes on your plants, often resulting in fewer chemicals and fresher flavor. A healthy bell pepper plant can produce 6 to 8 full-sized peppers during its growing season, and sometimes more with proper care.
They also freeze well, which means a good harvest keeps giving through the winter months.
Essential Growing Requirements
Before walking through the bell pepper plant growth stages, it helps to know what bell peppers need to thrive.
Sunlight: Bell peppers need at least 6 hours of direct sunlight each day. More is better. On a cloudy day, growth slows noticeably, which is why grow lights are popular for indoor seed starting.
Soil: Well-draining, nutrient-rich soil with a pH between 6.0 and 6.8 works best. Adding compost before planting gives plants a strong foundation.
Water: Consistent moisture is key. Bell peppers do not like to dry out completely, but they also do not tolerate waterlogged roots.
Fertilizer: A balanced fertilizer during early growth, followed by a phosphorus-heavy feed when flowering begins, supports strong plant and fruit development.
Temperature: Bell peppers prefer temperatures between 70°F and 85°F during the day. Cold nights below 55°F can slow growth significantly.
Bell Pepper Life Cycle Stages
Seedling Stage (Weeks 1 to 4)
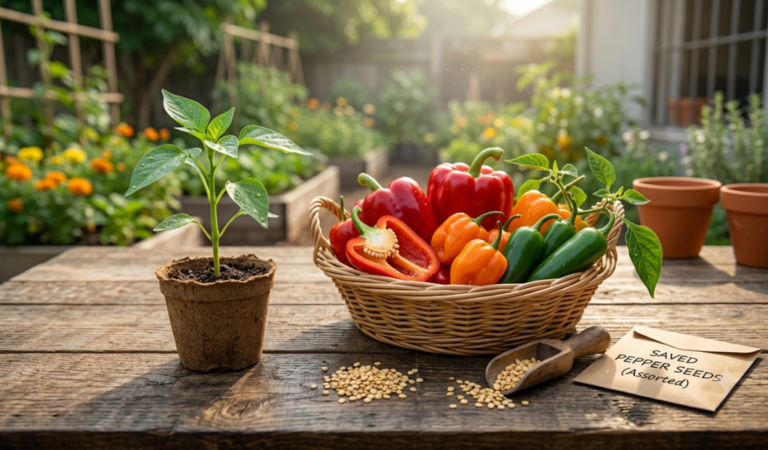
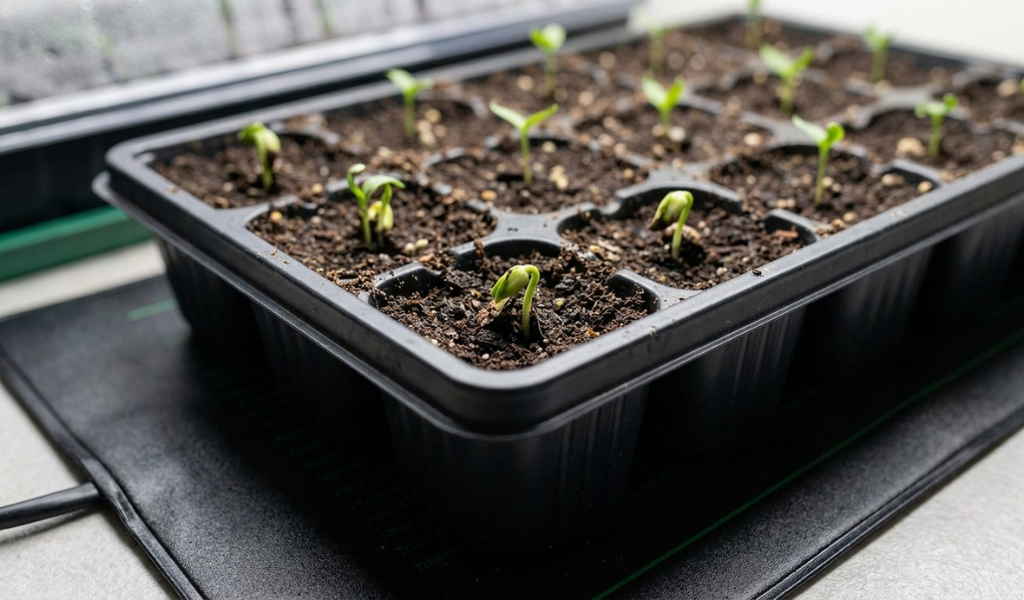
This is where everything begins. Bell pepper seeds need warm, moist conditions to germinate. A heat mat set to around 80°F speeds up the process considerably. Without warmth, seeds can take 2 to 3 weeks to sprout or may fail to germinate at all.
Plant seeds about a quarter inch deep in a quality seed-starting mix. Keep the soil consistently moist but not soaking wet. Once seeds sprout, which usually happens within 7 to 14 days under good conditions, they need plenty of light. Grow lights work well here, especially if natural light is limited.
During the seedling stage, you will see the first two leaves appear. These are called cotyledons, or seed leaves. They are not true leaves but they feed the young plant until real leaves grow in.
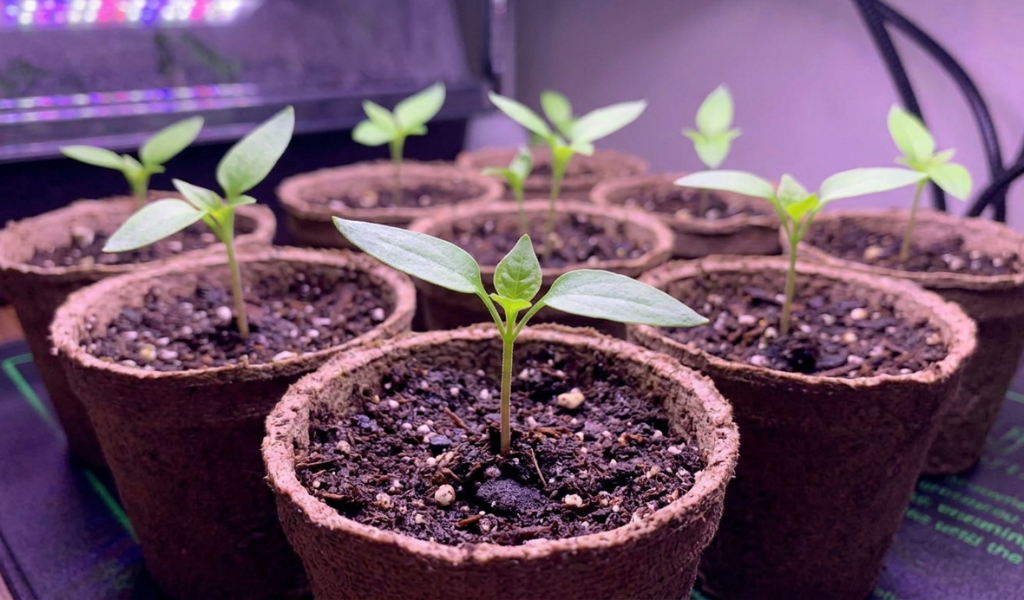
Tips for growing strong seedlings: Do not overwater at this stage. Soggy soil invites damping off, a fungal condition that kills seedlings quickly. Water from the bottom when possible to keep the surface slightly dry.
Early Growth Stage (Weeks 4 to 6)
By weeks four to six, bell pepper seedlings have developed their first set of true leaves. The plant is still small but growing steadily. This is the time to start fertilizing lightly with a diluted liquid fertilizer to support continued leaf growth.
Plants should stay indoors or under grow lights until nighttime temperatures are reliably above 55°F. Sudden cold snaps at this stage can set back your plants significantly.
Maturation Stage (Weeks 6 to 8)
During this phase, the pepper plant grows taller and bushier. Leaf growth accelerates and the plant puts most of its energy into building a strong structure. This is a critical time for establishing the plant before it starts flowering.
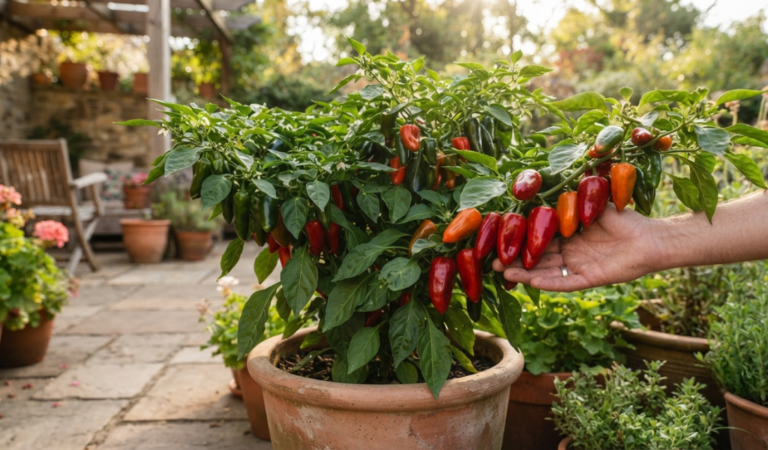
If you are growing bell peppers in a pot, make sure the container is large enough. A 3 to 5 gallon pot per plant is the recommended minimum. Containers that are too small restrict root growth and lead to smaller, less productive plants.
Transplant Bell Pepper Seedlings Outdoors
Moving your bell pepper seedlings outdoors is an important milestone, and timing matters. Transplant bell pepper seedlings outdoors only after your last frost date has passed and nighttime temperatures stay above 55°F. Hardening off your seedlings for 7 to 10 days before transplanting reduces transplant shock. This means gradually exposing them to outdoor conditions, starting with an hour or two of outdoor time and working up to full days outside.
Space plants 18 to 24 inches apart. Plant them at the same depth they were growing in their pots.
Vegetative Growth Stage
Pinching Back the Plant
Once plants are established outdoors and actively growing, many experienced gardeners pinch off early flowers that appear before the plant is ready to support fruit. This feels counterintuitive, but it redirects the plant’s energy into building a stronger structure, which leads to better yields later in the season.
Pinching is especially useful for plants that were transplanted recently and are still settling into their new environment.
Pruning and Maintenance
Light pruning is an important part of the Bell Peppers Growing Stages, especially during the vegetative growth stage. Removing yellow or damaged leaves improves airflow, reduces disease pressure, and helps the plant direct more energy toward healthy, productive branches. If two main stems grow very close together and rub against each other, remove the weaker stem to prevent damage and encourage better plant structure. Regular, gentle pruning can support healthier growth as bell peppers move toward flowering and fruit production.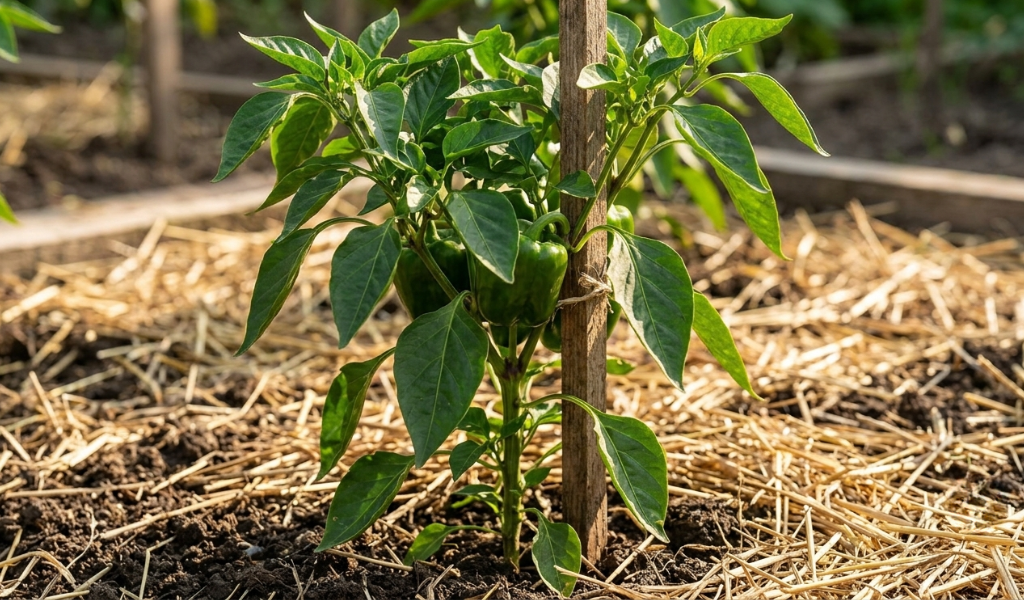
Seasonal Care
During hot summer months, consistent watering becomes especially important. Bell pepper plants under heat stress may drop flowers, which reduces yield. Mulching around the base of plants helps retain moisture and regulate soil temperature.
Flowering Stage (Weeks 8 to 10)
First Signs of Peppers
Bell pepper plants typically begin flowering around weeks 8 to 10.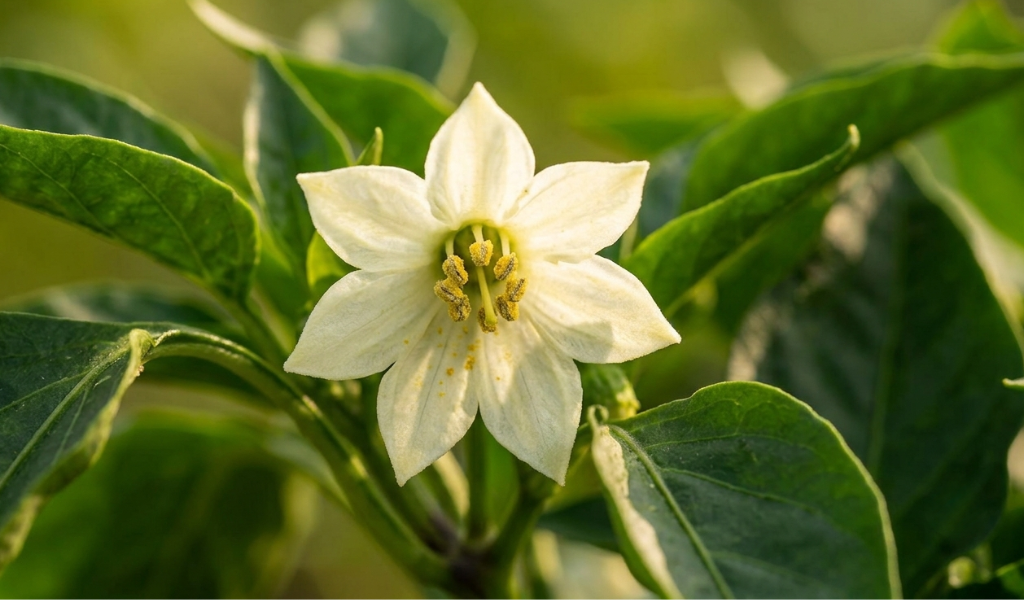 White flowers appear first, usually small and star-shaped. These flowers are self-pollinating, but pollinators like bees help increase fruit set. If you are growing indoors, gently shaking the plant or using a small paintbrush to transfer pollen helps ensure pollination.
Early flowers and fruits sometimes drop if the plant is stressed by extreme temperatures, inconsistent watering, or nutrient deficiencies. Do not panic if a few flowers fall off early in the season. As conditions stabilize, fruit set usually improves.
Fruiting Stage (Weeks 10 to 14)
After a flower is successfully pollinated, a small pepper begins to form. At first it looks like a tiny green bump, but it grows quickly. During this stage, the plant is doing a lot of work and benefits from regular feeding. A fertilizer with a good balance of potassium and phosphorus supports strong fruit development.
Watch for signs of stress at this stage. Blossom end rot, which appears as a dark, sunken spot on the bottom of the fruit, is caused by calcium deficiency combined with inconsistent watering. Keeping soil moisture steady and ensuring your soil pH is in the right range prevents this problem.
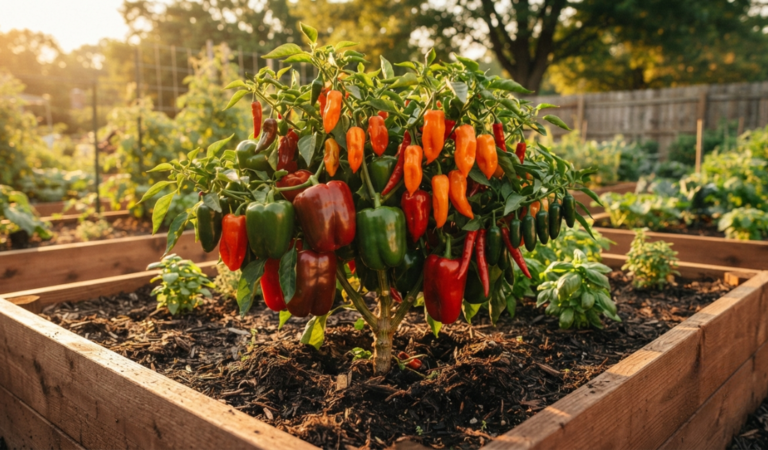
Bell pepper plants can produce many peppers throughout the season. A single plant can produce 6 to 8 full-sized peppers or more if conditions are right and the plant is well cared for.
Ripening Stage (Weeks 14 and Beyond)
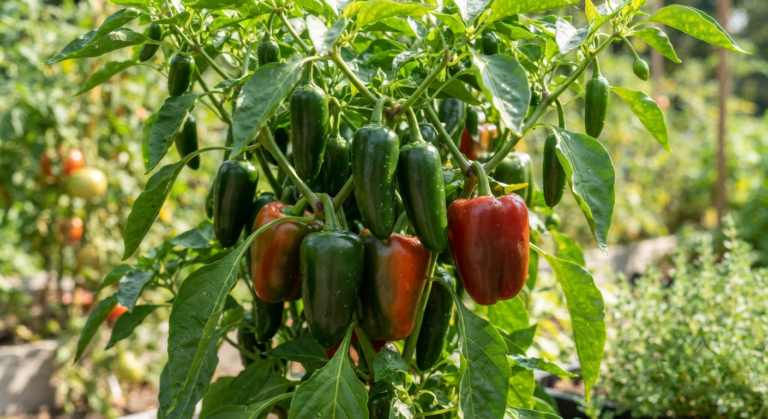
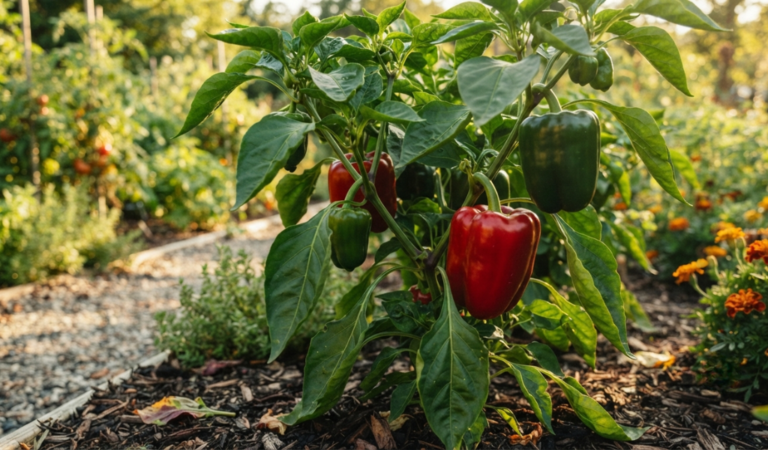
Green bell peppers are ready to pick at around 70 days from transplant. But if you leave them on the plant, they will continue to ripen and change color.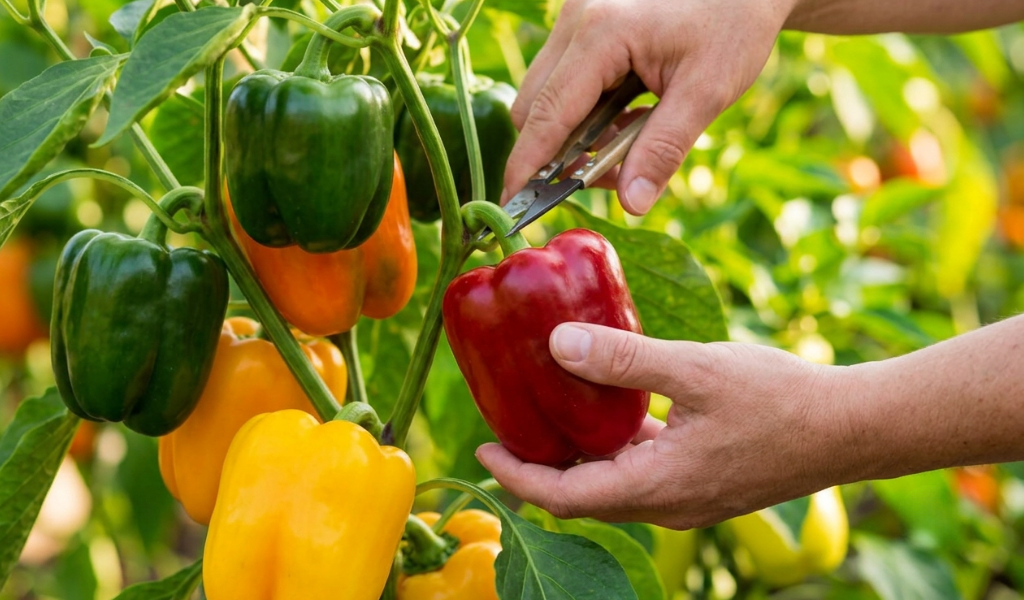 Green peppers that turn red, yellow, or orange do so over the following 2 to 3 weeks.
Red bell peppers are sweeter than green ones because they have had more time to develop their sugars. The longer a pepper stays on the plant, the sweeter it becomes. This is one of the most satisfying parts of growing your own bell peppers because you can time the harvest to match your taste preference.
Harvesting Bell Peppers
When to Harvest Bell Peppers
Knowing when to harvest bell peppers depends on what you plan to use them for. Green bell peppers are typically ready when they are firm, full-sized, and have a glossy skin. This is usually around 70 days after transplanting.
For red, yellow, or orange bell peppers, leave the fruit on the plant until it has fully changed color. This takes an additional 2 to 3 weeks beyond the green stage. Fully ripe peppers are sweeter and more nutritious, but they also have a shorter shelf life once picked.
Check your seed packet for the specific maturity date for your variety, as days to maturity varies between cultivars.
How to Harvest Bell Peppers
Use sharp scissors or pruning shears to cut the pepper from the plant rather than pulling it off. Pulling can damage the stem and surrounding branches. Leave a short piece of stem attached to the pepper to extend shelf life.
Harvest in the morning when temperatures are cooler for the best flavor and firmness.
Storage
Fresh bell peppers last 1 to 2 weeks in the refrigerator. Store them unwashed in the crisper drawer. For longer storage, slice and freeze them on a baking sheet before transferring to freezer bags. Frozen bell peppers are perfect for cooking but will not have the firm texture of fresh ones.
Ripe peppers, especially red bell peppers, have a shorter shelf life than green ones, so plan to use them within a week of picking.
Pests and Problems
Common Problems
Stunted growth is often caused by cold soil, overwatering, or nutrient deficiency. Check your soil temperature and make sure your fertilizer program is consistent.
Flower drop happens when temperatures go above 90°F or below 55°F, or when the plant is underwatered. Steady conditions help prevent this.
Blossom end rot is a calcium uptake issue tied to inconsistent watering. Mulching and drip irrigation help keep moisture levels stable.
Common Pests
Aphids are the most common pest on bell pepper plants. They cluster under leaves and suck sap from the plant. A strong spray of water removes most of them. Neem oil or insecticidal soap handles heavier infestations.
Spider mites thrive in hot, dry conditions. They leave tiny yellow specks on leaves and fine webbing on the plant. Increasing humidity and using neem oil helps control them.
Plant Diseases
Bacterial spot causes dark, water-soaked lesions on leaves and fruit. It spreads in wet conditions, so avoid overhead watering.
Mosaic virus causes mottled, distorted leaves and is spread by aphids. Controlling aphid populations is the best prevention. Infected plants should be removed to prevent spread.
Final Thoughts
Growing bell peppers from seed to harvest is a process that takes time, but every stage is worth it. Once you understand the bell peppers growing stages, you can spot problems early, give your plants what they need at the right time, and enjoy a much better harvest.
Start seeds indoors early, give plants plenty of warmth and light, transplant after the last frost, and stay consistent with watering and feeding throughout the season. Whether you are after crisp green bell peppers for salads or sweet red bell peppers for roasting, the effort you put in pays off clearly when you pick your first pepper of the season.
If you found this guide helpful, consider bookmarking it for reference throughout your growing season. Share it with a fellow gardener who is just starting out. The more you grow, the better you get, and bell peppers are an excellent crop to master.
Frequently Asked Questions
How long does it take for a bell pepper to fully grow?
From seed, bell peppers typically take 100 to 150 days to reach full maturity. From transplant, most varieties are ready to harvest in 60 to 90 days. This varies by variety, so always check the seed packet for specific information.
How many bell peppers will you get from one plant?
A healthy bell pepper plant can produce 6 to 8 full-sized peppers throughout its growing season. With excellent care, consistent fertilizing, and good conditions, some plants produce even more.
How long after flowering do peppers appear?
Small peppers begin forming within a few days of a flower being successfully pollinated. Visible fruit growth becomes noticeable within a week to ten days after flowering.
What is the secret to growing bell peppers successfully?
Warmth is the biggest factor. Bell peppers need warm soil, warm air temperatures, and consistent moisture. Starting seeds on a heat mat, transplanting only after the soil has warmed, and keeping watering consistent are the most impactful things you can do.
How long does it take for bell peppers to sprout from seed?
Under ideal conditions with a heat mat set to around 80°F, bell pepper seeds typically sprout within 7 to 14 days. Without supplemental heat, germination can take up to 3 weeks or may not happen at all.
Why are my bell pepper seeds not germinating?
The most common reasons are soil that is too cold, seeds that are too deep, or soil that is too wet or too dry. Bell pepper seeds need warmth above 70°F, ideally around 80°F. A heat mat makes a significant difference in germination success rates.
Should I remove early flowers from my bell pepper plant?
Many gardeners do pinch off the earliest flowers to encourage the plant to build a stronger root and stem structure first. This often leads to a larger total harvest later in the season, especially for plants that were recently transplanted.