Ultimate Tomato String Trellis Guide: How to Support Heavy Vines
How to Build a Tomato String Trellis: Easy DIY Guide for Bigger, Cleaner Harvests
If you have ever lost a battle with a tangled tomato jungle, you already know why a good support matters. Vines flop, fruit rots on the soil, and picking turns into a treasure hunt. Learning how to build a tomato string trellis solves most of those problems in one afternoon. You need a few posts, a strong top wire, and some twine, and you end up with tall, tidy plants that are easy to prune and a joy to harvest.
This guide walks you through the whole project. A good trellis for tomatoes is one of the best upgrades you can make. You will see what the system is, what to buy, how to build it step by step, and how to train your plants once they start climbing. Even a first time gardener can finish this build with basic tools and a little patience.
Why Vertical String Trellising Transforms Tomato Yields
Tomatoes want to grow up. In the wild, they sprawl and scramble over whatever they can find. In a garden, that habit causes trouble. Leaves stay wet, air cannot move, and fungus spreads from plant to plant. Fruit that touches the ground gets eaten by slugs or turns soft on one side.
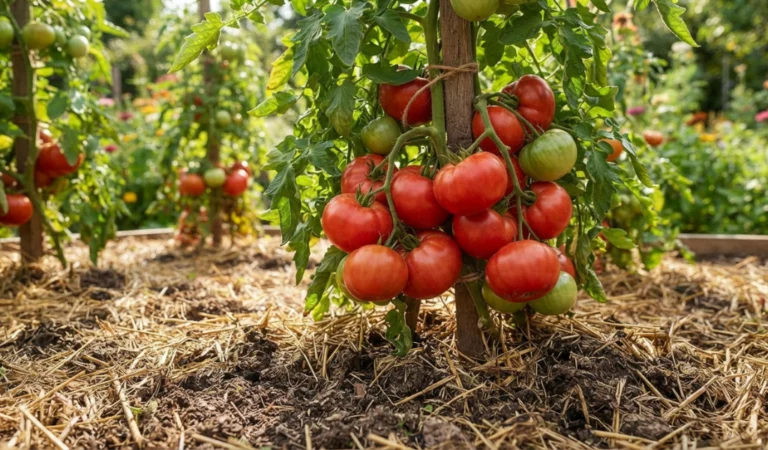
Vertical string trellising changes the whole picture. Each plant climbs its own string, so the leaves stay open to sun and wind. Sunlight reaches more fruit, which means better color and sweeter flavor. Dry leaves stay healthier, so you spend less time fighting blight and leaf spot.
Yield goes up for another reason. A trained plant puts its energy into fruit instead of into a mass of extra leaves. You can also plant closer together, since each vine takes up very little ground space. Many gardeners who switch to strings say they pick more tomatoes from the same bed, and the fruit is cleaner and easier to find.
There is a bonus for your back too. Ripe tomatoes hang at hand height, so you do not need to bend or crawl. When the season ends, cleanup takes minutes. You snip the strings, lift the vines, and the bed is clear for fall planting.
What Is a Tomato String Trellis?
A tomato string trellis is a simple support made of two sturdy end posts, a strong line stretched across the top, and a length of twine hanging down to each plant. The plant grows up the twine, and you guide the main stem along it with clips or a loose wrap. It is cheap, light, and easy to take apart in the fall.
This style works best for indeterminate tomatoes. Those are the plants that keep growing and flowering until frost, sometimes reaching ten feet or more. Most heirlooms and many popular slicers and cherry types fall in this group. A string gives them a long, clear path upward, and you can keep adding height as they grow.
How the Overhead Support System Works
The system depends on one strong line across the top, usually about six to seven feet off the ground. This line is tied or bolted to the end posts and pulled tight. From it, you tie one piece of twine for each plant. The other end of each twine goes to the base of the plant, where you anchor it with a small stake or a loose loop around the stem.
As the plant grows, you wrap the main stem around the twine or clip it every few inches. The vine climbs toward the top, and the weight of the fruit hangs from the string and the wire. Because the top line carries the load, it must be strong and tight. Think of it like a clothesline holding a row of heavy shirts. If the line sags, the whole system sags with it.
The beauty of the design is how little ground it takes. Only the posts and the thin strings stand between you and the plants. You can reach every vine from both sides, and sun hits the leaves all day. That open layout is also why airflow is so good.
String Trellising vs. Traditional Tomato Cages
Most store bought round tomato cages are made for small plants. They look sturdy in the garden center, but a big indeterminate vine can bend or topple one by midsummer. The plant also grows through and over the wire, and the fruit gets trapped inside. Pruning and picking inside a cage can be awkward and scratchy.
A string trellis has no such limits. It grows as tall as your frame, and the plant stays easy to reach. It also costs less for a long row. Ten cages can cost more than a full string setup with posts, wire, and twine. Cages do have one advantage. They need almost no work once you set them in place. If you do not like pruning or training, a cage can be fine for smaller determinate tomatoes.
If you want large, healthy plants and you enjoy spending a few minutes a week in the garden, strings win. They give you control, better airflow, and more fruit from the same space.
Materials and Tools You Need
Gather everything before you start, so you are not running to the store mid project. The list is short, and most items are easy to find at a hardware store or farm supply shop.
For materials, you need two end posts, an optional middle post for long rows, a top wire or rope, twine for each plant, tomato clips, and a few small ground stakes. Add some wire or zip ties for fastening, and a bit of scrap lumber if you want diagonal braces.
For tools, bring a post driver or heavy hammer, a tape measure, a level, wire cutters, and a pair of gloves. A drill is handy if you use wood posts. A ladder or step stool helps when you tie the top line. Sharp pruners are useful later in the season.
Plan your row before you buy anything. Measure the length of your bed, and decide how many plants you want. A good rule is one plant every 18 to 24 inches. For a 10 foot row, that gives you five or six plants, and you will want one post at each end.
Choosing Support Posts (T-Posts, EMT Conduit, or Lumber)
Your posts are the backbone of the whole build, so pick them with care. Each choice has strengths.
Metal T posts are a favorite. They are strong, cheap, and easy to drive into the soil. The built in studs on the side give you handy spots to tie wire. A six foot T post driven a foot deep gives you about five feet of height, so many growers choose seven or eight foot posts for tall vines. They also last for many years and are easy to pull out and reuse.
EMT conduit is a thin steel pipe sold for electrical work. It is light, smooth, and cheap. Some gardeners slide conduit over a piece of rebar that is driven into the ground, which gives a tall, strong post with no digging. It works well for temporary or movable setups, but it can bend if you rely on it alone for a heavy row.
Lumber is another good choice. A pressure treated 4×4 post set two feet deep holds strongly, and you can screw on braces and hooks with ease. Wood costs more and takes more work to install, but it looks nice and handles heavy loads. If you use treated lumber near edible plants, choose a modern type rated for garden use, or line the area to keep soil away from the wood.
Whatever you pick, plan for at least seven feet of post above ground if you can. Indeterminate tomatoes reach high, and extra room means less trimming and fewer troubles late in the season.
Selecting Heavy-Duty UV-Resistant Twine and Clips
Twine seems like a small detail, but it is the part that fails first if you choose badly. A loaded tomato plant can weigh 15 pounds or more once it fills out with fruit. Cheap craft string will rot or snap in a few weeks of sun and rain.
Look for heavy duty, UV resistant twine made for garden use. Polypropylene baler twine is a common favorite. It is strong, stretches little, and does not rot. Natural jute is a nice choice if you want something that breaks down in the compost pile, though it may need replacing mid season. Avoid thin cotton string, which weakens fast when wet.
For the top line, use a stronger material. Galvanized wire, rope, or a length of aircraft cable works well. A thin wire can cut into the twine over time, so add a loop or a small shackle where each string ties on.
Tomato clips are small plastic pieces that snap around the stem and hold it to the string. They are cheap, reusable, and gentle on the plant. Buy more than you think you need, since a single plant may use 15 or more clips over a season. Soft plant ties work too, and they will not cut into thick stems.
Step-by-Step DIY String Trellis Build
Now for the fun part. Set aside two to three hours, and build the frame before you plant your tomatoes. Building first protects the roots from being disturbed by posts and stakes.
Step 1: Setting Up End Anchors and Frame Supports
Start by marking the two ends of your row with stakes. Pull a string between them to keep the line straight. Check that the row runs in a direction that gives the plants plenty of sun, ideally north to south so both sides get light during the day.
Drive each end post at least 12 to 18 inches into the ground. A post driver makes this quick and safe. If the soil is loose or sandy, dig a deeper hole and pack the dirt tight, or add a bit of concrete for extra hold. Use your level to make sure each post stands straight up, since a leaning post gets worse as the load grows.
Next, brace the ends. The top wire will pull inward on the posts, and the load grows heavier as the plants mature. Without braces, the posts can lean toward each other. Set a diagonal brace on the outside of each end post, angled into the ground at about 45 degrees.  You can use a length of lumber, a second post, or a strong stake wired to the main post. A ground anchor with a guy wire also works.
For rows longer than about ten feet, add a middle post to keep the top line from sagging. A post every six to eight feet is a good rule. All posts should stand at the same height, so measure from the ground and mark each one before you tie anything on.
Step 2: Running and Tensioning the Overhead Support Line
Now run the top line. Climb your step stool, and tie or wrap the wire around one end post at about six to seven feet high. Use a strong knot, or twist the wire several times around the post and secure it with a clamp or staple. If you use T posts, wrap the wire around the studs for extra grip.
Walk the line to the other end post, and pull it tight. You want it taut, like a guitar string. A loose line will sag under the weight of the vines and let the whole row droop. If you have a wire tensioner or a turnbuckle, use it. They let you tighten the line later in the season if it loosens.
Check the line with a level, or by eye from one end. It should run straight with no big dips. If it sags in the middle, add a middle post, or tighten again. Test it by pulling down on the line with your hand. It should barely give. If it moves a lot, fix it before moving on.
Finally, think about how you will hang each string. A simple option is to tie a loop of twine directly to the wire. A better option is to attach a small metal ring or a sliding hook for each plant. That lets you slide strings sideways if you need to adjust spacing, and it makes lowering plants much easier later in the season.
Step 3: Dropping Twine and Securing the Base
Cut one length of twine for each plant. Each piece should reach from the top wire to the base of the plant, plus about two extra feet for tying and for lowering the vine later. For a seven foot wire, that is about nine feet of twine. Cut a few extra pieces in case a knot slips.
Tie one end of the twine to the top line with a secure knot. A double or triple knot is worth the effort, since a slipping knot can drop a loaded plant. If you use rings or hooks, loop the twine through them and tie off.
Next, anchor the bottom. You have two good options. The first is to tie the twine to a small stake driven into the soil near the plant. The second is to loop the twine loosely around the base of the stem, below the first set of true leaves, using a slip knot that will not tighten as the stem grows. Many gardeners prefer the stake method, because it keeps the string tight and protects the stem.
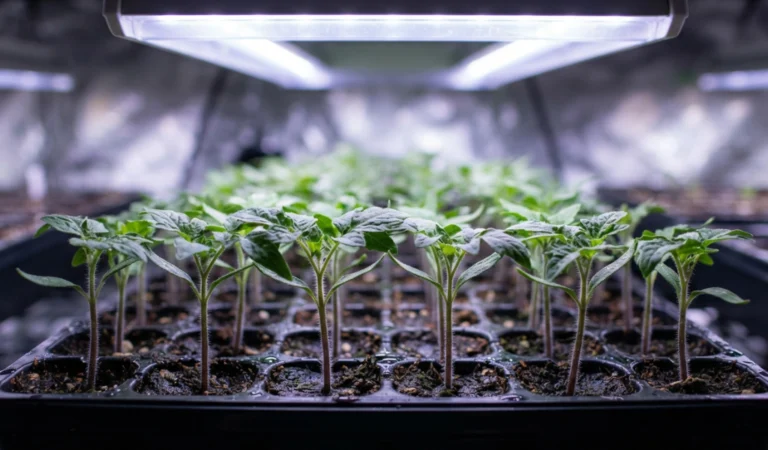
Plant your tomatoes next to the stakes or strings. Set each plant a little deeper than it grew in the pot, since tomatoes grow roots along buried stem. Water well, and add mulch to keep the soil moist. As the plants get established, they will be ready for training.
Step back and look over your work. The strings should hang straight, the wire should be tight, and the posts should stand firm. Give everything a gentle push. If something moves too much, add a brace or tighten a knot now. Fixing problems before the plants grow is much easier than fixing them in August.
How to Train and Clip Indeterminate Tomatoes to String
Training your plants is the part that turns a basic frame into a high performing garden. It takes about ten minutes a week for a small row, and it pays you back many times over.
Start when the plants are about a foot tall. Choose your growing style first. Most gardeners prune to one main stem, often called one leader. This gives you a tall, narrow plant that fits well on a single string. Others allow two stems, using two strings per plant. A single leader gives larger fruit and easier care, while two stems give more total tomatoes but need extra work.
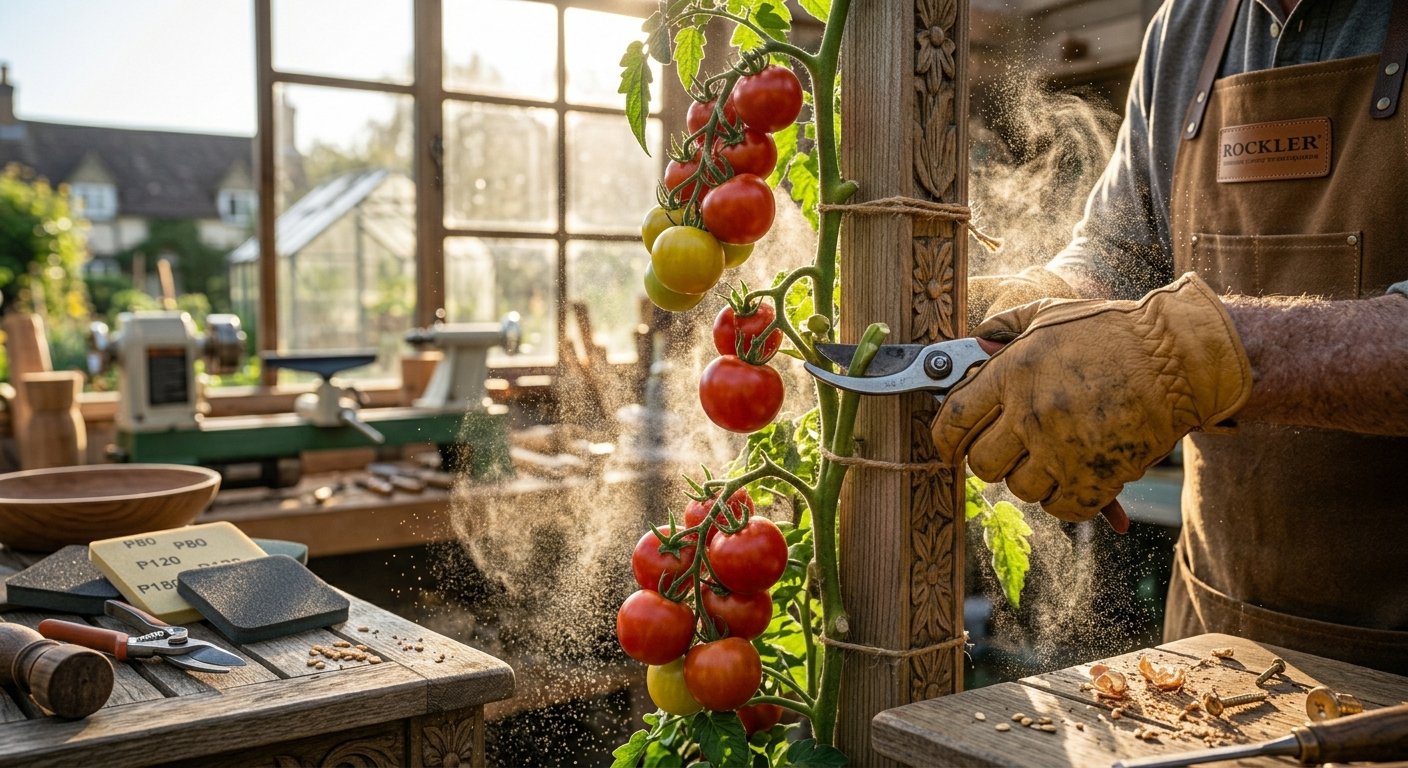
To attach the plant, wrap the string loosely around the main stem. Always wrap in the same direction, which helps keep the plant steady. Or use tomato clips, snapping one every 8 to 12 inches along the stem. Place clips just below a leaf joint or flower cluster, so the weight of the fruit rests on the clip and not on the stem. Leave a bit of slack, because stems thicken as they grow.
Check your plants once a week. Tomatoes can grow several inches in a few days during warm weather, and a stem that is left unattached can bend or break in the wind. Add clips as the plant grows, and always support heavy fruit clusters, since big tomatoes can snap the stem under their own weight.
When a vine reaches the top wire, you have two choices. You can pinch off the growing tip, which stops upward growth and pushes the plant to ripen its fruit. Or you can lower the plant. To do this, unclip the stem, loosen the string at the top, and let the vine drop gently. Then lay the extra length of stem along the ground in a loose coil and clip it back up. This trick, often called lower and lean, gives very tall plants more room to grow late in the season.
Last, watch for signs of trouble. Yellow lower leaves, brown spots, or curling leaves can signal disease or water issues. Because strings give you good airflow, problems usually show up less often. But if you spot trouble, remove the affected leaves quickly and keep your tools clean.
Final Thoughts: Maintaining Your String Trellis All Season
A tomato string trellis is simple, but it works best with a little regular care. Walk your row once a week, and check each part of the system. Look at the knots, the clips, and the top line. A small fix now can prevent a big problem later.
Tighten the wire whenever it starts to sag. Heat, rain, and growing plants can all loosen it during the season. If you used a tensioner, a few turns will take care of it. Check your posts too. If any have started to lean, push them upright and add a brace or pack the soil tighter.
Replace any twine that looks frayed or worn. Sun and rain are hard on string, and a break in the middle of summer can be messy. Keep a roll of spare twine in your garden bucket, so you can fix it right away.
Watch the weight of your plants as they fill with fruit. If a cluster looks too heavy, add a clip or a loose sling underneath. Harvest on time, since ripe fruit adds extra weight and attracts pests. Picking often keeps the plant producing and takes stress off the trellis.
At the end of the season, take the system apart carefully. Cut the strings and compost the vines if they are free of disease. Throw away used twine, since it can carry disease into next year. Pull out T posts, wipe off the soil, and store everything in a dry place. Wire and clips can be washed in a mild bleach solution to kill any lingering fungus.
With simple care, your frame can last for many years, and building it each spring will become a quick habit. Now it is your turn. Pick a weekend, gather your posts and twine, and build your first row. Once you taste a tomato picked from a tall, healthy vine, you may never go back to the old way.
Frequently Asked Questions
How tall should a tomato string trellis be?
Aim for at least six to seven feet above the ground. Indeterminate tomatoes can grow much taller, so extra height gives them more room. You can also lower the vines later in the season if they reach the top.
How far apart should I plant tomatoes on a string trellis?
Space plants about 18 to 24 inches apart when you prune to one main stem. This gives each plant enough light and airflow. If you let plants grow two stems, give them a bit more room.
What kind of string is best for a tomato trellis?
Use heavy duty, UV resistant garden twine, such as polypropylene baler twine. It handles sun, rain, and the weight of a full plant. Natural jute is a good eco friendly option, but it may need replacing during the season.
Can I use a string trellis for determinate tomatoes?
You can, but you may not need to. Determinate tomatoes stay shorter and bushier, so a sturdy cage or stake often works well. A short string setup can still help keep fruit off the soil.
How do I keep the stem from breaking while I train it?
Wrap or clip the stem loosely, and leave a bit of slack for growth. Handle the vine gently, and work in the late morning when stems are less brittle. Support heavy fruit clusters with extra clips.
Do I need to prune tomatoes on a string trellis?
Yes, light pruning makes the system work much better. Remove suckers while they are small, and trim the lowest leaves as the plant grows. This improves airflow and keeps the plant focused on producing fruit.
How long does a string trellis last?
The frame can last many years with good posts and wire. The twine usually needs replacing each season, since sun and moisture wear it down. Check everything each spring before planting.