How to Test Soil Drainage and pH: A Easy Garden Soil Testing Guide to Test Soil pH
How to Test Soil Drainage and pH and Understand Your Garden Soil
If your plants keep wilting, turning yellow, or simply refusing to grow no matter how much you water and feed them, the problem is rarely the plant itself. In most cases, the real issue is hiding right under your feet. Learning how to test soil drainage and pH is one of the fastest ways to figure out why a garden struggles and what needs to change. Soil is the foundation of every garden, and if that foundation is off, nothing you plant on top of it will truly thrive.
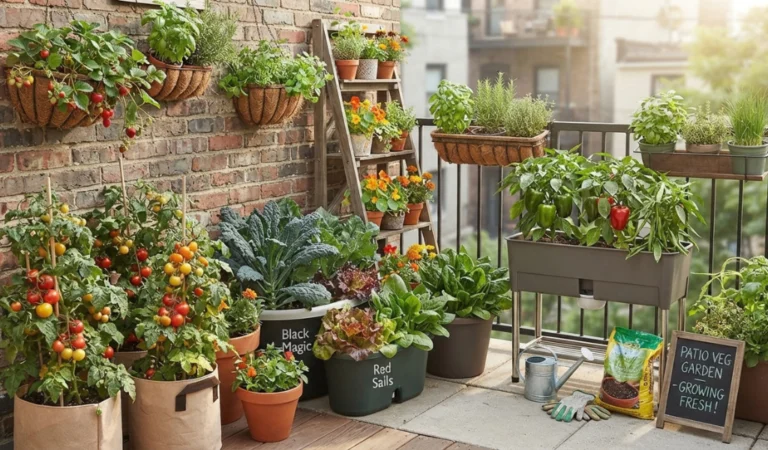
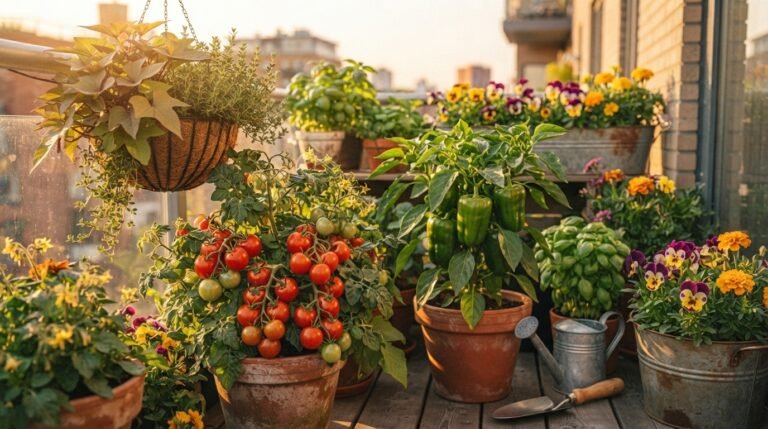
This is especially true if you are working with limited space. Small Space Vegetable Gardening has become incredibly popular among people who want fresh produce from a patio, balcony, or a small backyard bed, but tight spaces often mean compacted soil, poor airflow, and drainage issues that go unnoticed for years. Before you buy another bag of fertilizer or a new plant to replace the one that died, it makes sense to slow down and actually test what you are working with.
In this guide, you will learn exactly how to test soil drainage and pH using simple tools you probably already have at home, how to read the results, and what to do if your soil needs some help. No lab coat required.
What Soil Drainage Actually Means
Soil drainage describes how quickly water moves through the ground after rain or watering. Water enters the soil, moves through the spaces between soil particles, and either drains away or gets held in place depending on soil texture and structure. Sandy soil drains fast because the particles are large and loosely packed. Clay soil drains slowly because the particles are tiny and pack tightly together, leaving little room for water to pass through.
Somewhere in the middle sits loam, which most gardeners consider the ideal soil type because it holds enough moisture for roots to use while still letting excess water escape. Understanding your soil type is the first real step toward learning how to test soil drainage and pH, because texture and drainage are closely connected. You cannot fix one without understanding the other.
Why Testing Soil Drainage and pH Matters for a Healthy Garden
Every plant has a preferred pH range and a drainage requirement, and when either one is off, the plant cannot absorb nutrients properly even if the soil is packed with nutrients. Nitrogen, phosphorus, and other nutrients become locked up chemically when pH drifts too far from what a plant needs, which means fertilizer gets wasted and plant growth stalls.
Poor drainage causes a different kind of damage. Roots need oxygen just as much as they need water, and waterlogged soil suffocates roots, leading to root rot, fungal disease, and stunted plants. This is why testing soil drainage and pH before planting saves so much frustration later. A ten minute test can prevent months of guessing why a garden is not performing the way it should.
Gardeners who practice Small Space Vegetable Gardening often see drainage problems first because containers and raised beds concentrate water in a smaller footprint. If drainage is poor in a tight space, the effects show up quickly, which makes early testing even more valuable.
Understanding the Two Essential Soil Tests
When people ask how to test soil drainage and pH, they are really asking about two separate but related tests. The drainage test tells you how fast water moves through your soil. The pH test tells you how acidic or alkaline your soil is on a scale from 0 to 14, with 7 being neutral. Most vegetables and garden plants prefer a pH between 6.0 and 7.0, which is described as slightly acidic to neutral soil. Running both tests together gives a complete picture. You might have perfect pH but terrible drainage, or great drainage but soil that is far too acidic for what you want to grow. Testing soil drainage and pH side by side helps you avoid fixing the wrong problem.
What Is Good Soil Drainage, and How Can You Recognize It?
Good soil drainage allows water to soak in steadily without pooling on the surface, and without disappearing so fast that plant roots dry out within minutes. Healthy soil typically drains between one and three inches per hour. Anything slower suggests compacted or clay heavy soil, while anything much faster usually points to sandy soil that will need more frequent watering and organic matter to help it hold moisture.
You can often get a rough sense of soil drainage just by observing your garden after a rainstorm. If water sits in puddles for hours, drainage is likely poor. If the ground feels bone dry an hour after a downpour, drainage may be too fast for consistent plant growth.
Signs Your Soil May Have a Drainage Problem
Certain warning signs show up in the garden long before you run any formal test. Standing water after rain, moss growth in shaded low spots, a sour or musty smell coming from the soil, and plants with yellowing leaves despite regular watering are all classic indicators. Cracked, hard soil during dry spells is another sign, since heavy clay soil that drains poorly when wet often becomes rock hard when dry. If you notice several of these signs together, it is a strong hint that testing soil drainage and pH should be your next move before doing any more planting.
How to Test Soil Drainage at Home Using the Hole Test
The most reliable do it yourself method for testing soil drainage and pH is called the hole test, sometimes referred to as a percolation test. It requires no special equipment and takes less than an hour of your time, though you do need to wait and observe.
What You Need for the Soil Drainage Test
You only need a shovel, a tape measure or ruler, a garden hose or bucket of water, and a watch or timer. That is the entire toolkit. There is no need for anything fancy when learning how to test soil drainage and pH using this classic method.
Step-by-Step Instructions for Testing Soil Drainage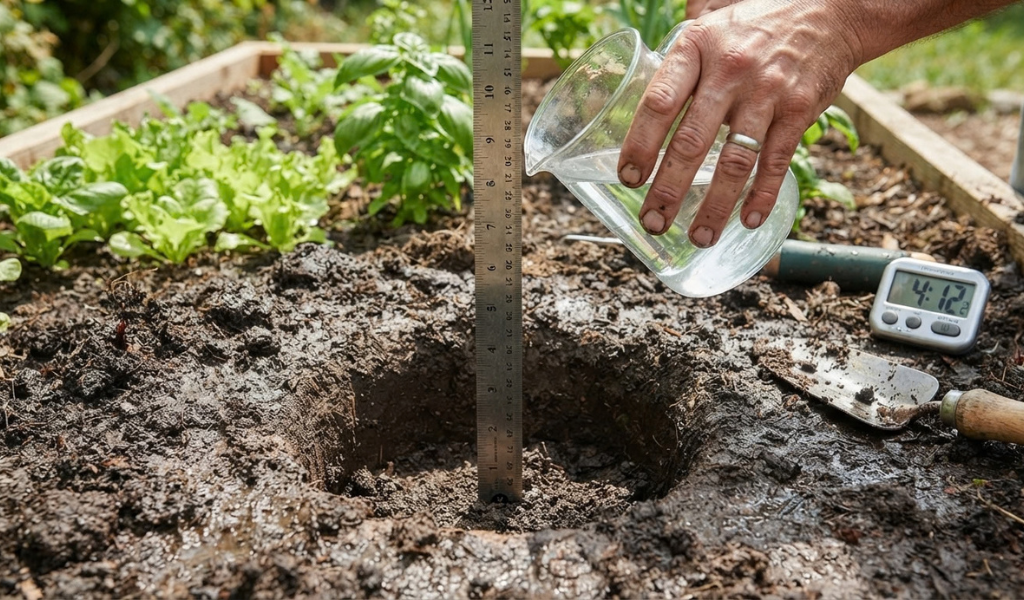
Start by digging a hole about twelve inches deep and twelve inches wide in the area you plan to test. Fill the hole completely with water and let it drain fully. This first fill saturates the surrounding soil so your second test gives an accurate reading rather than one skewed by dry ground soaking up extra moisture.
Once the water has drained completely, fill the hole with water a second time. This time, measure the water level with your ruler and record how many inches the water drops every hour. Keep checking until the hole is empty, then add up the total drainage time.
How to Calculate Your Soil Drainage Rate
Divide the total depth of water by the number of hours it took to drain completely. For example, if a twelve inch hole took four hours to fully drain, your soil drains at roughly three inches per hour. This simple calculation is the heart of how to test soil drainage and pH at home without spending money on lab equipment.
How to Interpret Soil Drainage Test Results
A drainage rate of one to three inches per hour is considered ideal for most garden plants. A rate faster than four inches per hour usually means sandy soil that will need organic matter to slow water movement and hold nutrients. A rate slower than one inch per hour signals compacted or clay heavy soil that will likely need amendment before you plant anything with sensitive roots.
How to Test Soil pH Without Expensive Equipment
Once drainage is sorted out, pH is the next piece of the puzzle. There are a few reliable ways to test soil pH at home, ranging from budget friendly kits to simple pantry ingredients.
Method 1: Use a Soil pH Test Kit
A basic soil test kit from a garden center is inexpensive and easy to use. Most kits include a small vial, a testing solution, and a color chart.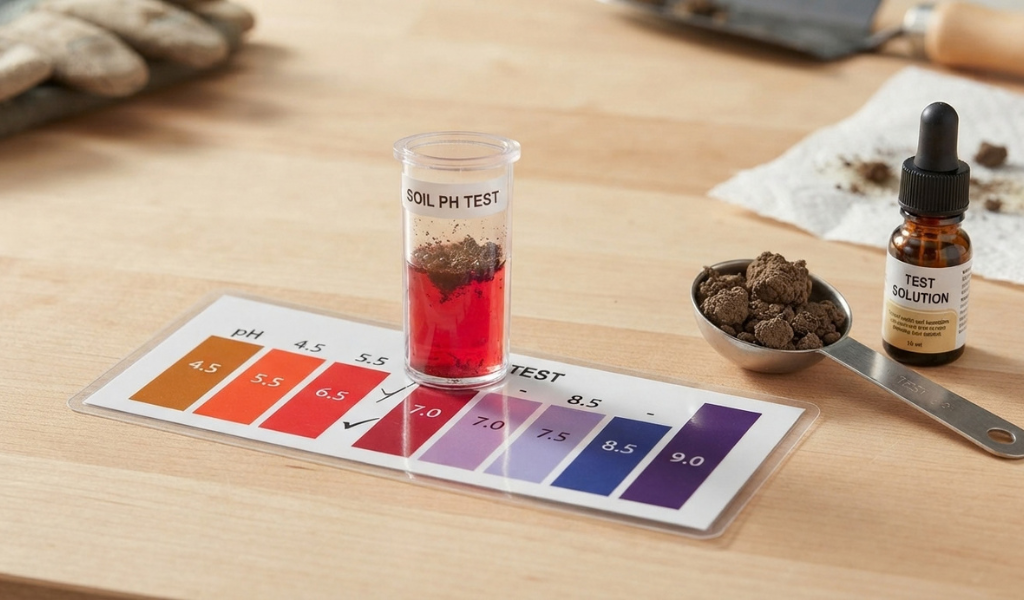 You mix a soil sample with distilled water and the solution, then compare the resulting color to the chart to determine whether your soil is acidic, neutral, or alkaline. This is one of the most beginner friendly ways to test soil pH and remains a favorite among home gardeners.
Method 2: Test Soil pH With a Digital Meter
A digital pH meter gives a faster, more precise reading. You insert the probe directly into moist soil and the meter displays a numerical pH value within seconds. While a meter costs more upfront than a basic kit, it can be reused indefinitely and is a smart investment for anyone serious about testing soil drainage and pH on a regular basis, especially across multiple garden beds or containers.
There is also a well known pantry trick using vinegar and baking soda. Placing soil in two containers, adding vinegar to one and watching for fizzing indicates alkaline soil, while baking soda mixed with water added to the other container fizzing indicates acidic soil. It is not scientifically precise, but it offers a rough starting point when you want to test soil pH without buying anything.
How to Collect a Soil Sample for Accurate pH Testing
No matter which testing method you choose, the accuracy of your results depends heavily on how you collect your soil sample. A rushed or careless sample can throw off your entire reading, which defeats the purpose of testing soil drainage and pH in the first place.
Follow These Soil Sampling Steps
- Step 1: Choose the area you want to test: Pick the specific bed, border, or container where you plan to grow something so your sample reflects the actual conditions plants will experience.
- Step 2: Collect samples from several spots.: Take small amounts of soil from five or six different spots within that area rather than relying on a single scoop, since soil composition can vary even within a few feet.
- Step 3: Use a consistent sampling depth: Dig down about four to six inches for each sample, since this is roughly where most plant roots are active and where pH matters most.
- Step 4: Mix the samples: Combine all your collected soil in a clean bucket and mix thoroughly so you end up with one representative sample rather than several inconsistent readings.
- Step 5: Prepare the sample: Remove rocks, roots, and debris, then let the soil dry slightly if your kit or meter instructions call for it before testing.
- Step 6: Record the result: Write down the pH reading along with the date and location so you can track changes over time and compare results season to season.
Sending Soil to a Lab When You Want Real Precision
If you want results beyond what a home kit can offer, sending a soil sample to your local county extension office or a private testing lab is worth considering. Professional soil testing provides detailed information on pH, nutrient levels, organic matter percentage, and specific soil recommendations tailored to what you intend to grow. These results can also help you understand whether compost tea at home could complement your garden’s soil care routine. This route costs more and takes longer, often a week or two, but it removes any guesswork from testing soil drainage and pH, especially if you are planning a larger garden or dealing with unusual plant symptoms that home testing cannot fully explain.
How to Fix Poor Soil Drainage and Improve Soil Structure
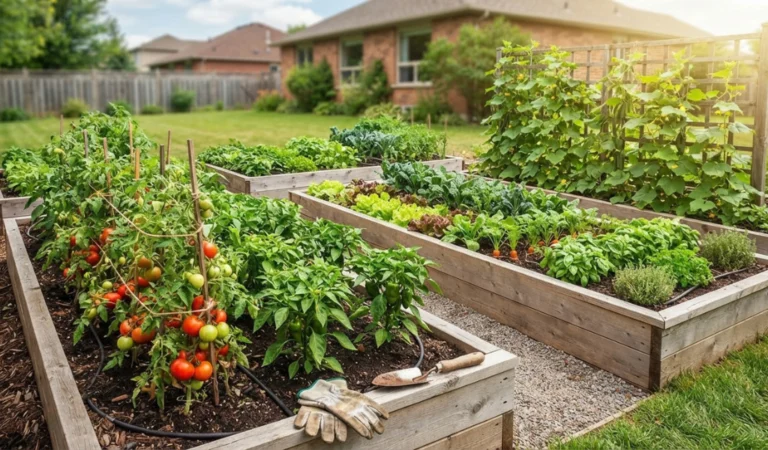
Once you know your results, the next step is improving whatever your soil test revealed. For slow draining, compacted soil, working in generous amounts of compost or aged organic matter is the most effective long term fix,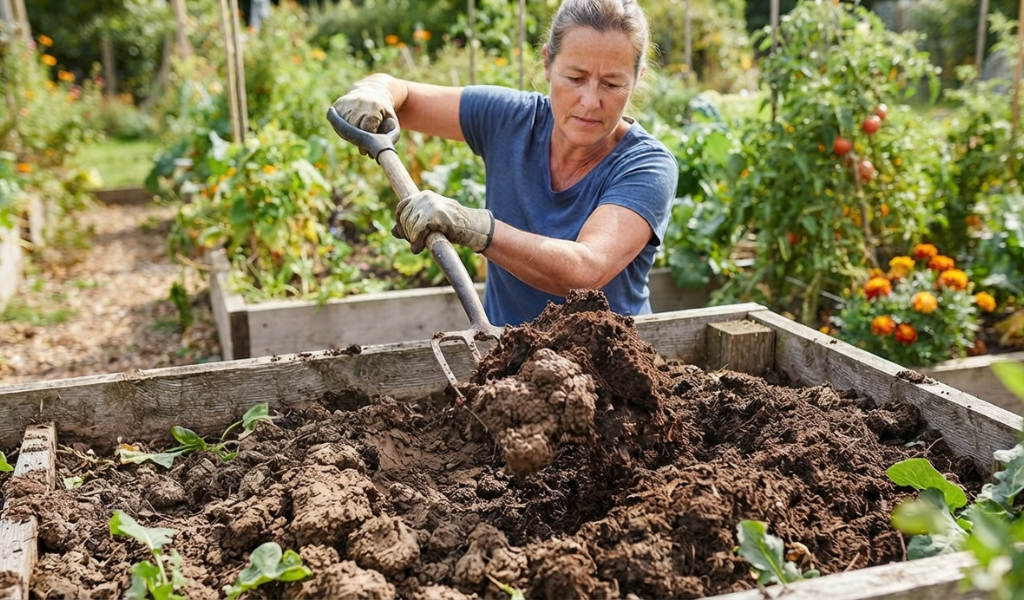 since it loosens tightly packed particles and creates air pockets that let water move through more freely. Raised beds are another practical solution for anyone dealing with heavy clay soil, since they physically lift plant roots above problem areas.
For soil that drains too quickly, adding compost again helps, but this time the goal is improving the soil’s ability to hold moisture and nutrients rather than loosening it. Mulching on top of sandy soil also slows evaporation and gives roots more time to absorb water before it disappears.
Adjusting pH is usually more straightforward. Adding garden lime raises pH in soil that is too acidic, while elemental sulfur or organic matter like pine needles and coffee grounds gradually lowers pH in alkaline soil. Changes happen slowly, often over several months, so patience and periodic retesting matter just as much as the amendment itself.
Common Mistakes People Make When Testing Soil Drainage and pH
A surprising number of testing errors come down to simple oversights. Testing soil immediately after heavy rain or watering skews drainage results, since the ground is already saturated. Using a rusty or dirty container for pH testing can also contaminate results. Many gardeners test only one small area of a large garden and assume the entire space behaves the same way, when in reality soil composition can shift dramatically within just a few feet, especially near buildings, trees, or old construction sites.
Another common mistake is testing too infrequently. Soil pH and drainage can shift over time due to weather, fertilizer use, and organic matter breakdown, so testing soil drainage and pH once a year, ideally at the start of the growing season, keeps your information current and useful.
Final Thoughts
Healthy plants start with healthy soil, and healthy soil starts with knowing exactly what you are working with. Learning how to test soil drainage and pH does not require expensive tools or a science degree. A shovel, some water, a basic test kit, and a little patience are enough to uncover what is really happening beneath the surface of your garden.
Whether you are managing a sprawling backyard plot or focused on Small Space Vegetable Gardening in containers on a balcony, testing soil drainage and pH before you plant gives your garden the best possible start. Take the time to test, adjust based on what you learn, and retest periodically. Your plants will reward the effort with stronger roots, better nutrient uptake, and a garden that actually thrives instead of just surviving.
Frequently Asked Questions
How to test if your soil has good drainage?
Dig a twelve inch hole, fill it with water, let it drain once, then fill it again and measure how many inches the water level drops per hour. A rate of one to three inches per hour indicates good drainage.
Can I test my soil pH myself?
Yes. A basic soil test kit or a digital pH meter makes it easy to test soil pH at home without professional help, and both are widely available at garden centers.
Why is vinegar used for soil testing?
Vinegar reacts with alkaline soil, causing a fizzing reaction that suggests a higher pH. It is a simple, low cost way to get a rough sense of your soil’s pH before committing to a more precise test.
What are the signs of unhealthy soil pH?
Yellowing leaves, stunted growth, poor flowering, and nutrient deficiencies despite regular fertilizing are common signs that soil pH may be too high or too low for the plants you are growing.
Can I test soil without a kit?
Yes. The hole test for drainage requires no kit at all, and the vinegar and baking soda method offers a rough pH estimate using items most people already have at home.
Why is vinegar used in soil pH testing?
The fizzing reaction it produces with alkaline soil offers a quick, visual clue about pH without needing electronic equipment, though it is far less precise than a dedicated kit or meter.
How do I know if my soil pH is off?
Struggling plants, discolored leaves, and slow growth despite proper watering and feeding are strong indicators. Running a proper pH test is the only way to confirm the exact issue and correct it.