The Ultimate Guide to Growing Bell Peppers in Pots Successfully
Growing Bell Peppers in Pots: Best Soil, Care, and Harvest Tips
Growing bell peppers in pots is one of the most rewarding things you can do as a home gardener. Whether you have a small balcony, a sunny patio, or limited yard space, container peppers give you a surprisingly big harvest without needing a traditional garden bed. And yes bell peppers grow well in containers when you give them the right setup.
This guide covers everything from picking the right pot and potting mix to fixing common problems and knowing when to harvest peppers at peak flavor. By the time you’re done reading, you’ll have a clear, practical plan for planting peppers in containers and keeping them productive all season long.
Select the Right Type of Bell Pepper
Not all bell pepper varieties behave the same way in containers. Some grow into large, bushy plants that need plenty of room. Others stay compact and produce well even in a smaller pot.
If you’re new to container growing, start with compact or dwarf bell pepper varieties. These pepper plants in containers tend to mature faster and demand less staking. Some popular picks include ‘Mohawk’, ‘Redskin’, and ‘Lunchbox’ peppers. These are sweet bell peppers that ripen in 60 to 70 days, making them ideal for shorter growing seasons.
For those who want a mix of flavors, you can also grow hot pepper varieties like banana peppers or even fiery habaneros alongside sweet bell peppers. Both thrive in pots as long as the container is the right size and the plant gets enough sun.
When shopping for seeds or transplants, look at the expected plant height and days to maturity on the label. Compact plants and fewer peppers per plant is a fair trade-off if you’re working with limited space.
Choosing the Right Container for Maximum Fruit Production
The container you choose directly affects how many peppers you get. A pot that’s too small stresses the plant, limits root growth, and leads to smaller plants and fewer peppers overall.
Minimum vs Ideal Container Sizes
The minimum pot size for a single bell pepper plant is 3 to 5 gallons. But for a full, productive plant, aim for a 5 to 10 gallon container. Larger containers hold more soil, retain moisture more evenly, and give roots enough room to spread.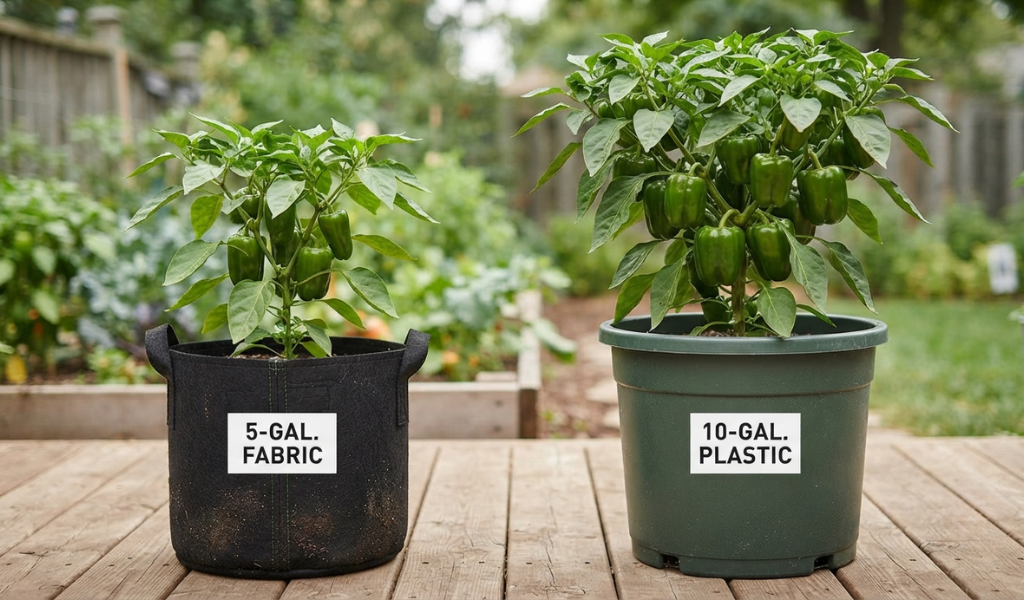
If you want to produce three peppers or more per plant consistently, a 10-gallon pot is a smart choice. The extra soil volume buffers temperature swings and reduces how often you need to water.
Best Container Materials
Plastic pots are lightweight, affordable, and retain moisture well a practical choice for most home gardeners. Fabric grow bags are another excellent option. A grow bag encourages better root structure through a process called air pruning, which prevents roots from circling the inside of the container. Terracotta pots look great but dry out fast, which can stress pepper plants in hot weather.
Avoid dark-colored pots in very sunny locations. They absorb heat and can cook the roots during summer afternoons.
How Deep Should a Pot Be for Pepper Plants?
A pot should be at least 12 inches deep for bell peppers. This depth gives the taproot room to grow down without hitting the bottom of the container, which can stunt the plant. Going 14 to 16 inches deep is even better for larger bell pepper varieties.
Planter Boxes Are an Ideal Solution for Growing Multiple Peppers
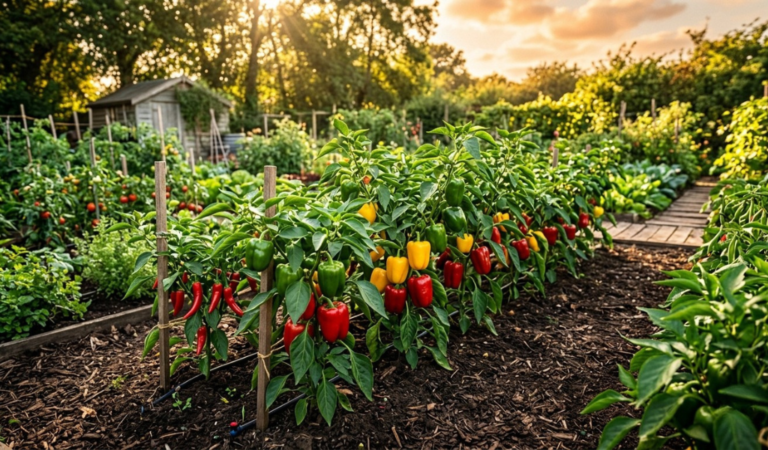
If you want to grow more than one pepper plant, a long planter box is a smart and space-efficient choice. Space each plant at least 12 to 18 inches apart within the box. This setup works especially well on decks, patios, and balcony railings. Just make sure the box has adequate drainage holes at the base.
Choosing the Right Soil and Fertilizer
Soil quality makes or breaks a pepper harvest. Get this wrong, and even the sunniest spot won’t save your plants.
Peppers Are Heavy Feeders
Bell pepper plants are heavy feeders, meaning they pull a lot of nutrients from the soil throughout the growing season. A standard potting mix works as a base, but peppers need regular fertilizer to produce well. Start with a balanced fertilizer (like a 10-10-10) during the early growing phase, then switch to a low-nitrogen, high-phosphorus fertilizer once flowers appear. Too much nitrogen late in the season pushes leafy growth at the expense of fruit.
Use a light potting mix designed for containers rather than garden soil. Garden soil compacts in pots, blocks drainage, and can introduce pests or diseases. Look for a potting mix that includes perlite or vermiculite for good aeration.
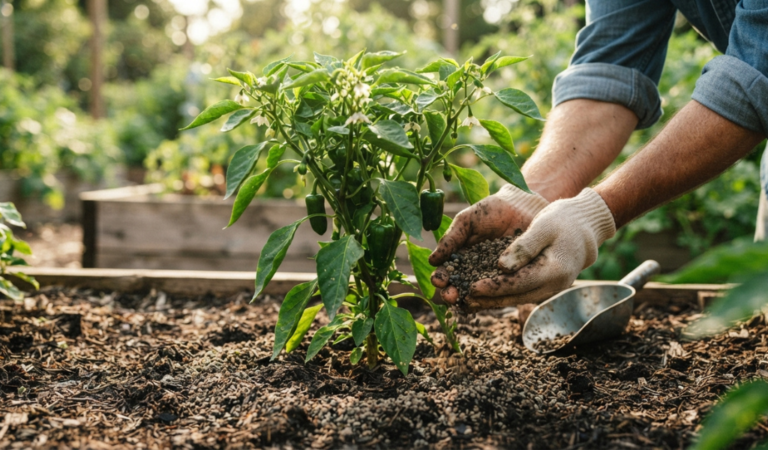
Adding organic matter like compost improves nutrient stability and feeds the soil over time. Mix a handful of compost into your potting mix before planting. Refresh or amend the soil mid-season if plants look pale or growth slows down.
How to Plant Peppers in Containers: Step-by-Step Planting Process
Planting bell peppers in containers is straightforward when you follow a clear process.
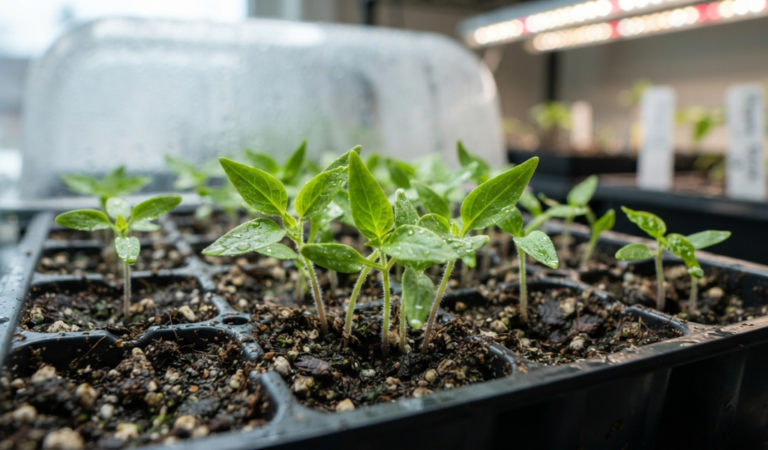
Step 1 : Start at the right time. Peppers are warm-season plants. Start peppers from seed indoors 8 to 10 weeks before your last frost date. Transplant peppers outdoors only after nighttime temperatures stay consistently above 55°F.
Step 2 : Choose a sunny location. Bell pepper plants need 6 to 8 hours of direct sunlight per day. A south-facing patio or balcony usually provides this. If sunlight is limited, a grow light can supplement during the early indoor phase.
Step 3 : Fill your container. Add a layer of potting mix to the pot. Leave about 2 inches of space from the rim to prevent water from running off too quickly.
Step 4 : Transplant carefully. 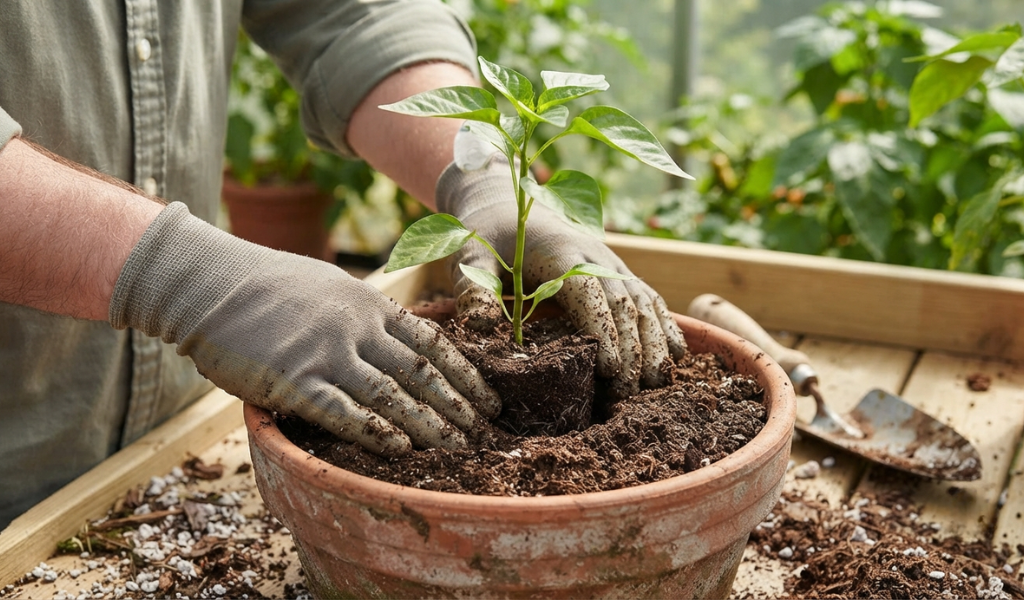 Remove the pepper transplant from its nursery container and loosen the roots gently. Plant it at the same depth it was growing before. Firm the soil around the base.
Step 5 : Water immediately. Give the plant a thorough watering right after transplanting. This settles the soil and helps roots make contact with the surrounding mix.
Step 6 : Place in full sun. Move the container to its permanent sunny spot. Container peppers may need to be moved indoors or to a sheltered location if a late frost threatens.
Supporting and Pruning Your Pepper Plants
As pepper plants grow and begin producing fruit, the branches can become heavy and snap under the weight. Insert a small bamboo stake or tomato cage at planting time so you don’t disturb roots later. Tie stems loosely with garden twine to support them as they grow.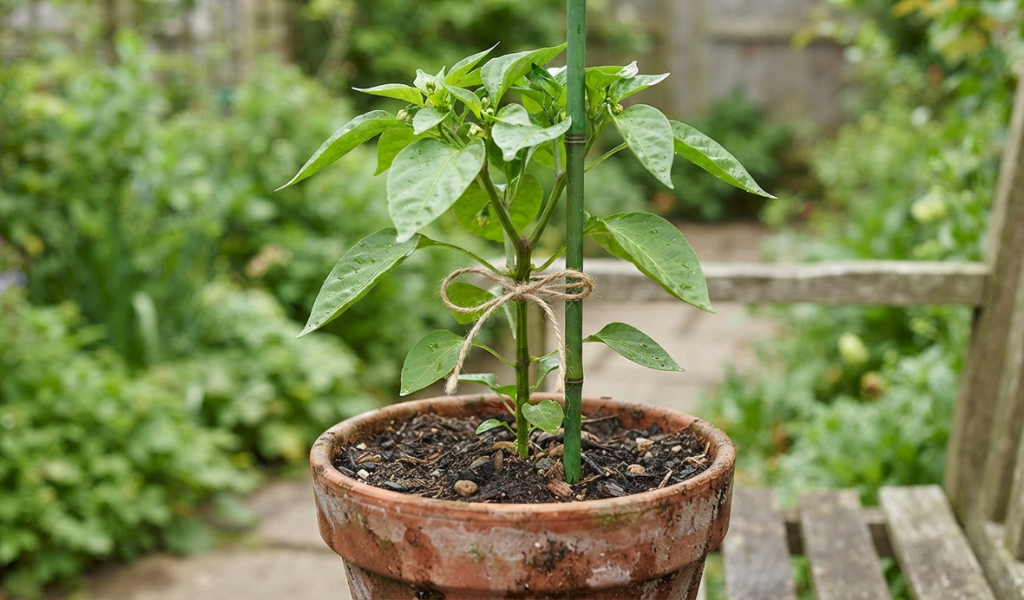
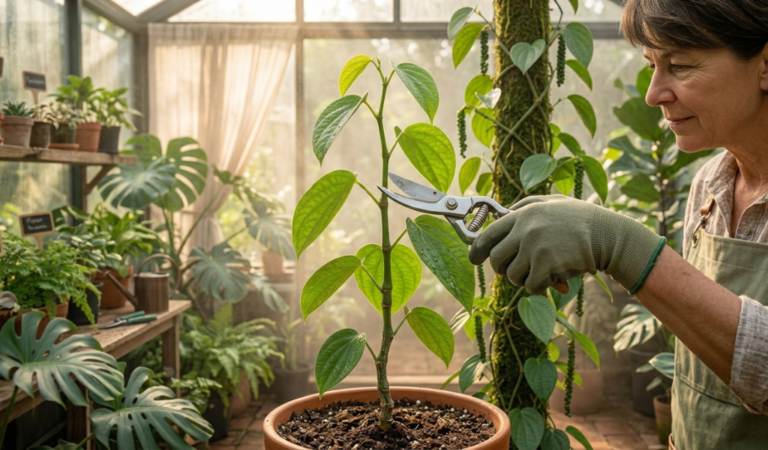
Pruning is optional but beneficial. Pinching off early flower buds for the first few weeks encourages the plant to put energy into developing a stronger root system and more branches, which leads to a bigger harvest later. Remove any yellowing leaves at the base and trim branches that crowd the center of the plant to improve airflow.
Companion Planting for Peppers
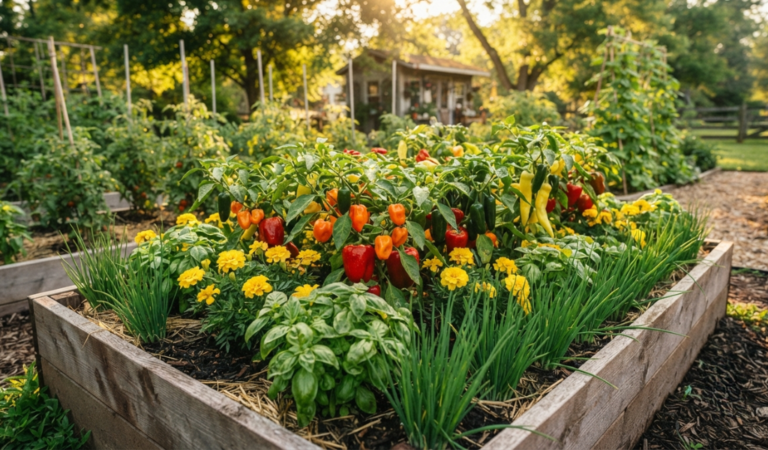
Peppers and tomatoes are often grown near each other because they share similar growing conditions. Both love sun, warmth, and consistent watering. Other good companion plants for peppers include basil, which may help repel aphids, and carrots, which improve soil aeration when grown nearby in a separate container.
Avoid planting peppers near fennel. Fennel releases compounds that can inhibit growth in many vegetables, including peppers.
Preventing Pests and Diseases with Your Potted Peppers
Container peppers are somewhat less vulnerable to soil-borne diseases than in-ground plants, but pests can still be a problem. Aphids, spider mites, and whiteflies are the most common visitors.
Check the undersides of leaves regularly. At the first sign of aphids, spray the plant with a strong stream of water to knock them off. Neem oil spray is effective against spider mites and whiteflies. Apply it in the early morning or evening to avoid burning leaves.
To prevent fungal issues, water at the base of the plant rather than overhead, and make sure the container has proper drainage. Standing water in the saucer beneath a pot encourages root rot.
Common Container Mistakes Gardeners Admit Making
Even experienced gardeners make avoidable mistakes with container peppers. Here are the most common ones.
Avoid Using Garden Soil in Containers
The garden soil is too heavy for pots. It compacts over time, restricts drainage, and can carry weed seeds, fungal spores, and insects.
Use a Light Potting Mix Designed for Containers
A quality potting mix includes ingredients that keep the soil loose and well-aerated. This matters especially in larger containers where compaction tends to happen at the bottom.
Add Organic Matter for Nutrient Stability
Potted soil loses nutrients faster than garden beds because watering constantly flushes them out. Adding compost or slow-release fertilizer pellets at planting time helps maintain a steady nutrient supply.
Make Sure the Soil Drains but Does Not Dry Too Fast
You want soil that drains well but still holds some moisture. If your mix dries out within a day of watering, add coco coir or a small amount of water-retaining granules to help.
Refresh or Amend Soil During the Season
Container soil breaks down over the course of a growing season. Add a thin layer of compost or liquid fertilizer every few weeks to replenish what watering removes.
Common Pepper Problems in Containers
Flowers Dropping Off the Plant
Blossom drop happens when temperatures swing dramatically or when the plant is stressed from inconsistent watering. Pepper plants are sensitive to both heat stress and cold snaps. Keep the soil evenly moist and shield plants from extreme afternoon heat.
Yellow Leaves
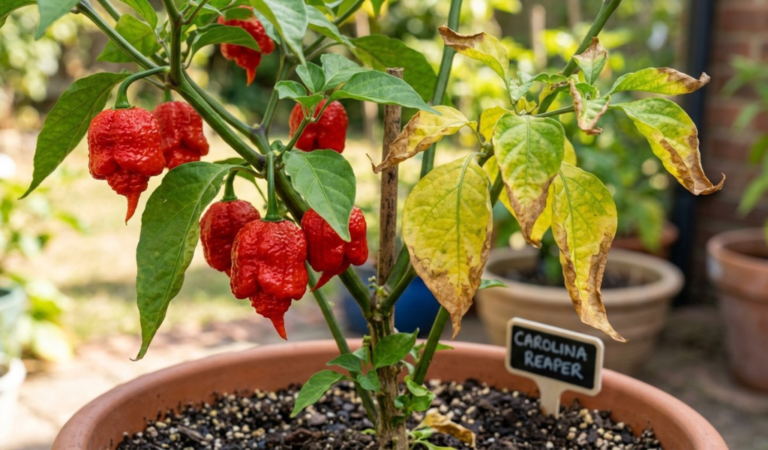
Yellow leaves usually point to a nitrogen deficiency or overwatering. Check that the pot drains freely and that you’re fertilizing consistently throughout the growing season.
Lots of Leaves But Few Peppers
Too much nitrogen causes lush leafy growth but suppresses fruit set. Switch to a fertilizer with a lower nitrogen ratio once the plant reaches full size and begins flowering.
Small Peppers or Slow Growth
Small fruit often signals the plant isn’t getting enough sunlight or nutrients. Make sure it receives at least 6 hours of direct sunlight per day and that you’re feeding it regularly.
Wilted Plants in Hot Weather
Peppers love warmth but wilt quickly in extreme heat, especially when the container is exposed to full afternoon sun. Move pots to a spot with afternoon shade during heat waves and water more frequently.
Success Factors for Growing Peppers in Containers
Best Temperatures for Peppers
Bell peppers grow best when daytime temperatures sit between 70°F and 85°F. Growth slows significantly below 55°F and above 90°F. If you live in a hot climate, choose a spot with morning sun and afternoon shade to keep plants productive through summer.
How Often Should You Water Container Peppers
Container peppers dry out faster than in-ground plants. In warm weather, check the soil daily. Water when the top inch of soil feels dry. Avoid letting the pot sit in standing water for long periods. Consistent watering throughout the growing season is one of the biggest factors in producing a generous harvest.
Final Thought
Growing bell peppers in pots is genuinely achievable for most gardeners, regardless of space. With the right container, a quality potting mix, consistent watering, and regular fertilizer, pepper plants in containers can produce just as abundantly as those grown in the ground.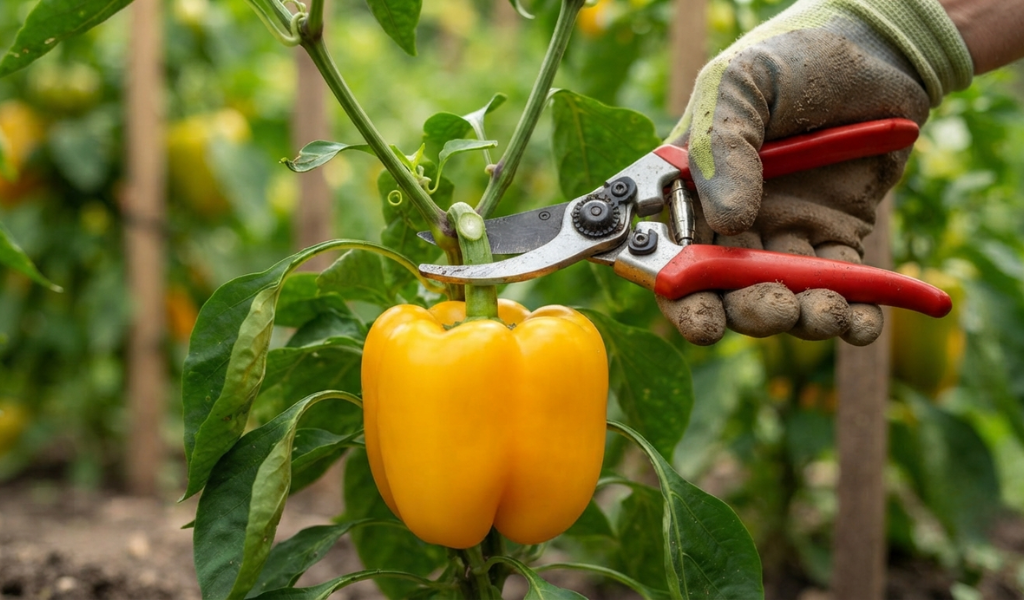
Start with a compact bell pepper variety, give it a 5 to 10-gallon pot, and place it in full sun. Feed it regularly, watch for pests, and be patient. Bell peppers can be picked when they reach full size and have turned their ripe color typically green, red, yellow, or orange depending on the variety. Most bell peppers can be harvested 70 to 90 days after transplanting.
If you follow the steps in this guide, you’ll be pulling fresh, crisp bell peppers off your patio plants well before summer ends.
Frequently Asked Questions
How long does it take to grow bell peppers in pots?
Bell peppers typically take 70 to 90 days from transplanting to reach a harvestable size. If you’re starting from seed, add another 8 to 10 weeks for the indoor germination and seedling phase. Compact varieties grown in containers may mature slightly faster under ideal conditions.
What are common pepper growing mistakes?
The most common mistakes include using garden soil in containers, under-watering during hot weather, using a pot that’s too small, and over-fertilizing with nitrogen late in the season. Each of these leads to poor fruit production, stressed plants or root problems.
What month is best to plant bell peppers?
In most regions of the US, the best time to transplant pepper seedlings outdoors is between late April and early June, after the last frost date has passed. Start seeds indoors in February or March so plants are ready to go outside when temperatures warm up.
Do bell peppers do better in pots or in the ground?
Bell peppers perform well in both settings. In-ground plants generally produce more fruit over a longer season because roots can spread freely. However, container peppers offer more control over soil quality, drainage, and placement, which can lead to equally good results in the right conditions.
Can you grow peppers in containers indoors?
Yes. Peppers can be grown indoors successfully with a grow light that delivers at least 14 to 16 hours of bright light per day. Keep indoor temperatures above 65°F and hand-pollinate flowers using a small paintbrush or by gently shaking the plant to transfer pollen between blooms.
Can you put coffee grounds around pepper plants?
Used coffee grounds can be added to the soil in small amounts. They provide a mild nitrogen boost and slightly acidify the soil, which peppers tolerate well. However, avoid applying a thick layer directly on the soil surface, as this can form a dense crust that repels water. Mix grounds into the top layer of potting mix instead.
How long does it take to grow peppers from seed?
Growing peppers from seed to harvest typically takes 100 to 150 days. The seed germination phase alone takes 10 to 14 days when kept at 75°F to 85°F. After that, seedlings need another 6 to 8 weeks indoors before they’re ready for transplanting.