Planting Black Beans at Home: Backyard vs. Container Gardening
Planting black beans is easier than you think, and the rewards are totally worth it. Fresh, homegrown beans taste better, cost less, and are packed with nutrients. Whether you’ve got a big backyard or just a few pots on your balcony, you can grow them with minimal effort. No fancy equipment, no complicated steps—just good soil, sunlight, and a little patience. Ready to turn a handful of seeds into a thriving black bean harvest? Let’s dive in!
Why Grow Black Beans at Home?
Black beans are a staple in many households due to their rich flavor, versatility, and impressive nutritional benefits. They are packed with protein, fiber, iron, and antioxidants, making them a powerhouse food for any diet. Store-bought beans may be convenient, but growing your own ensures they are free from pesticides and other chemicals. Plus, it’s a great way to connect with nature, reduce grocery expenses, and promote sustainable living.
Another major benefit is that black bean plants help improve soil health. Like other legumes, they fix nitrogen in the soil, enriching it for future crops. If you practice crop rotation in your garden, black beans can play an important role in maintaining soil fertility.
So, whether you have a backyard garden or limited space in an apartment, black beans can be grown with the right approach.
Understanding the Black Bean Plant
Before diving into the planting process, it’s important to understand the nature of black bean plants. Black beans (Phaseolus vulgaris) belong to the legume family and thrive in warm, sunny conditions.It originated in Central and South America. They’re the same species as snap beans, but are grown for their dried seeds, not immature pods. For this reason, black beans take longer than snap beans to go from seed to harvest.
They need about 95 to 105 days versus snap beans which are harvested 50 to 55 days from planting. Beans are a warm season vegetable and grown between the spring and fall frost dates. These plants are relatively low-maintenance and produce pods filled with small, dark-colored beans that are harvested when mature.
There are two main types of black bean plants:
- Bush Varieties: These grow in compact, bushy forms and do not require trellises or supports. They are great for smaller gardens or container growing.
- Pole Varieties: These grow as vines and need staking or trellises for support. They often produce more beans per plant but require a bit more space and care.
Both varieties produce delicious black beans, so your choice depends on your space and gardening preferences.
Choosing the Right Variety for Your Garden
If you’re growing black beans in a backyard garden, you can choose either bush or pole varieties. However, if you’re planning to grow them indoors or in containers, bush varieties are the best option since they take up less space and are easier to manage.
Some popular black bean varieties include:
Black Turtle Beans: One of the most common types, known for their rich flavor and firm texture.
Condor Black Beans: High-yielding and disease-resistant, making them a great choice for beginner gardeners.
Midnight Black Beans: A compact bush variety ideal for small spaces.
While there are different varieties of black beans available to commercial growers, most home gardeners plant Black Turtle beans. This is an heirloom variety with bush or semi-runner plants.
Best Time to Plant Black Beans
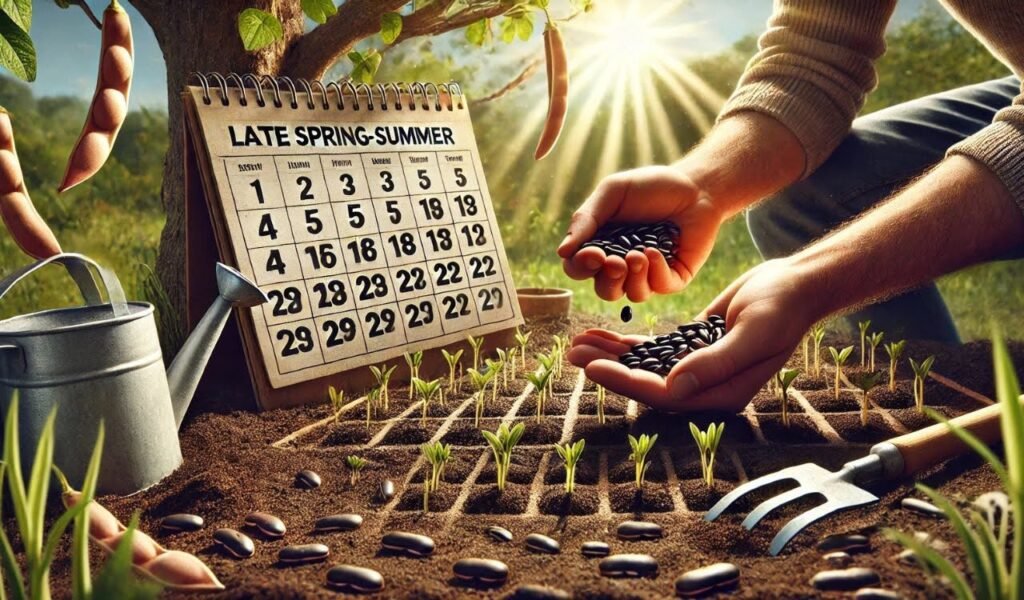
Timing is crucial when it comes to planting black beans. These plants thrive in warm conditions, so they should be planted after the last frost when temperatures remain consistently above 60°F (15°C).
For most regions, this means planting in late spring to early summer. If you live in a warm climate with a long growing season, you can even plant a second crop in mid-summer.
If you’re growing black beans indoors, you have the advantage of year-round planting. Just make sure to provide adequate warmth and light to mimic outdoor growing conditions.
How to Plant Black Beans: A Step-by-Step Guide
Preparing the Soil
When growing black beans it’s important to find the right site for this long season crop. Beans are warm season vegetables and need at least six to eight hours of direct sun each day. Black beans grow best in well-draining, nutrient-rich soil. The ideal pH range is between 6.0 and 7.5. Before planting, prepare your soil by adding compost or organic matter to improve its fertility.
Avoid nitrogen-heavy fertilizers since black beans naturally fix nitrogen in the soil and don’t require excessive supplementation. Before planting amend the soil with an inch of compost and if you’re planting in a bed where beans haven’t been grown before you may also wish to inoculate the seeds with rhizobium bacteria. This treatment can boost yield.
For container gardening, use a high-quality potting mix that drains well. A mix containing peat moss, perlite, and compost works well for black bean plants.
Planting Black Beans in the Garden
- Choose a Sunny Spot: Black beans need at least 6-8 hours of direct sunlight daily.
- Spacing the Seeds: Plant the seeds 1-2 inches deep and about 3-4 inches apart. Rows should be spaced 18-24 inches apart to allow good airflow.
- Watering After Planting: Give the soil a deep watering after planting but avoid overwatering, as black beans don’t like soggy soil.
Planting Black Beans in Containers
If you’re planting indoors or in small spaces, use a container that is at least 12 inches deep and wide. Ensure the pot has drainage holes to prevent waterlogging. Sow the seeds just as you would in the garden, and place the container in a warm, sunny location or under grow lights.
If you want to get a head start on the season, you can start black bean seeds indoors under grow lights three to four weeks before the last expected spring frost. Begin to harden off the seedlings a week or so before you intend to move them to the garden. Bean seedlings can be set back when the roots are disturbed so be careful when transplanting.
Caring for Your Black Bean Plants
Once your black beans start sprouting, they require proper care to ensure a healthy and productive crop.
Watering Requirements
Black beans don’t need excessive watering. Aim for one inch of water per week, either from rainfall or manual watering. The soil should be moist but not waterlogged. Once the plants start flowering, reduce watering slightly to prevent diseases like root rot.
Providing Support (For Pole Varieties)
If you’re growing a pole variety, install trellises or stakes when the plants are young to support their climbing vines. Bamboo stakes, wooden poles, or wire trellises work well.
Fertilizing and Mulching
Since black beans fix their own nitrogen, they don’t require a lot of additional fertilizer. However, adding a balanced organic fertilizer or compost at the beginning of the season can help boost growth. Mulching around the plants with straw or leaves helps retain moisture and suppress weeds.
Common Pests and Diseases
Black bean plants are relatively hardy, but they can be affected by pests such as aphids, spider mites, and bean beetles. To keep pests under control:
- Use companion planting (e.g., growing marigolds or basil nearby).
- Spray plants with neem oil or insecticidal soap if infestations occur.
- Keep an eye out for fungal diseases like powdery mildew—avoid overhead watering to reduce risk.
When and How to Harvest Black Beans
Black beans take about 90-100 days to reach maturity. You’ll know they are ready to harvest when the pods turn brown and dry on the plant.
For fresh beans, you can pick them earlier when the pods are still green and plump. However, if you want dried black beans for long-term storage, leave the pods on the plant until they are completely dry and brittle. Once harvested, remove the beans from the pods and allow them to dry further in a well-ventilated area before storing them in airtight containers.
Storing and Using Your Homegrown Black Beans

Properly dried black beans can be stored in an airtight container for up to a year. Keep them in a cool, dark place to maintain freshness. When ready to use, soak them overnight and cook them in soups, stews, or as a side dish.
FAQ
When is the best time for planting black beans?
Late spring to early summer, after the last frost, when temperatures are above 60°F (15°C).
Can I grow black beans in containers?
Yes! Use a 12-inch deep pot with well-draining soil and place it in full sunlight.
How long does it take for black beans to grow?
Black beans take about 90-100 days to fully mature for harvesting.
Do black bean plants need a trellis?
Only pole varieties need support; bush varieties grow without a trellis.
How often should I water black bean plants?
Water once a week, keeping the soil moist but not soggy. Reduce watering when pods start forming.
Can I grow black beans indoors?
Yes, but they need plenty of light. Use a sunny windowsill or grow lights.
How do I know when black beans are ready to harvest?
Pods turn brown and dry when they’re ready for harvesting and storage.
Do black beans need fertilizer?
They don’t need much! Use compost or a light, balanced fertilizer at planting.
Final Thoughts
Planting black beans is a fun and rewarding experience that provides you with fresh, organic produce straight from your garden. Whether you have a spacious backyard or just a few containers on a balcony, growing black beans is totally achievable with the right care. So, why not start your black bean garden today? With a little patience and effort, you’ll soon be harvesting delicious, homegrown beans that you can enjoy in your favorite meals!