How to Plant Sprouted Potatoes: A Step-by-Step Guide to Homegrown Success
How to plant sprouted potatoes isn’t just easy—it’s a genius way to turn kitchen leftovers into a homegrown feast. Got some potatoes with little sprouts? Don’t toss them! With the right soil, a little sunlight, and a simple planting trick, you’ll have fresh spuds in no time. Whether you’ve got a backyard or just a few pots, you can grow potatoes almost anywhere. Stick around, and I’ll show you exactly how to do it—step by step.
Why Plant Sprouted Potatoes Instead of Throwing Them Away?
Before we get into the details of how to plant sprouted potatoes, let’s talk about why you should do it in the first place. If you’ve ever accidentally left potatoes in a warm, dark place for too long, you’ve probably seen little white or greenish sprouts emerging from their “eyes.” This is the potato’s way of trying to grow into a new plant. Instead of considering them waste, think of them as free seed potatoes—they are literally trying to give you more food!
By planting sprouted potatoes, you reduce waste, save money on buying seed potatoes, and get the satisfaction of growing your own produce. Plus, you don’t need a big farm or even a backyard. Potatoes are one of the few crops that thrive just as well in containers or grow bags as they do in the ground.
What Kind of Potatoes Can You Plant?
Not all sprouted potatoes are good candidates for planting. The best ones to use are firm, healthy potatoes with strong, vibrant sprouts. If your potato feels soft, mushy, or has an unpleasant odor, it’s best to discard it. Also, be wary of green potatoes—this green color indicates the presence of solanine, a naturally occurring toxin that can be harmful if consumed.
While green potatoes can still be planted, it’s best to remove the green skin before doing so. Another thing to keep in mind is whether your potatoes were treated with sprout inhibitors. Many store-bought potatoes are sprayed with chemicals to prevent sprouting, making them less ideal for planting. If possible, use organic potatoes or certified seed potatoes from a garden center. However, if your store-bought potatoes have already sprouted, chances are they’ll grow just fine.
Preparing Your Sprouted Potatoes for Planting

Before planting, you need to prepare your sprouted potatoes properly. If your potatoes are small, about the size of an egg, you can plant them whole. However, if they are large (think fist-sized or bigger), cutting them into smaller sections will give you multiple plants from a single potato.
When cutting a large potato, make sure each section has at least one or two healthy sprouts (eyes). Once cut, let them sit in a dry, well-ventilated place for 24-48 hours before planting. This waiting period helps the cut surfaces develop a protective layer, preventing rot and disease when placed in the soil.
Where to Plant Your Sprouted Potatoes?
Potatoes are incredibly versatile when it comes to planting locations. If you have a backyard garden, you can grow them directly in the ground or in raised beds. If space is limited, grow bags, large pots, or containers are excellent alternatives. A fun and creative method is to use a DIY potato planter, such as a stackable wooden box or a tall bin.
These planters allow you to grow potatoes vertically, saving space while making harvesting easier. If you’re planting indoors, choose a deep container with good drainage and place it near a sunny window.
How to Plant Sprouted Potatoes the Right Way
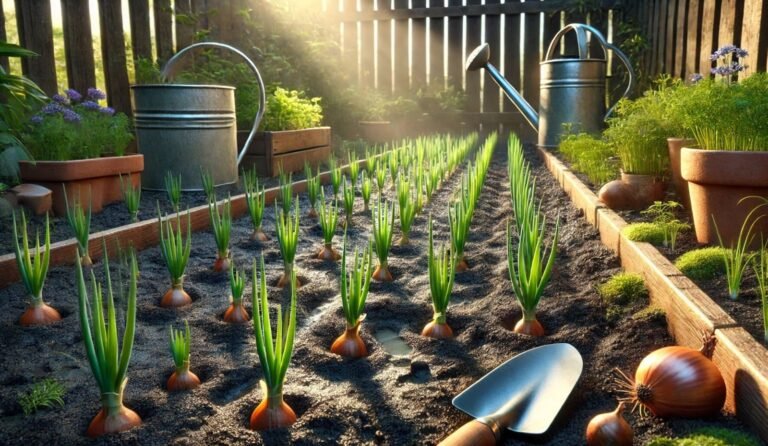
Now comes the fun part—planting your sprouted potatoes! Start by preparing your soil. Potatoes love loose, well-draining soil rich in organic matter. If your garden soil is heavy or clay-like, mix in compost and sand to improve its texture. In containers, use a high-quality potting mix with good drainage. Once your soil is ready, dig a trench or holes about 4-6 inches deep.
If you’re using a grow bag or container, start with about 4 inches of soil at the base before adding more later. Place the potatoes with the sprouts facing upward, spacing them about 12 inches apart to give them room to grow. After positioning them, cover with 2-4 inches of soil, being careful not to bury them too deep initially.
Water the soil gently but thoroughly. Potatoes need consistent moisture, but they don’t like soggy conditions. Overwatering can lead to rot, so aim to keep the soil evenly moist but not waterlogged.
Taking Care of Your Potato Plants

As your potatoes start growing, they’ll need some attention to ensure a successful harvest. The most important step in potato care is hilling—a process where you gradually add soil around the stems as they grow.
Hilling is crucial because it prevents potatoes from being exposed to sunlight, which can turn them green and toxic. It also encourages the plant to produce more tubers. Once the plants are 6-8 inches tall, mound soil around the base, covering about half of the stem. Repeat this process every two to three weeks until the soil mound reaches 10-12 inches high.
Sunlight is another important factor. Potatoes require at least 6-8 hours of direct sunlight per day to thrive. If you’re growing them indoors, place them near a bright, south-facing window or use grow lights to supplement natural light.
When it comes to fertilizing, avoid using too much nitrogen, as it encourages leafy growth instead of tuber development. Instead, use a balanced fertilizer or compost tea every few weeks to support healthy growth.
When and How to Harvest Your Potatoes
One of the most exciting parts of growing potatoes is digging them up! The timing of your harvest depends on what type of potatoes you want. If you’re after baby (new) potatoes, you can start harvesting them 60-80 days after planting, when the plants begin to flower. For full-sized potatoes, wait until the plant’s leaves and stems turn yellow and die back, usually 90-120 days after planting.
To harvest, use a garden fork or shovel to gently loosen the soil around the plant, being careful not to damage the potatoes. If you’re growing in containers, simply tip them over and sift through the soil with your hands. After harvesting, let your potatoes cure in a dry, dark place for a few days before storing them. This helps toughen the skin, making them last longer in storage.
FAQ
Can I plant store-bought potatoes that have sprouted?
Yes! Just ensure they are firm and free from rot or mold.
How deep do you plant sprouted potatoes?
Plant them 4-6 inches deep in soil, with sprouts facing up.
Can I grow sprouted potatoes in containers?
Absolutely! Use a deep container or grow bag with well-draining soil.
How long does it take for potatoes to grow?
New potatoes take 60-80 days, while mature ones need 90-120 days.
Should I cut large sprouted potatoes before planting?
Yes, if they’re big. Each piece should have 1-2 sprouts and be dried for 24-48 hours.
How often should I water sprouted potatoes?
Water consistently, keeping soil moist but not soggy—about 1-2 inches per week.
Do I need to hill potatoes after planting?
Yes! Add soil around stems every 2-3 weeks to prevent sunlight from turning potatoes green.
Can I grow sprouted potatoes indoors?
Yes, as long as they get 6-8 hours of sunlight or grow light exposure daily.
Final Thoughts
Growing potatoes from sprouts is an incredibly satisfying and simple gardening project. Whether you’re planting them in a traditional garden, a raised bed, or a grow bag, you’ll be amazed at how easy it is to turn leftover sprouted potatoes into a bountiful harvest.
Not only will you enjoy delicious, homegrown potatoes, but you’ll also experience the joy of knowing exactly where your food comes from. So, the next time you see a potato sprouting in your kitchen, don’t throw it away—plant it, nurture it, and get ready to enjoy the freshest potatoes you’ve ever tasted! Happy gardening!


